Export labels from project
Instructions for exporting your annotations from a labeling project via the UI.
Export specifications: image | video | text | documents | geospatial/tiled imagery | audio | conversational text | HTML | DICOM
Developer guide: Export labels via Python SDK
You can export data from Labelbox in three ways: export from Catalog, export from a model run, and export from a labeling project. This guide explains how to select and export annotations from a labeling project.
Step 1: Select the data rows for export
To export annotations from a labeling project via the UI, go to Annotate and select a project that has at least one label in the Completed column. Within the project, go to the Data Rows tab.
You have several options for specifying the data rows to include in the export. The options for exporting from a project are listed below.
Option 1: Export all data rows
There are two ways to export all data rows from the Data Rows tab:
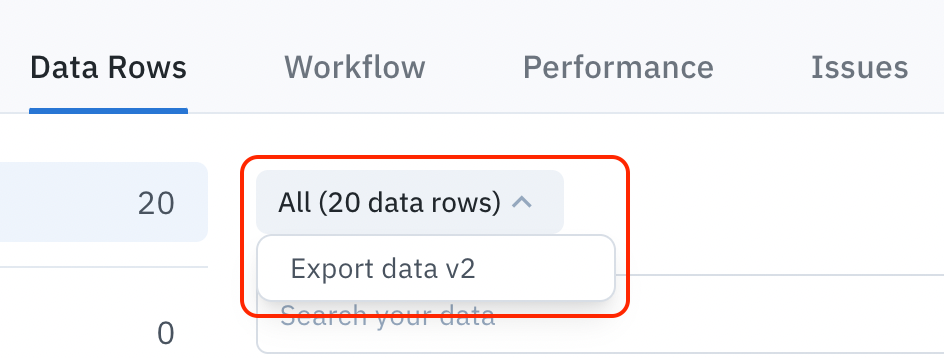
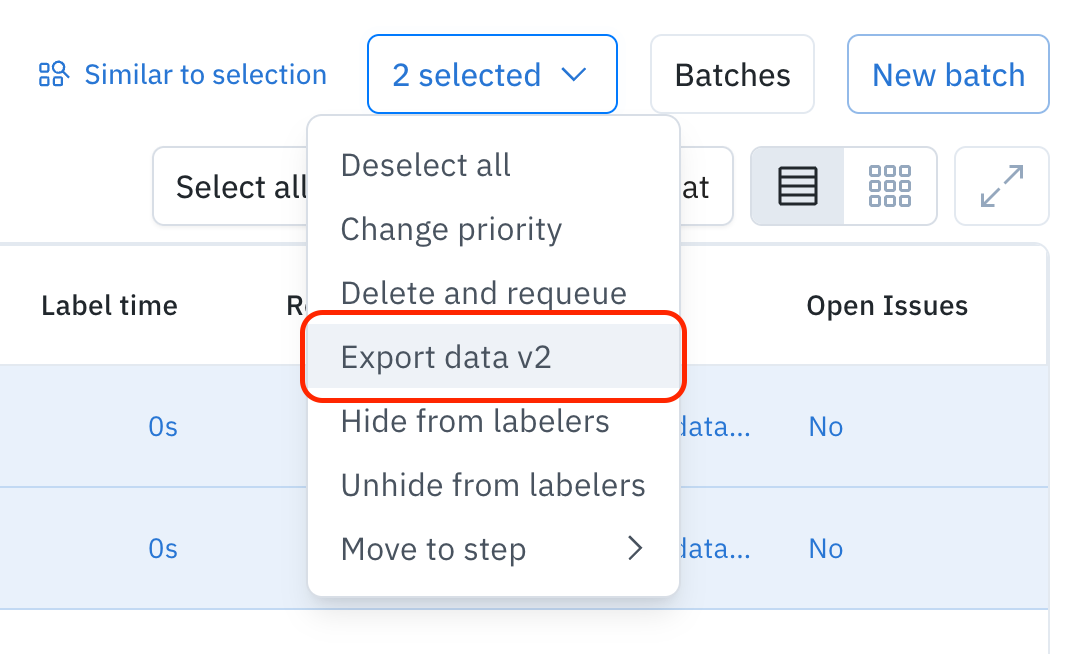
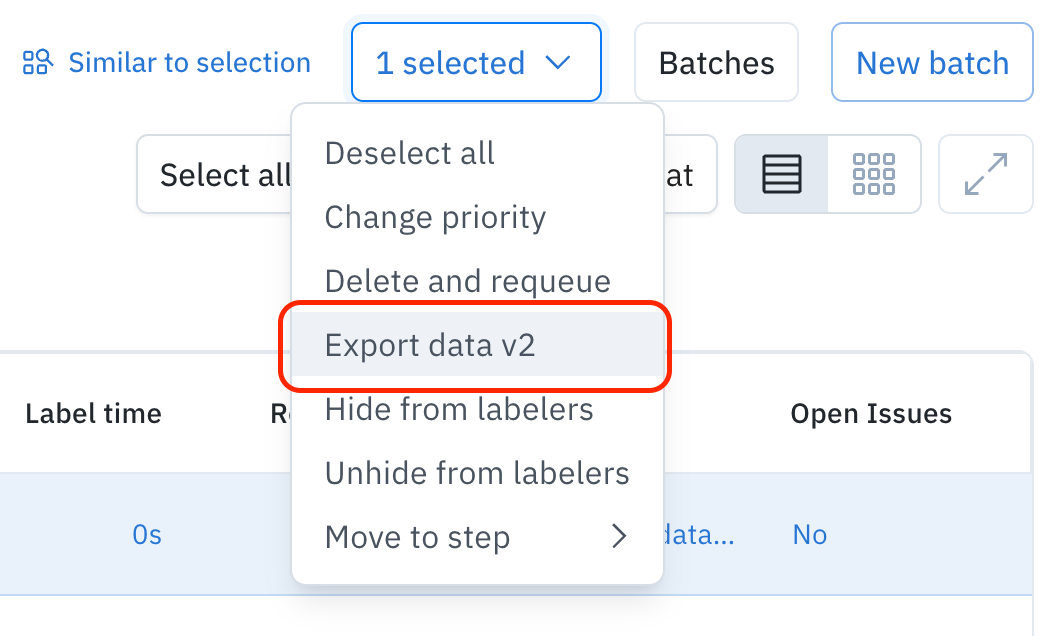
- Select All (X data rows), then select Export data v2 from the dropdown menu.
- Click Select all. Then, from the highlighted dropdown menu, select the Export data v2.
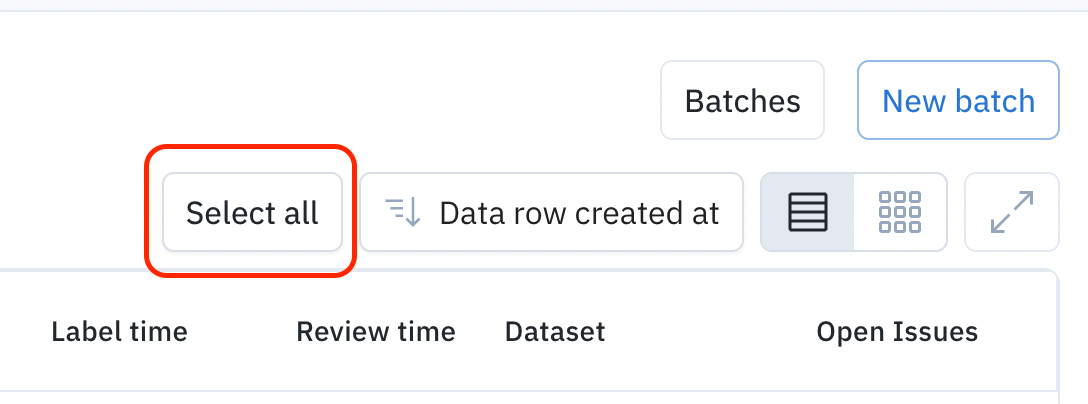
Select all data rows
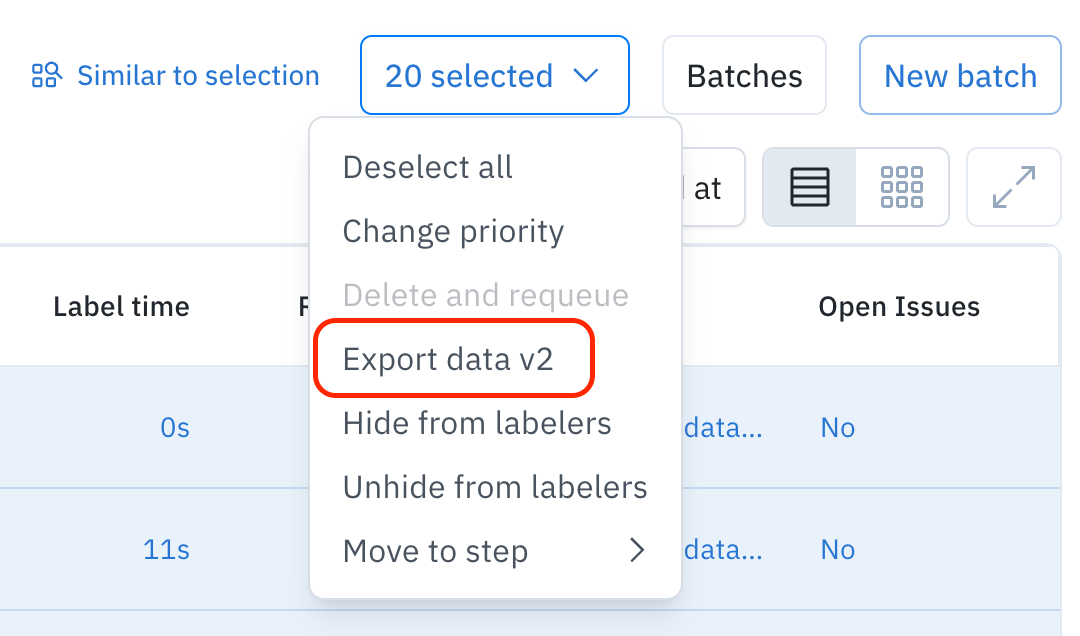
Select Export data v2
Option 2: Quick filter by label status
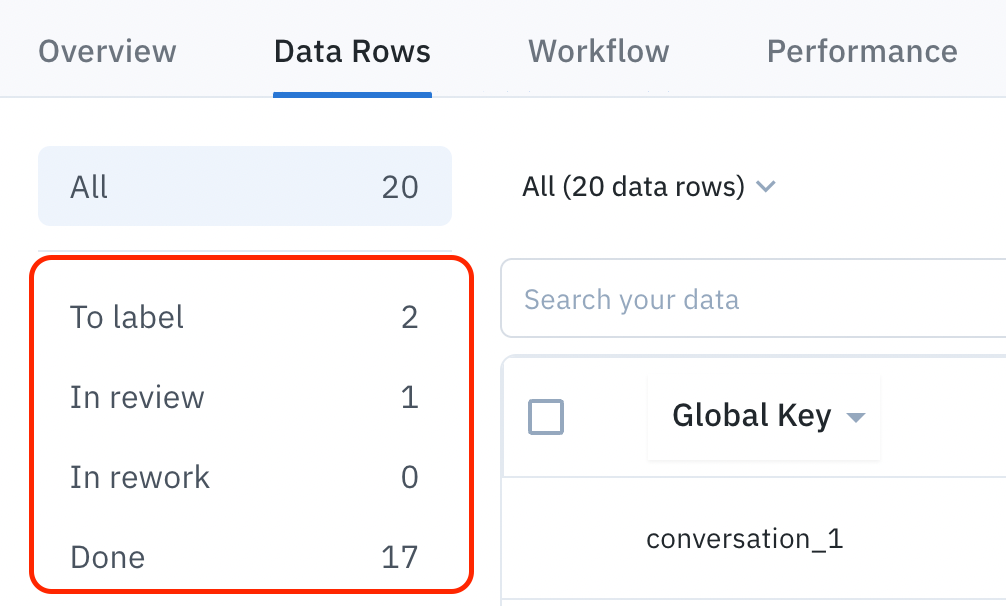
On the left panel, you have quick filters for returning data rows by label status (i.e., To label, In review, In rework, Done). Follow these steps to filter and export data rows by label status.
- In the left panel, select a label status (To Label, In review, In rework, or Done). You may only select one label status at a time.
- In the table, hand-select the data rows to include in the export (or click Select all).
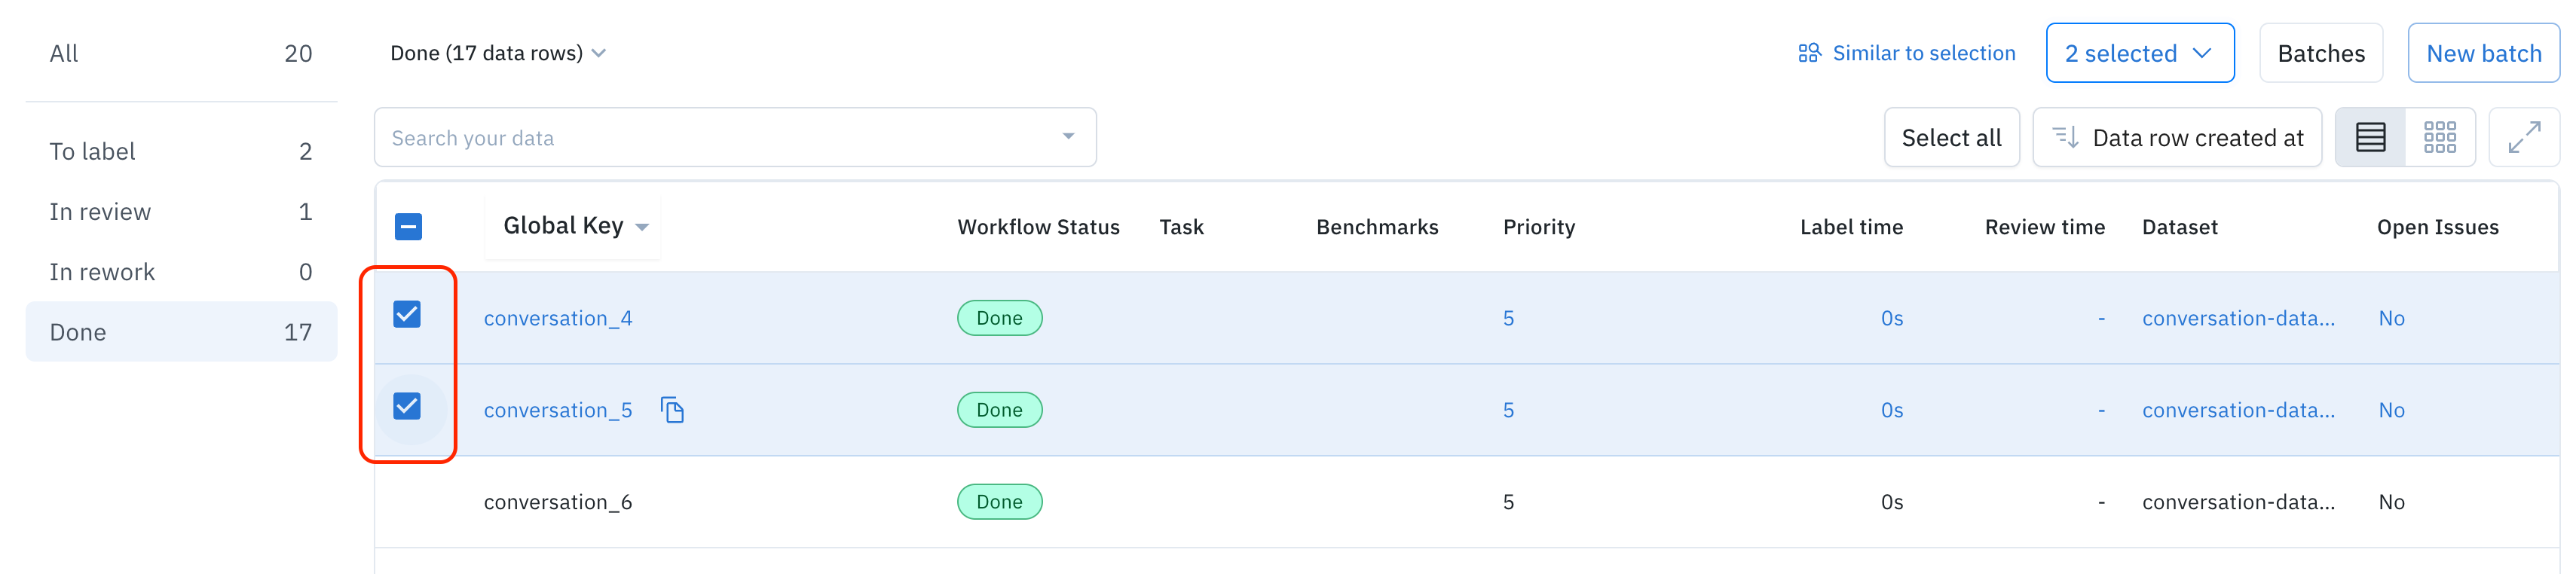
- From the highlighted dropdown menu, select Export data v2.
Option 3: Filter by data row attributes
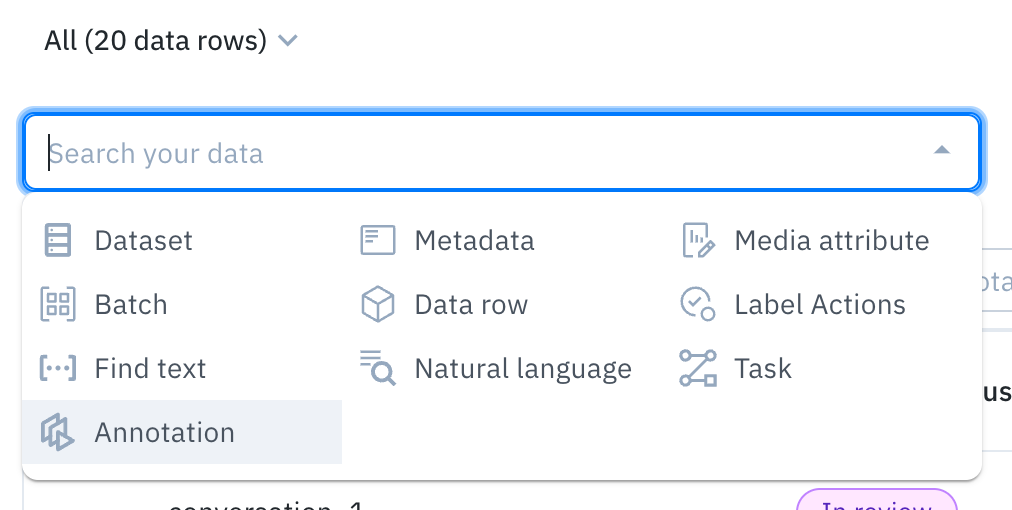
After selecting the label status, you can build your filters in the Data Rows tab to query for data rows that meet certain attributes (e.g., Dataset, Batch, Find text, Annotation, Metadata, etc). To filter and export data rows, follow these steps:
- Click Search your data to display the filters.
- Add filters to narrow down your search results.
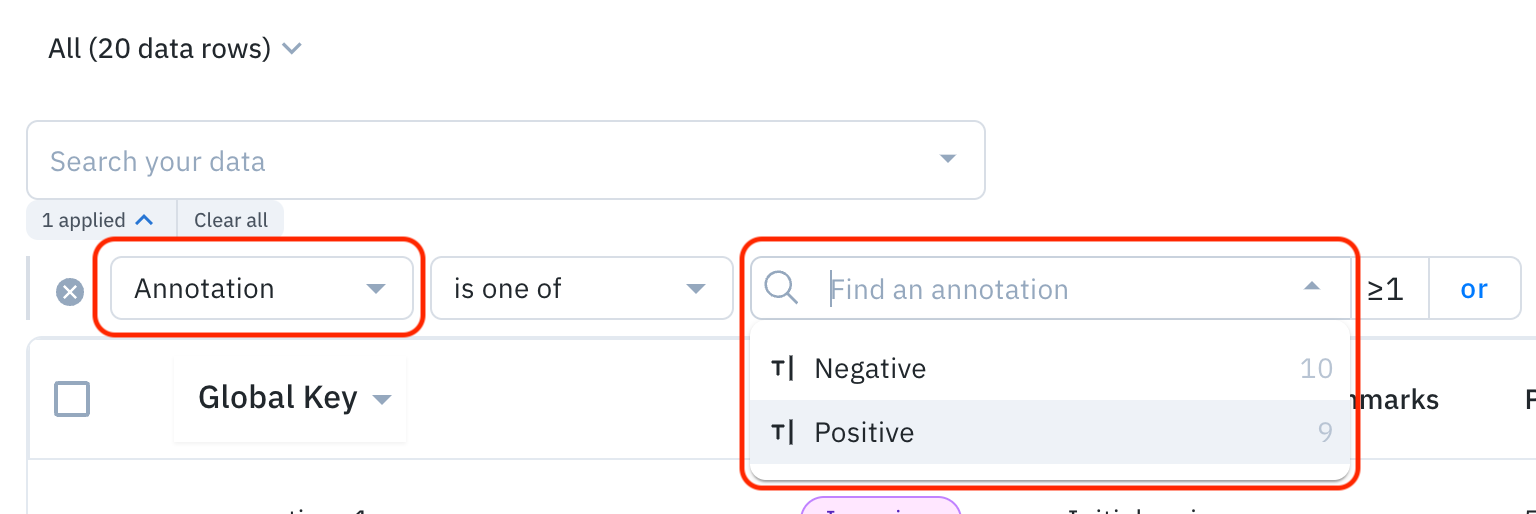
- In the table, select the data rows to include in the export.
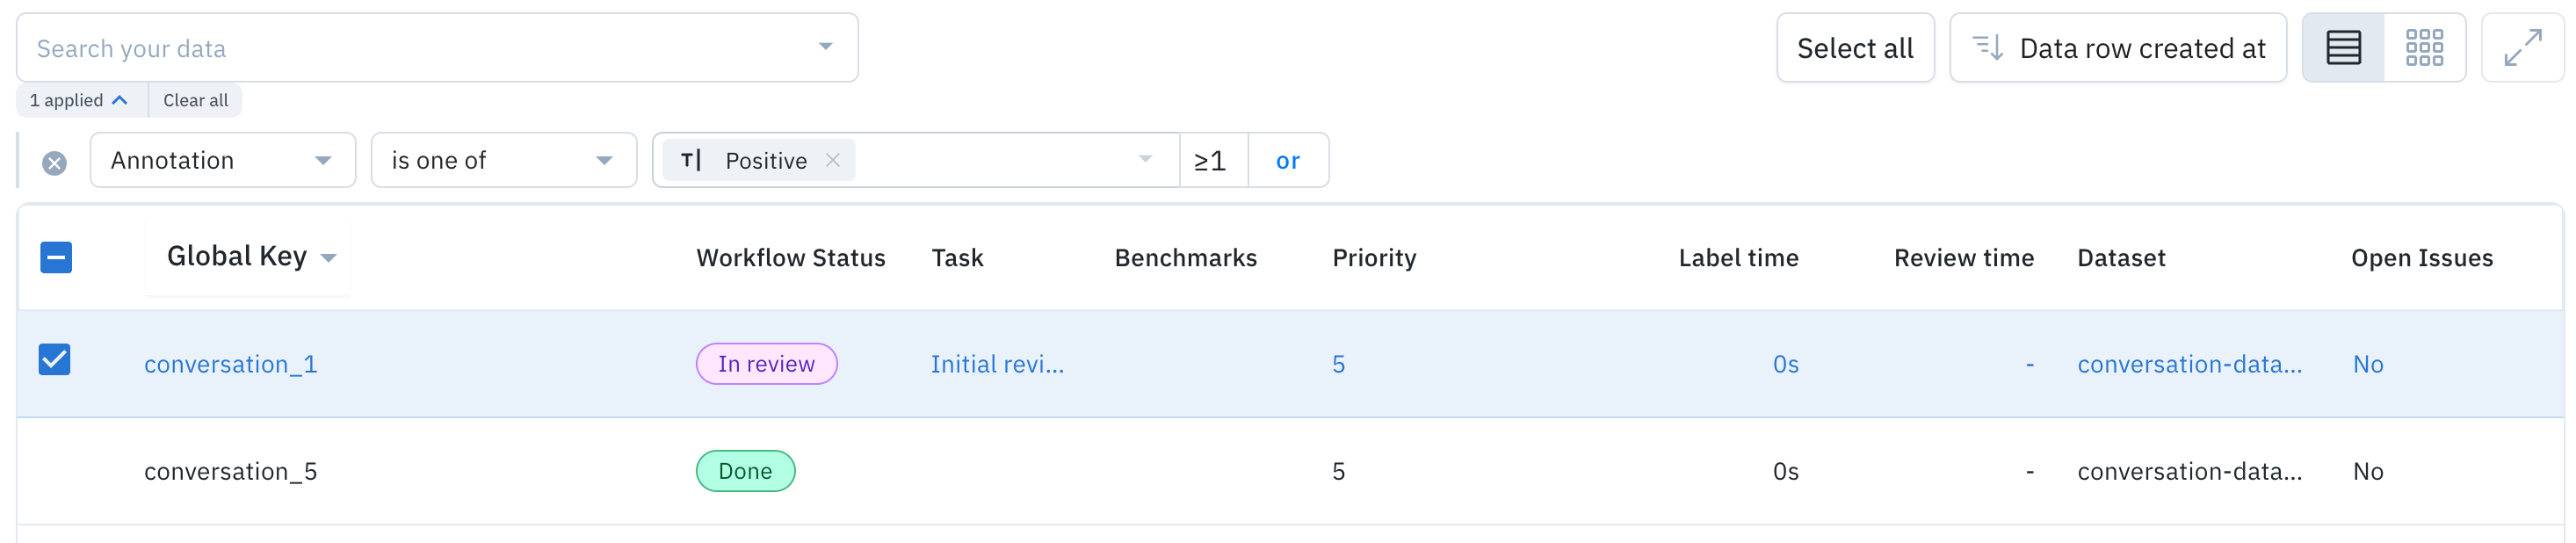
- From the highlighted dropdown menu, select Export data v2.
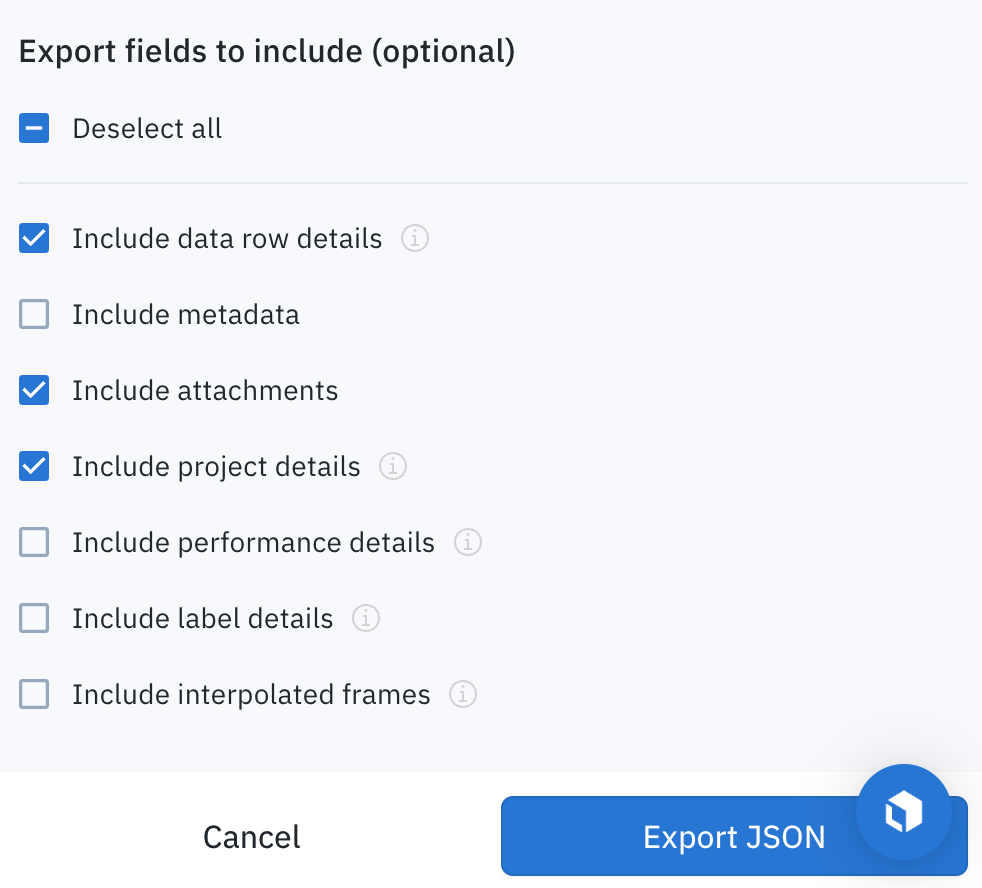
Step 2: Select fields to include in the export file
After you narrow down the data rows to export, you can specify which fields to include in the export file. Follow the steps below to select additional fields for export.
- When you select Export data v2, you will see a panel with additional date range queries and filters.
- Choose the fields to include or exclude in your final NDJSON export or click Select all. For descriptions of these export fields, visit our export specifications.
- When you have selected your fields, select Export JSON.
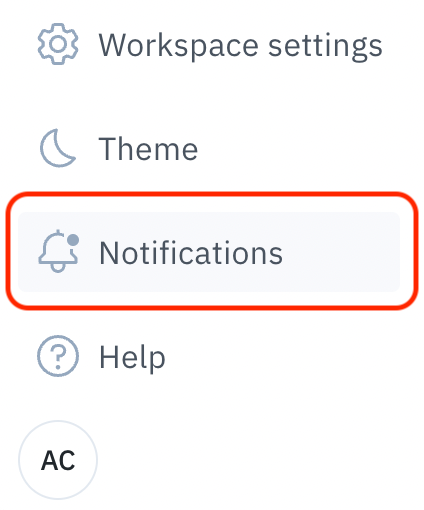
- After you select Export JSON, you will see a notification banner instructing you to check the status of the export job in the Notifications center.

- To access notifications, hover over the bell icon at the bottom of the left navbar, then select Notifications.
- From the Notifications center, use the filters to find your export task.
- Download the export file by selecting the Download icon.

How to view video and DICOM exports
Export v1 only
This section does not apply to exports V2. Export V2 will include the entire payload in the export file.
Due to size, exports for video and DICOM projects will contain a URL for each video that links to an NDJSON file containing the annotations. You have two options for accessing the annotations in your video and DICOM exports.
Option 1: Python SDK
To learn how to retrieve your video and DICOM annotations via the Python SDK, view this page.
Option 2: Postman
You can also access your video annotations using the Postman UI. Watch this video to learn how to do so.
-
Open Postman and create a new basic API request.
-
Copy the URL for
framesand paste it as the request URL. -
Go to the Headers tab.
-
Select Authorization as the key.
-
Paste your API key as the Authorization value.
-
Click Send.
Updated about 1 month ago