How it works
As an example, a common feedback loop between reviewers and labelers is:- A labeler submits a label on an asset.
- The reviewer reviews the label and notices an issue. The reviewer creates an issue on the label.
- The labeler can find any issues on their labels in the Issues tab. Clicking on the issue will take them directly to the label with the issue.
- The labeler can either correct the issue and resolve the issue or comment on the issue to get more clarity from the reviewer.
| Role | Permissions |
|---|---|
| Labeler | - Can create issues on assets they have labeled in the project. - Can update and delete their own issues on assets they have labeled. - Can resolve and reopen their own issues. - Can create, update, and delete issues on assets they have labeled. |
| Reviewer or Admin | - Can create issues on any labeled asset. - Can delete their own issues on any labeled asset. - Can resolve and reopen issues on any labeled asset. - Can create, update, and delete comments on any labeled asset. |
Create an issue
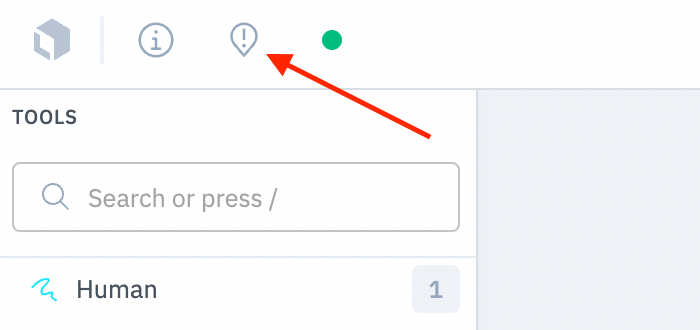
An issue will only become visible to other team members once the asset exits the “To label” step (i.e., the asset is submitted or skipped). Issues created on assets in the “To label” step will not appear in the Issues tab. To create an issue, follow these steps:Open the editor interface. You can do this by selecting any of the workflow steps (“To label”, “To review”, etc)
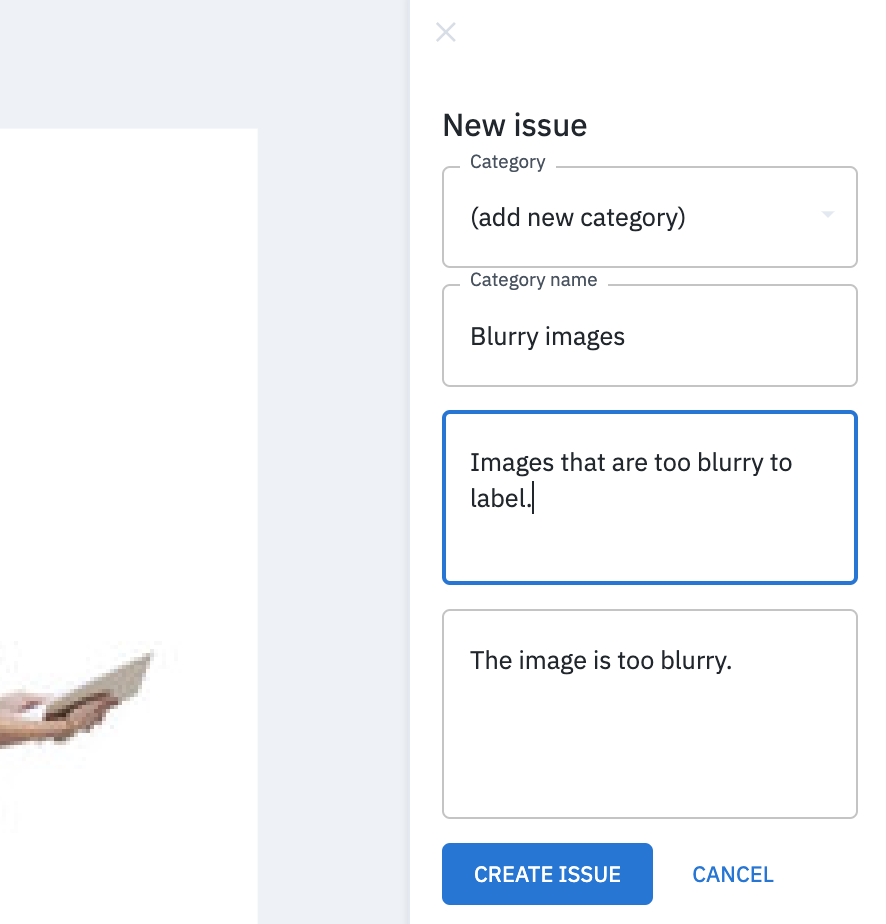
In the New issue modal, enter the content for the issue (e.g., a problem description, a question about an annotation, etc.) in the text box.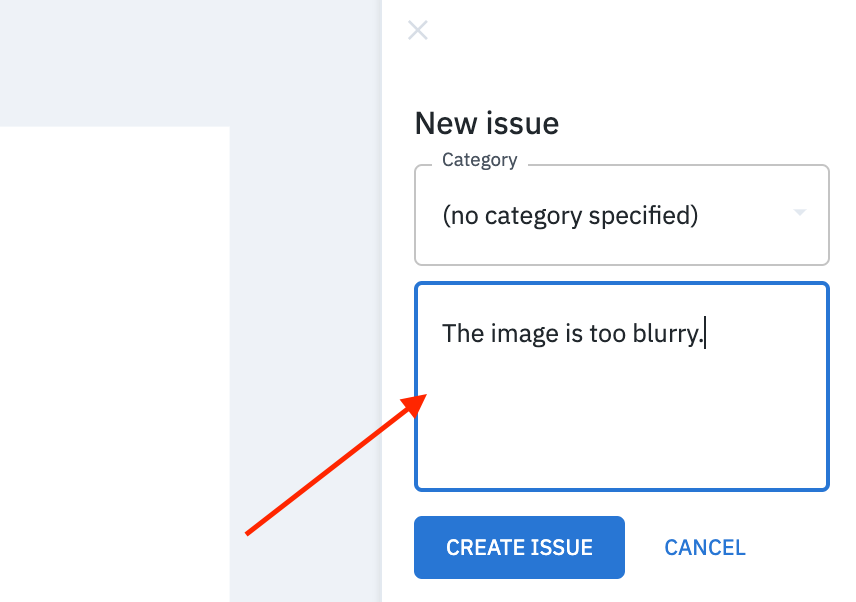

(Optional) Add a category for the issue. You can reuse an existing category or create a new one.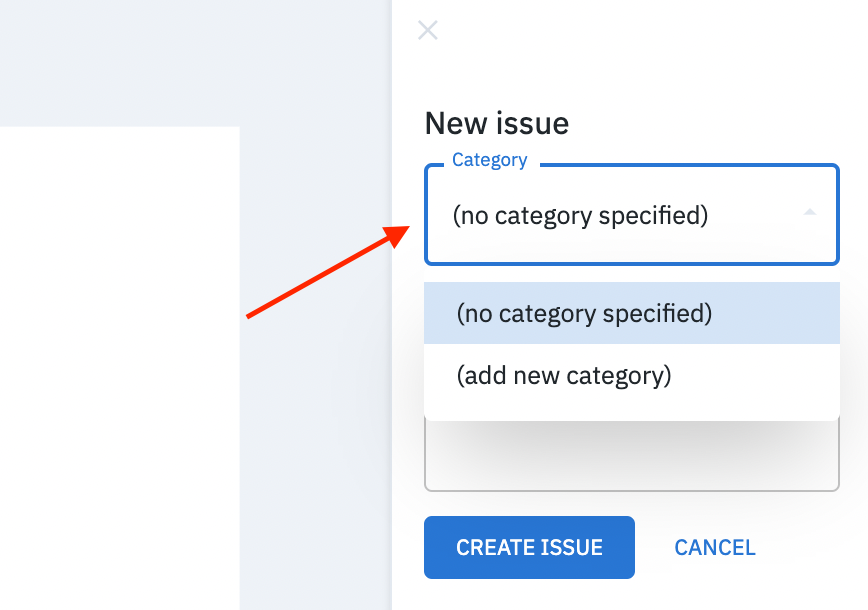


View all issues for a project
- Select a project and go to the Issues tab.
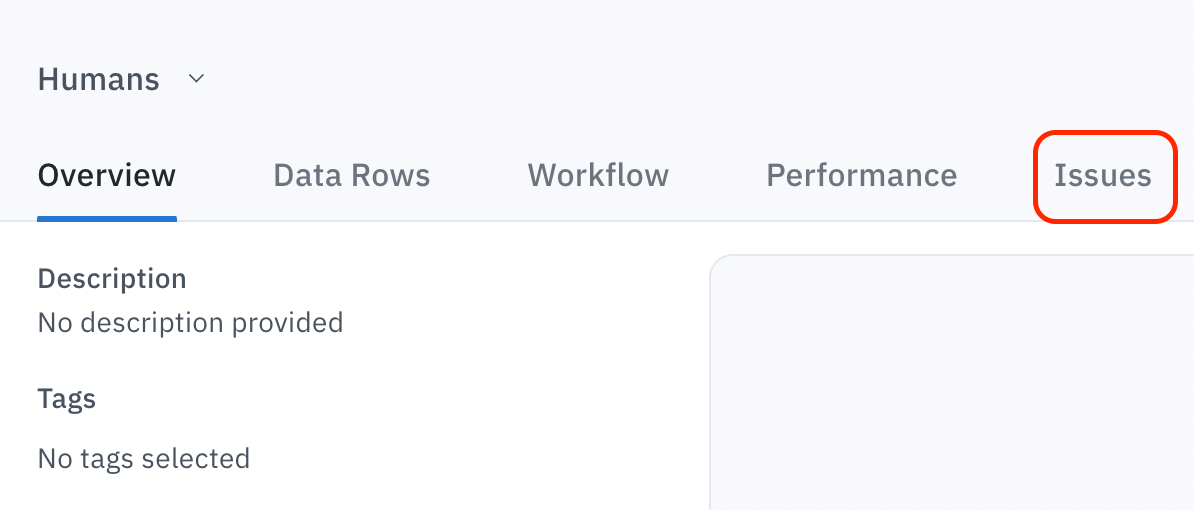
- Filter the issues by state by selecting All, Open, or Resolved. Reminder: Issues will not appear in the Issues tab if the asset is still in the “To label” step. You must submit or skip the asset for the issue(s) to appear in the Issues tab.
Manage issue categories
You can manage issue categories from the Issues tab. Select Issue categories to create new categories or manage existing categories.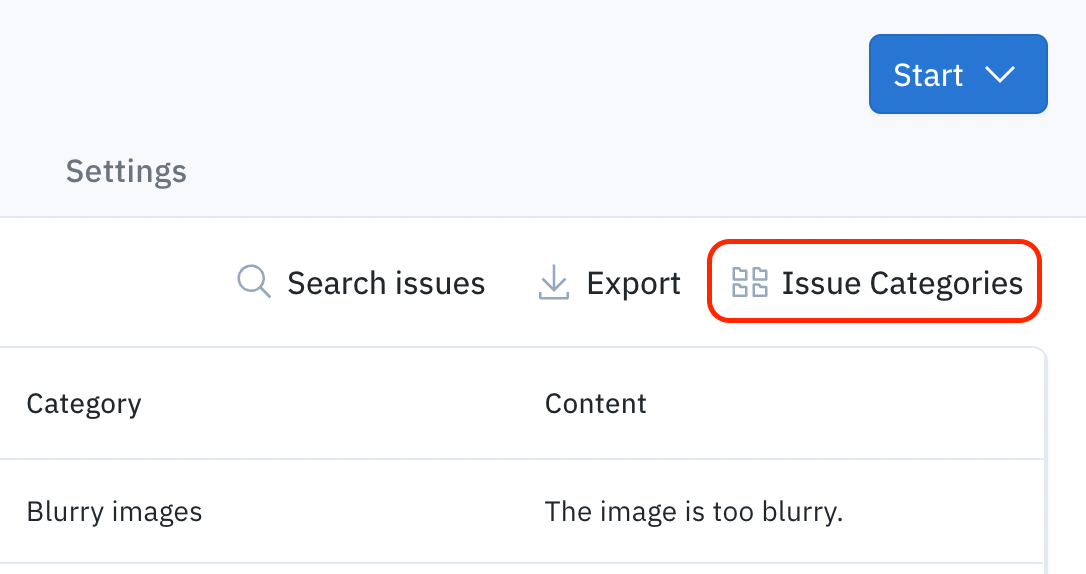

Create a comment on an issue
- Go to the Issues tab and select an issue OR click on an issue in the editor.
- Enter your response to the issue in the Reply text box.
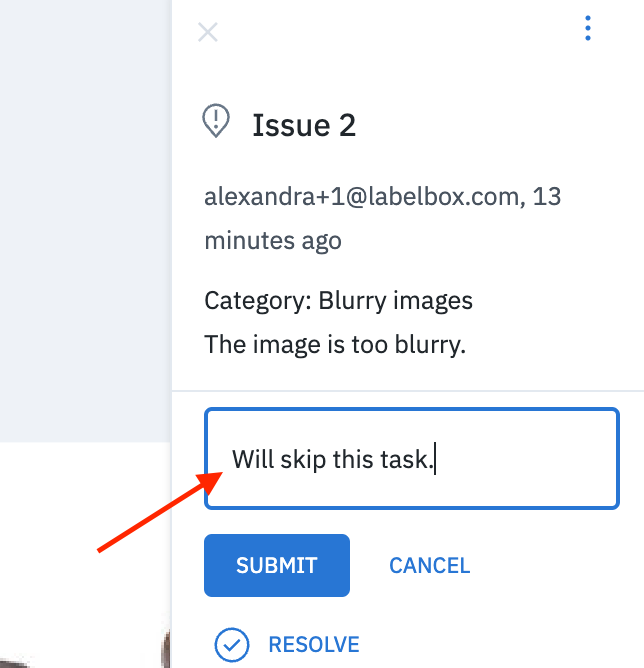
- Select Submit to create the comment.
Edit, resolve, or delete an issue
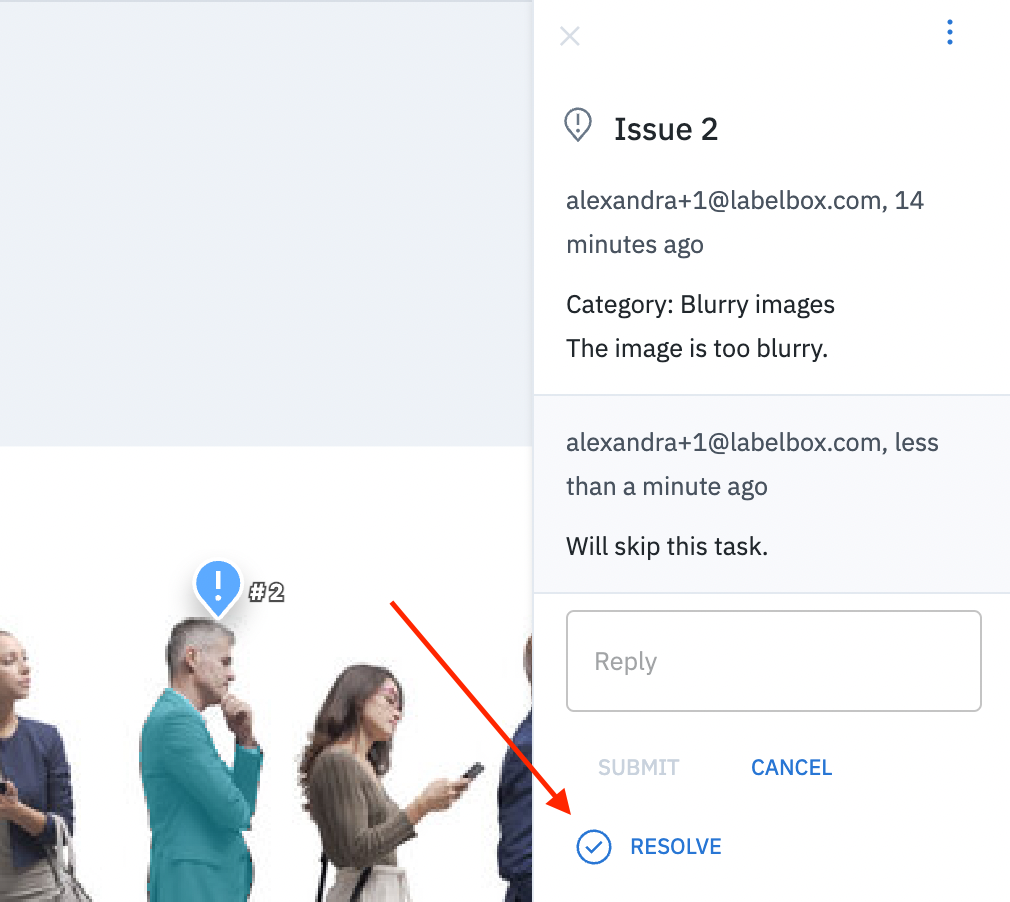
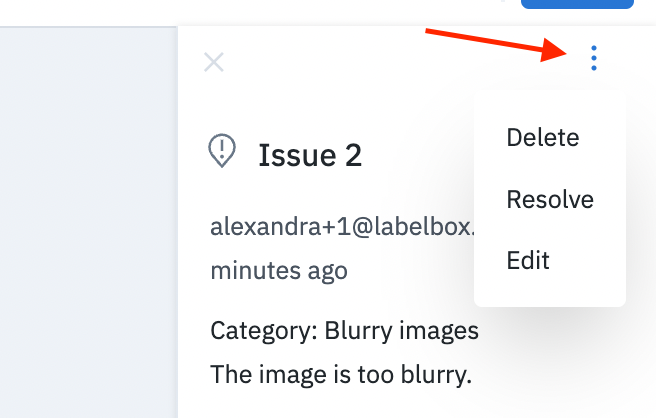
To resolve an issue, select Resolve at the bottom of the issue modal.