Ontologies
Instructions for creating, reusing, and modifying global ontologies.
An ontology contains all of the information to render a set of features and the relationships between them. Ontologies can be reused across different projects and they are required for data labeling, model training, and evaluation. When you are in the editor, the ontology is what appears in the Tools panel.

Why are ontologies important?
A clean, thoughtful ontology is critical for creating high-quality labeled data with minimal errors and inconsistencies. Ontologies are an essential part of the Labelbox labeling platform. Every time you create a project or a model in Labelbox, you will need to select an ontology.
A good ontology defines the following for your labeling team:
What should the labeling team be labeling?
What are the objects of interest or classification tasks that your labeling team should use to label the unstructured data? Think of the ontology as a blueprint of the structure you want to apply to the data in order to train your model.
How should objects or classifications be labeled?
Your ontology should specify how you expect things to be labeled for your model. As an example, should an object be labeled with a bounding box, polygon, or segmentation mask? For classification tasks, what are the options for how something should be classified?
What additional information is helpful for your model or review team to know?
Sometimes there is secondary or tertiary information that is helpful to know about the data during labeling (e.g., the quality of the image).
For example, let's say you are training a model to identify dogs and cats on images. You create "Ontology 1" and specify that the labelers should label the dogs and cats with bounding boxes. Furthermore, you know that blurry images can affect your model performance, so it includes a classification option for the labeler to indicate whether the image is blurry.
Now let's say you have a new project to identify dogs and llamas. You decided to re-use some components from your old ontology and name it "Ontology 2". In "Ontology 2" you replace the object of "cat" with a new object for "llama".

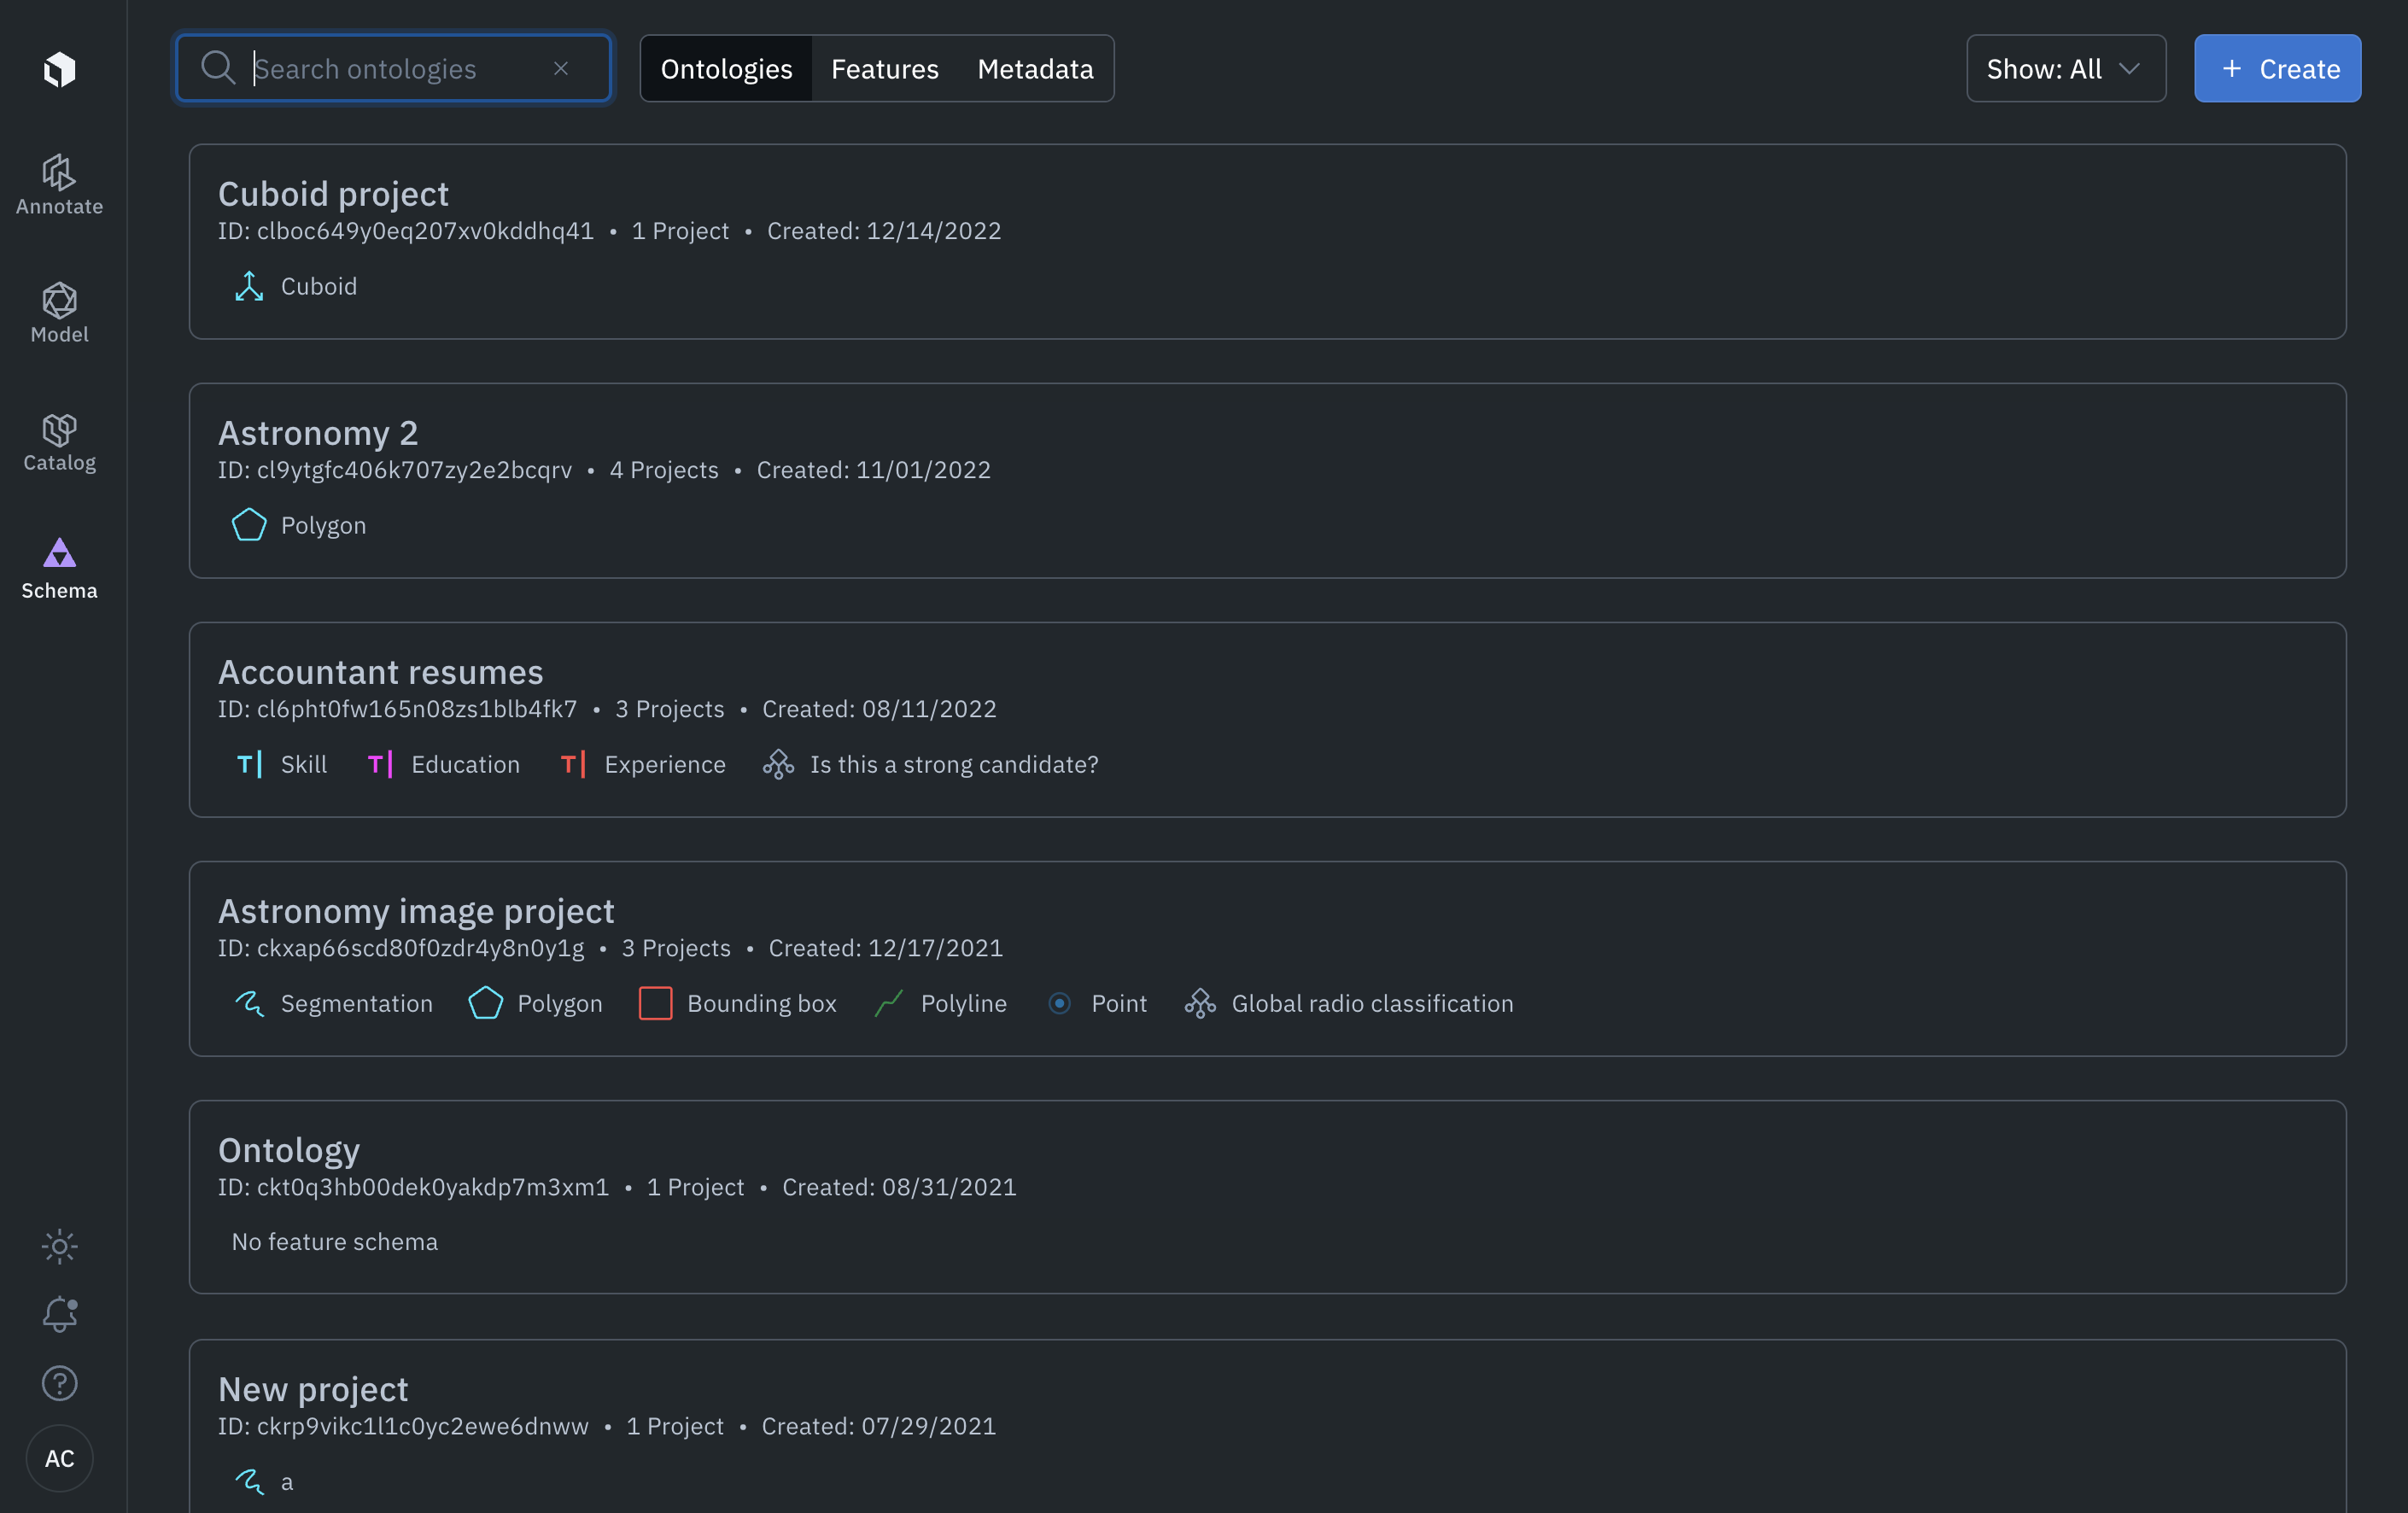
Global ontologies
Ontologies can be accessed at the organization level and re-used across multiple projects. You can view and modify your ontologies by navigating to Schema > Ontologies.
Create a new ontology
Step 1: Create
To create a new ontology, go to Schema > Ontology and click the Create button.
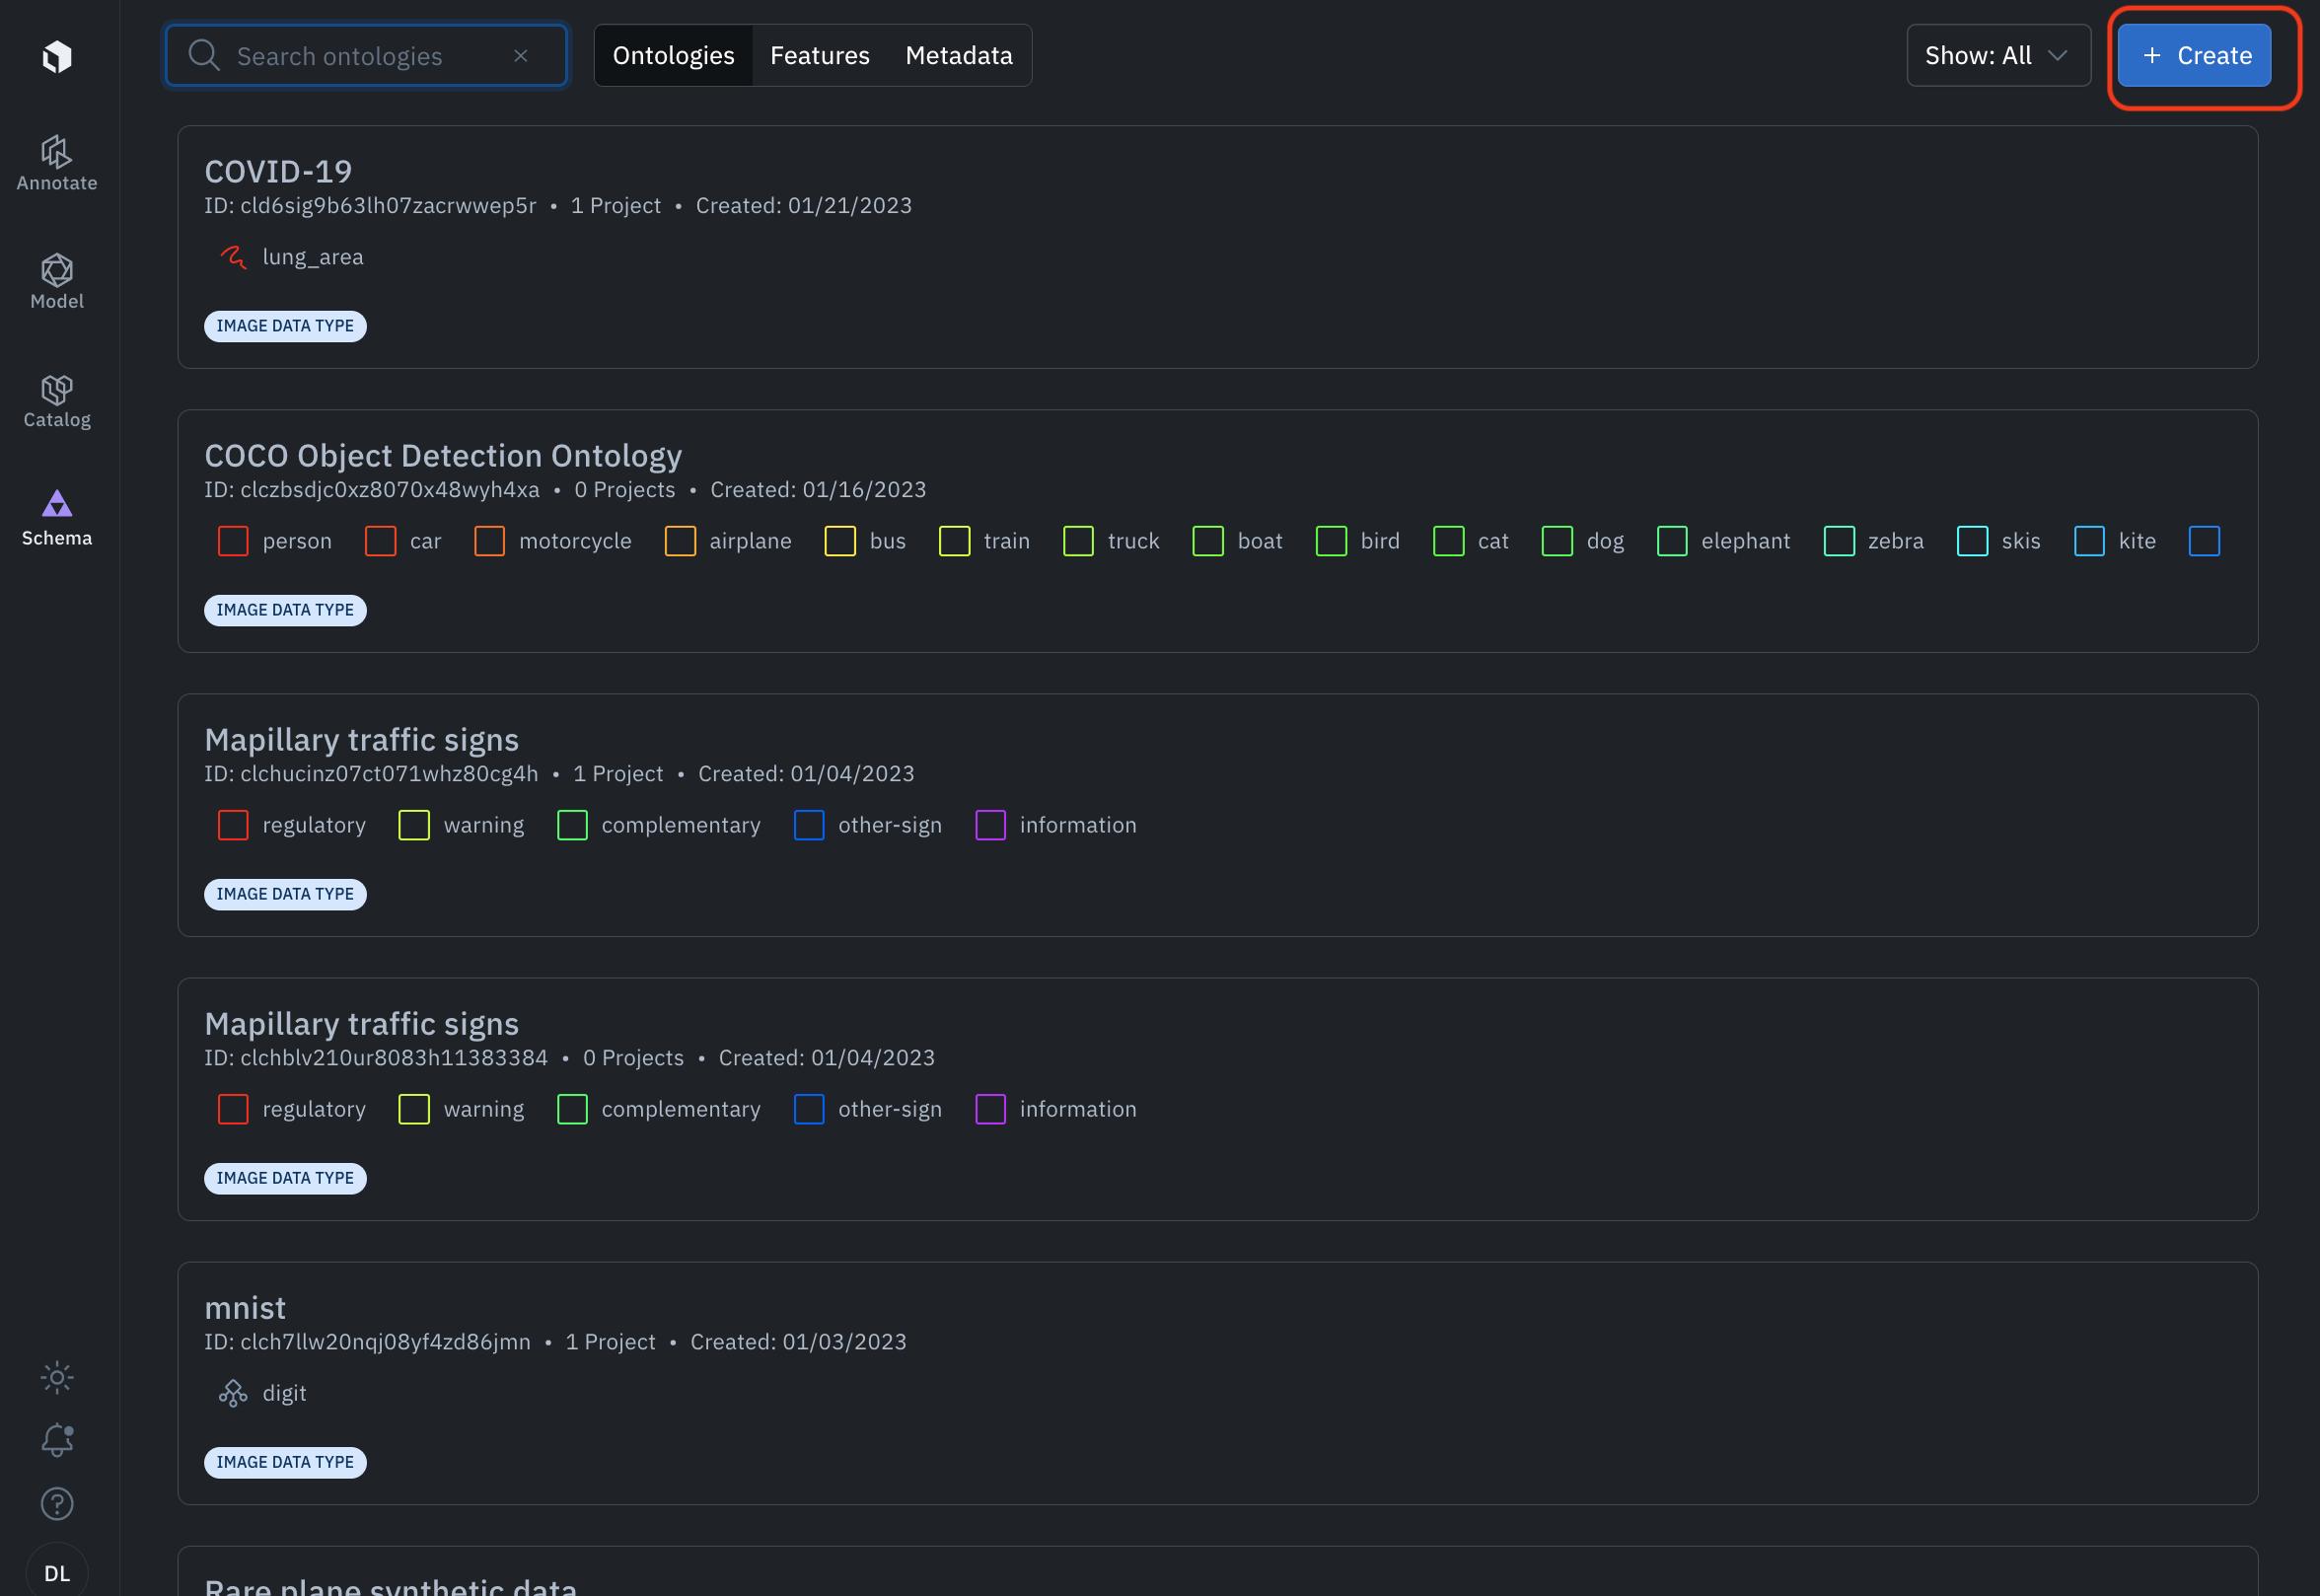
Next, you will be prompted to select which media type this ontology will be used for. This is an important piece of information as it will limit what features you can add to your ontology based on the annotation tools supported in Labelbox for each media type. For more information about which annotations tools are supported for each media type, please refer to the article Supported annotation types
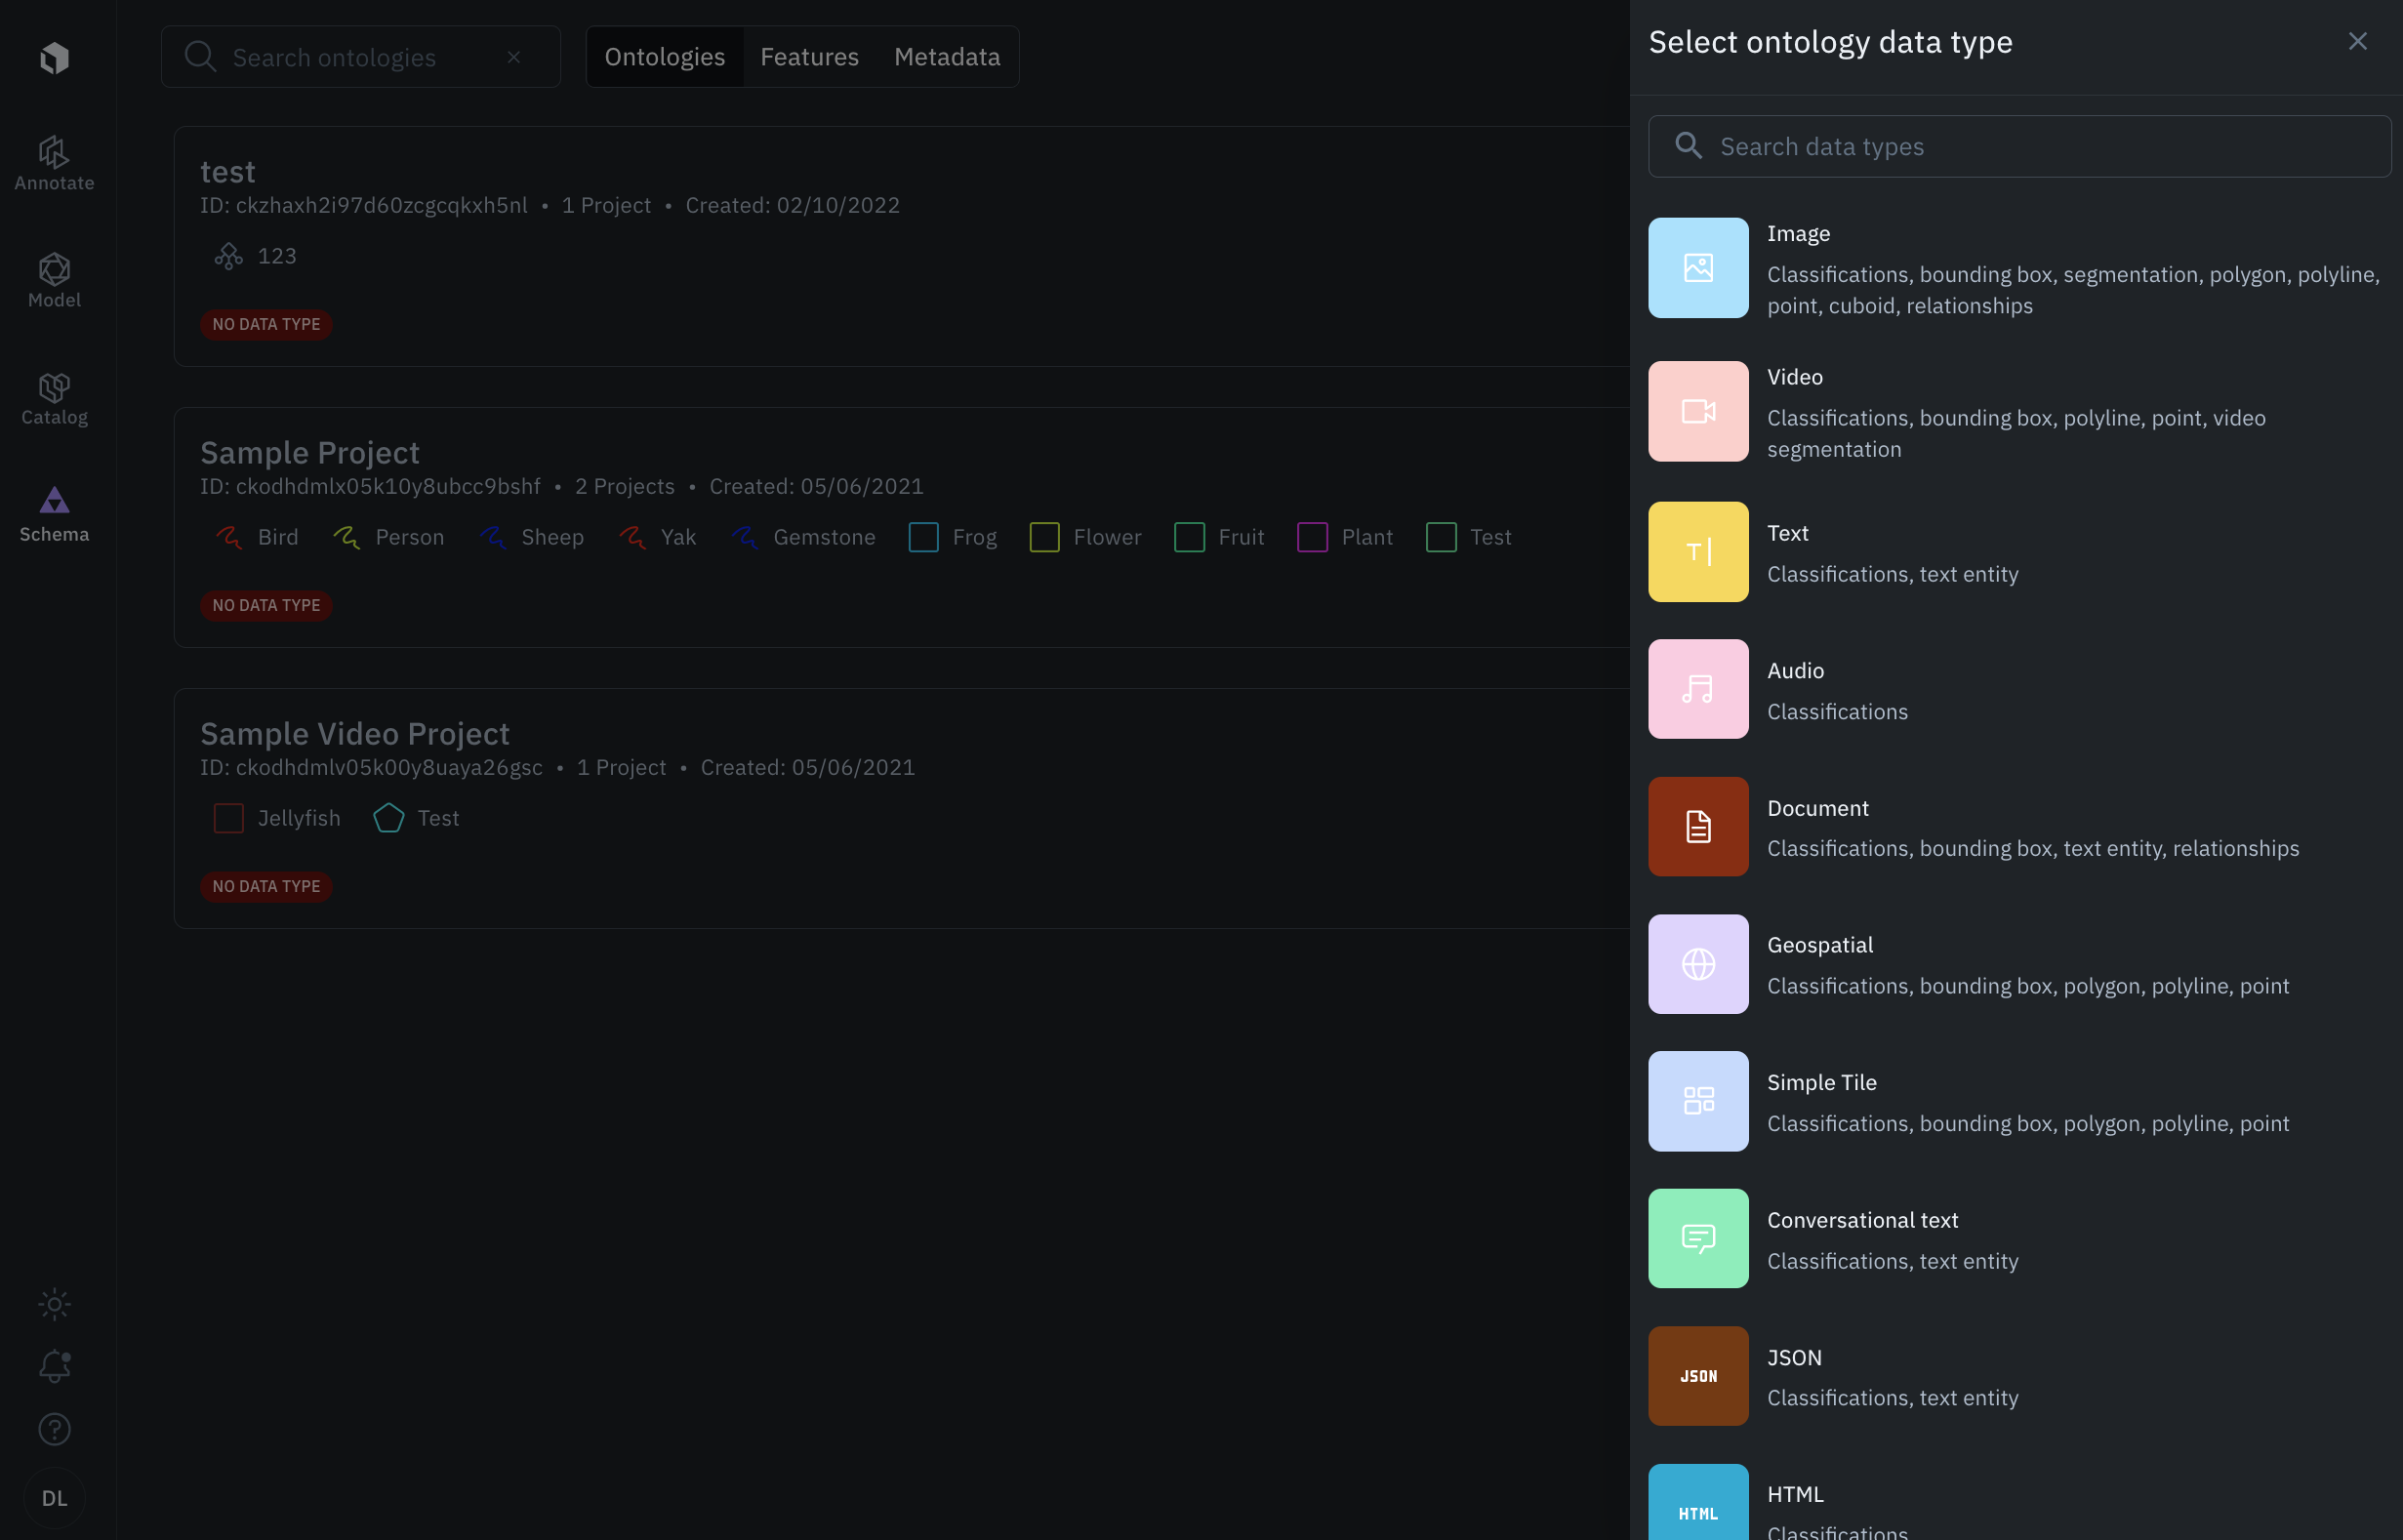
After selecting the media type, you will be taken to a new modal to create a new ontology.
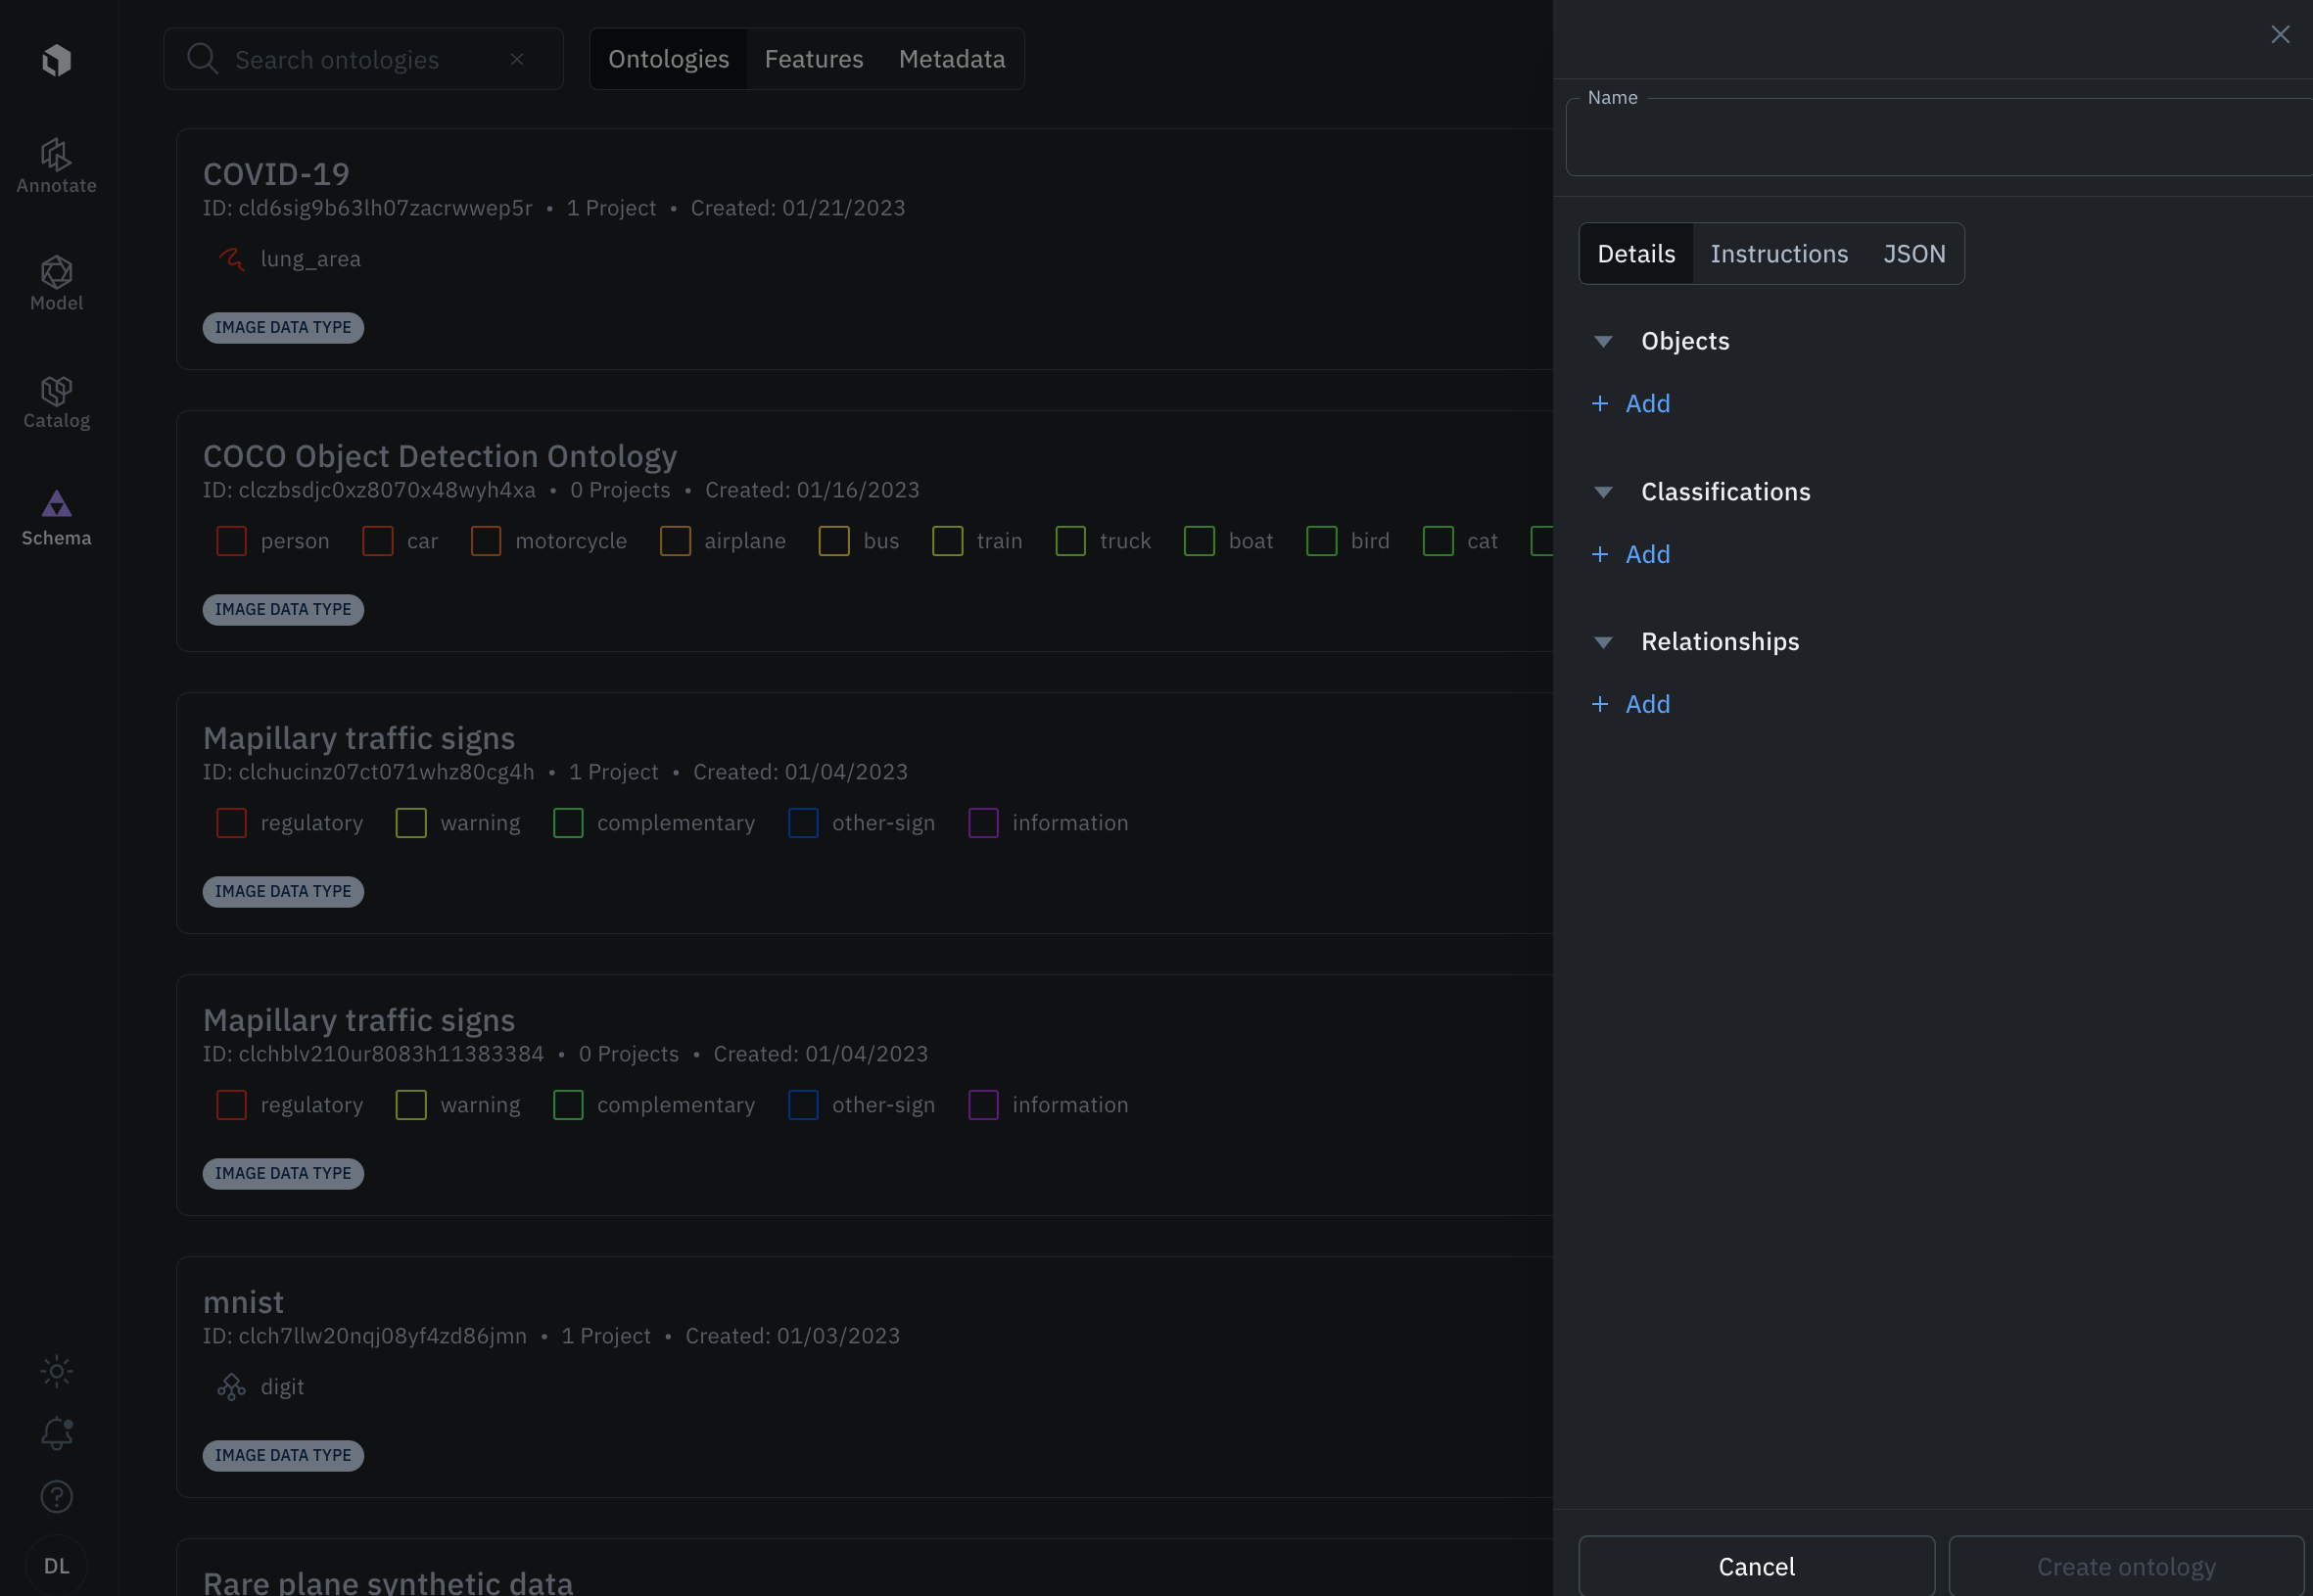
In the model, you will need to provide the following information:
-
Name: The name of your ontology. You can search by ontology name when setting up a new labeling project.
-
Objects: Click + Add under Objects to add object features. By default, Labelbox will search for existing object features by name. If you type in a feature name that does not exist, Labelbox will prompt you to create a new object feature.
-
Classifications: Click + Add under Classifications to add classification tasks. By default, Labelbox will search for existing classification features by name. If you type in a feature name that does not exist, Labelbox will prompt you to create a new classification feature.
-
Relationships: Click + Add under Relationships to add relationships to the ontology.
Step 2: Attach
To attach or update the ontology for an existing project, go to the project Settings > Label editor and click Edit. This will take you to the ontology currently attached to the project. To update the ontology to click the dropdown:
Note: if you type in an ontology name that does not exist, you can create a new ontology.
Ontology size limit
Visit our Limits page to view the maximum allowed features per ontology.
Update/edit an ontology
Sometimes, you may want to update an existing ontology due to new project parameters or learnings. This is something that should not be done lightly as it will require you to re-work all existing annotations in order to make legacy annotations fit into the new ontology.
Reorder features
- Go to Schema > Ontology.
- Click on the ontology you want to edit. A new modal will appear on the right-hand side of the screen.
- Hit the Edit button at the top.
- In the new modal, drag and drop the features into the new order you want to display to your labelers.
.gif")
Add a new feature
- Go to Schema > Ontology.
- Click on the ontology you want to edit. A new modal will pop up on the right-hand side of the screen.
- Click the Edit button at the top to edit the ontology.
- Click the + button under objects or classifications and search for the feature you want to add.
As a reminder, adding a new feature will not automatically trigger all your existing labels to be reworked. You will need to manually re-enqueue those data rows.
Adding new features to your ontology may make old labels invalid
Any labels submitted with the old ontology will still be available for you to use but may no longer be valid under the new ontology. For example, if you add a required classification task, only new labels will have that classification added.
Remove/archive features
Labelbox automatically detects if the feature has annotations created from it.
If a feature does not have annotations created from it, you can remove it from its ontology.
If a feature does have annotations created from it, you can archive it from its ontology. There are two benefits of archiving:
- Keep a record of the feature and its associated annotations within a project.
- Unarchive the feature anytime. All pre-existing annotations created using that feature will render in the project.
Exports will include archived features
To ensure that all annotation data can be exported from our application, archiving a feature will not remove it from the export file. If you do not plan on using that data in your downstream systems, you will need to ignore those annotations based on feature schema ID.
To remove/archive a feature, follow these steps:
- Go to Schema > Ontology.
- Click on the ontology you want to edit and a new modal will pop up on the right-hand side of the screen.
- Click the Edit button at the top to edit the ontology.
- From this screen, select the feature you wish to remove.
- Click the settings button in the top right corner to remove or archive it from the ontology.

To unarchive a feature, follow these steps:
- Go to Schema > Ontology.
- Click on the ontology you want to edit and a new modal will pop up on the right-hand side of the screen.
- Click the Edit button at the top to edit the ontology.
- From this screen, select the archived feature you wish to unarchive.
- Click the settings button in the top right corner to unarchive the feature.

Re-use existing features (highly recommended)
You can re-use an existing feature when creating or updating a new ontology. The existing feature will auto-populate when you add a new feature in an ontology.
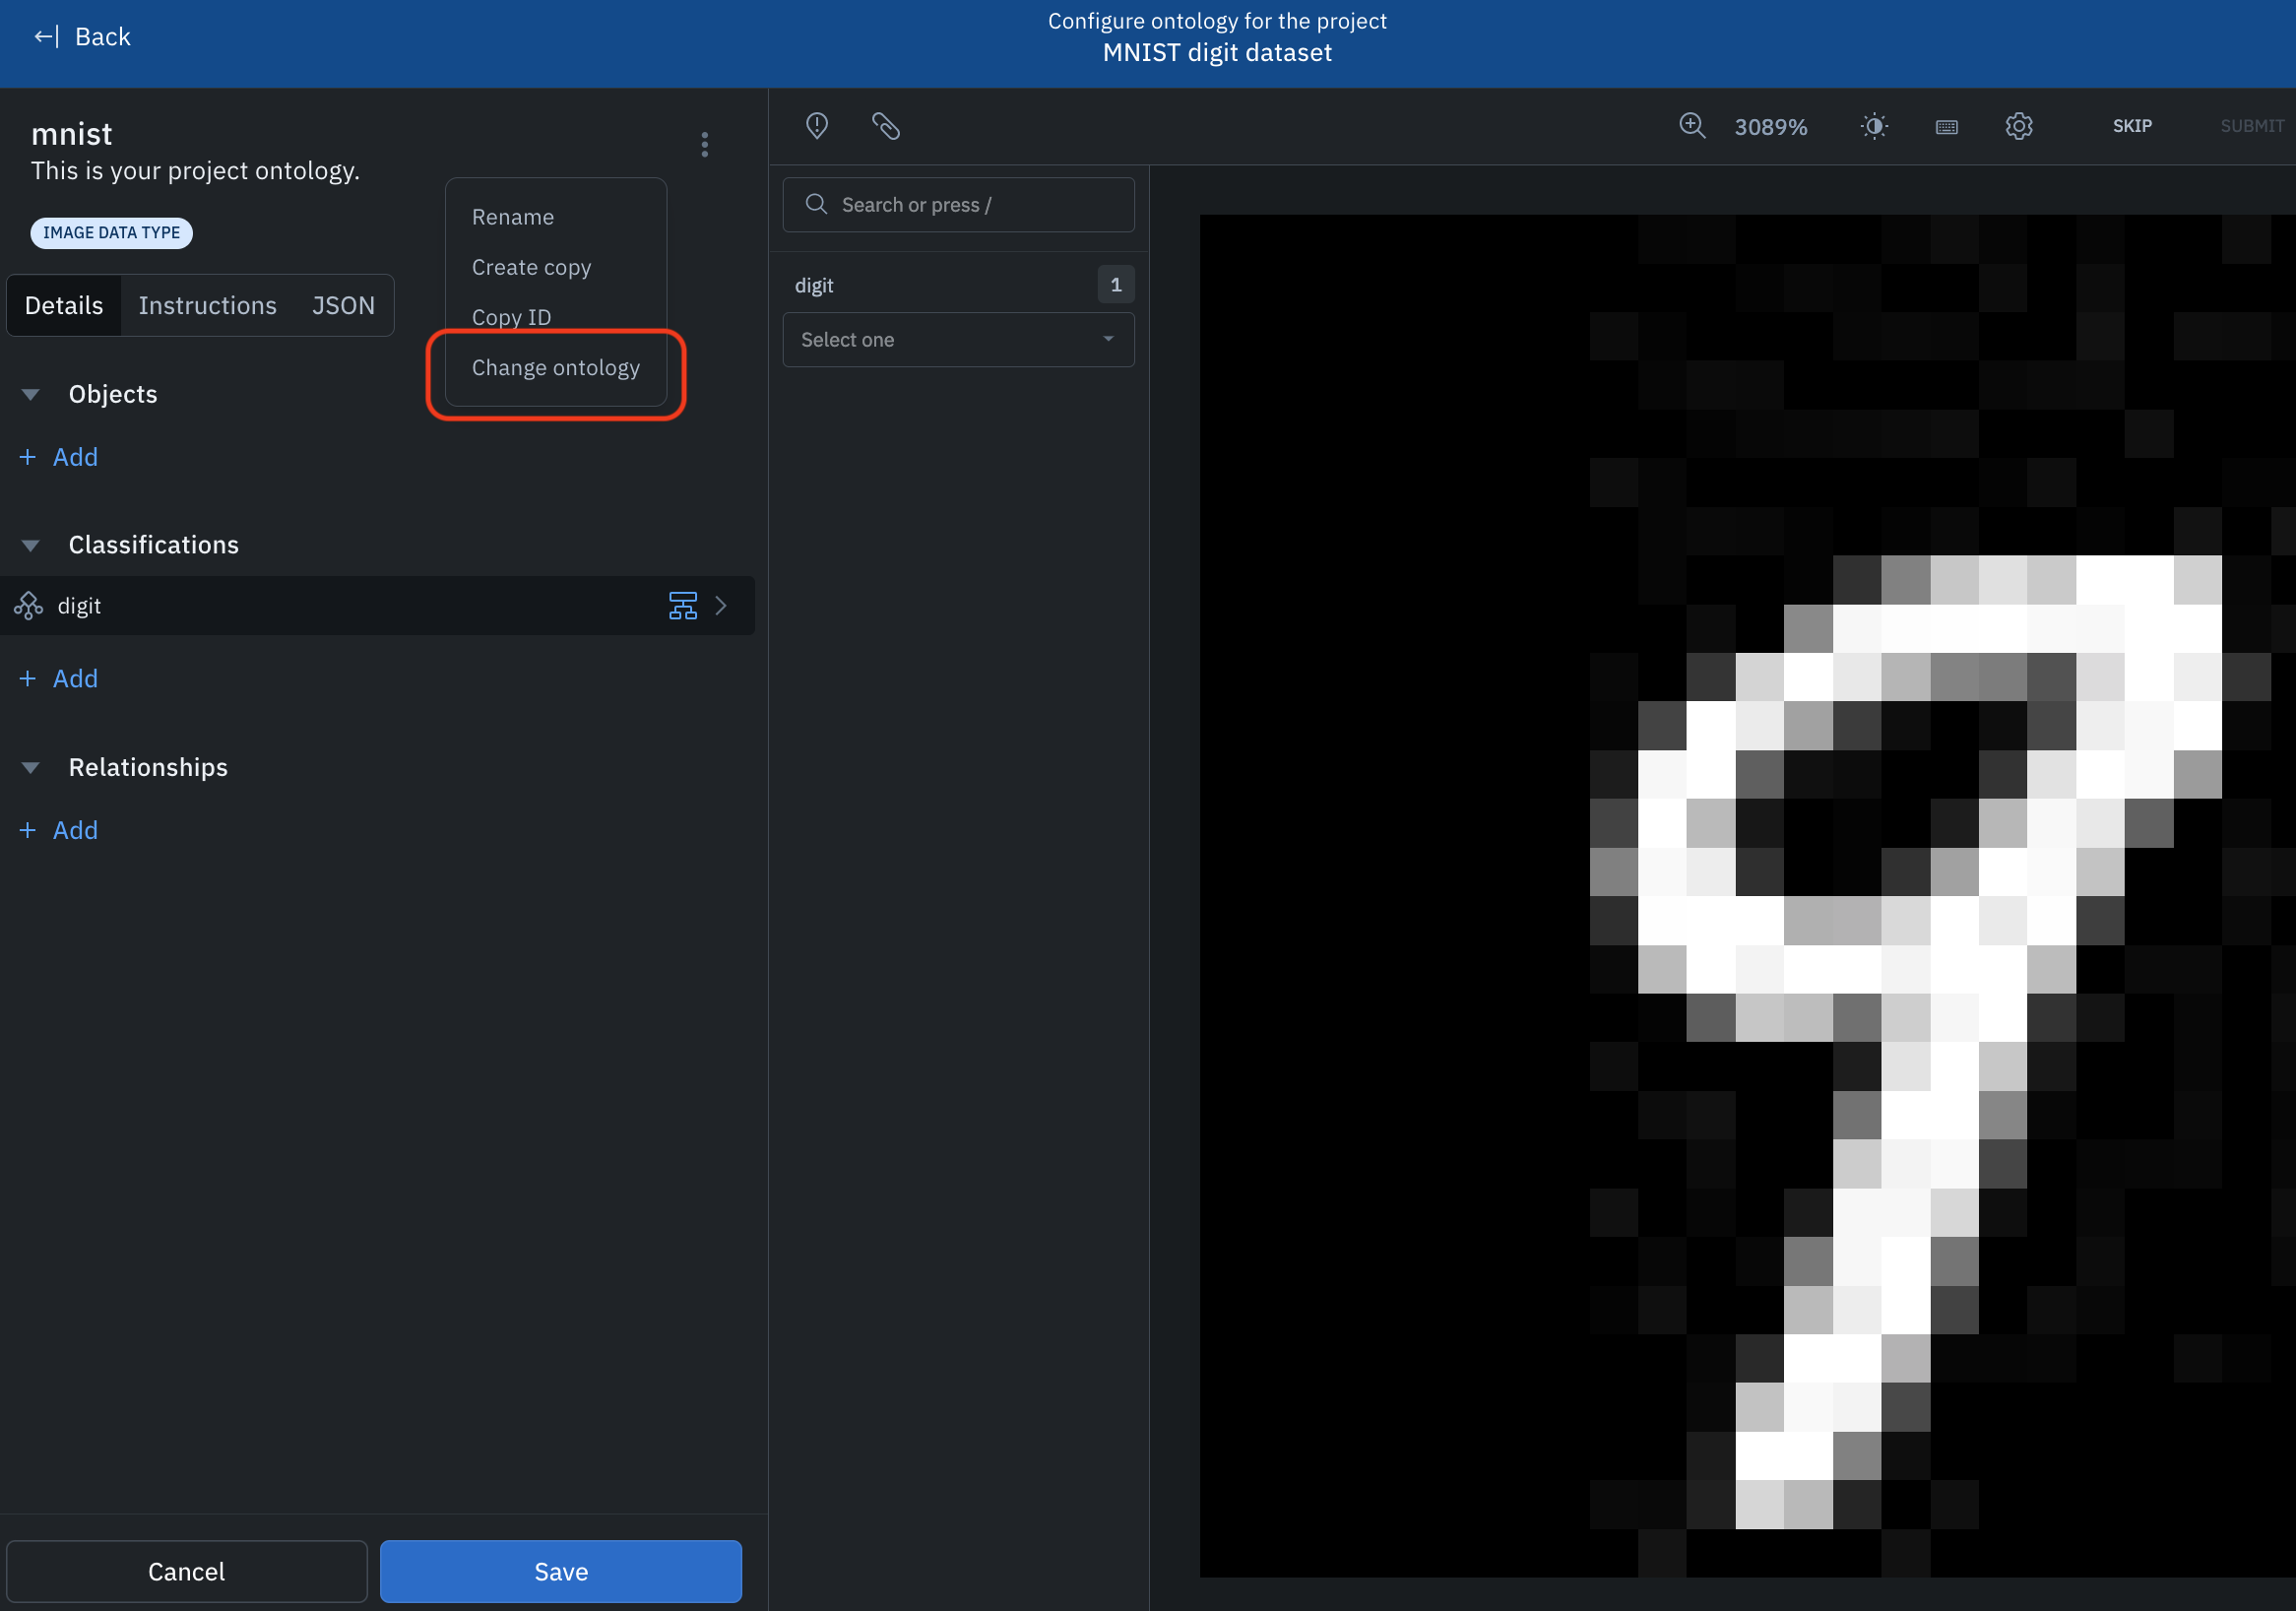
Create copy of an ontology
When creating or editing an existing ontology in the context of a project, navigate to the menu on the right of the ontology name and select Create copy. This will create and connect to the current project an exact copy of the source ontology that can be renamed and modified.
Adding or archiving features in the copied ontology will not impact the original ontology from which the copy was created. Modifications made to a specific feature, though, will cascade through all ontologies containing the feature, including the original ontology.
Copying an ontology is useful when you wish to build off of an existing ontology but want to avoid making unintended changes to projects utilizing the original ontology.
Delete unused ontologies and features
We recommend periodically cleaning up your unused ontologies or features. You can do this from the Schema tab by adjusting the filter to "Show: Unused". When this option is selected, you will see a new button to delete all unused features or ontologies.
Only do this if you do not intend to use those ontologies or features again. This cannot be undone!
Updated 4 months ago