Create a new project
To create a project via the Labelbox UI, follow these steps: Note: If you want to create a new project using the settings of an existing project, go to Duplicate a project section instead of starting a new project from the beginning.Step 1: Start a new project
Under the top-level Annotate page, select New project. This will open a modal where you can configure your project type. Note that you will only be able to attach data rows that match the data type you set here. For example, you cannot select video as the data type upon project creation and then send image data rows to this project later.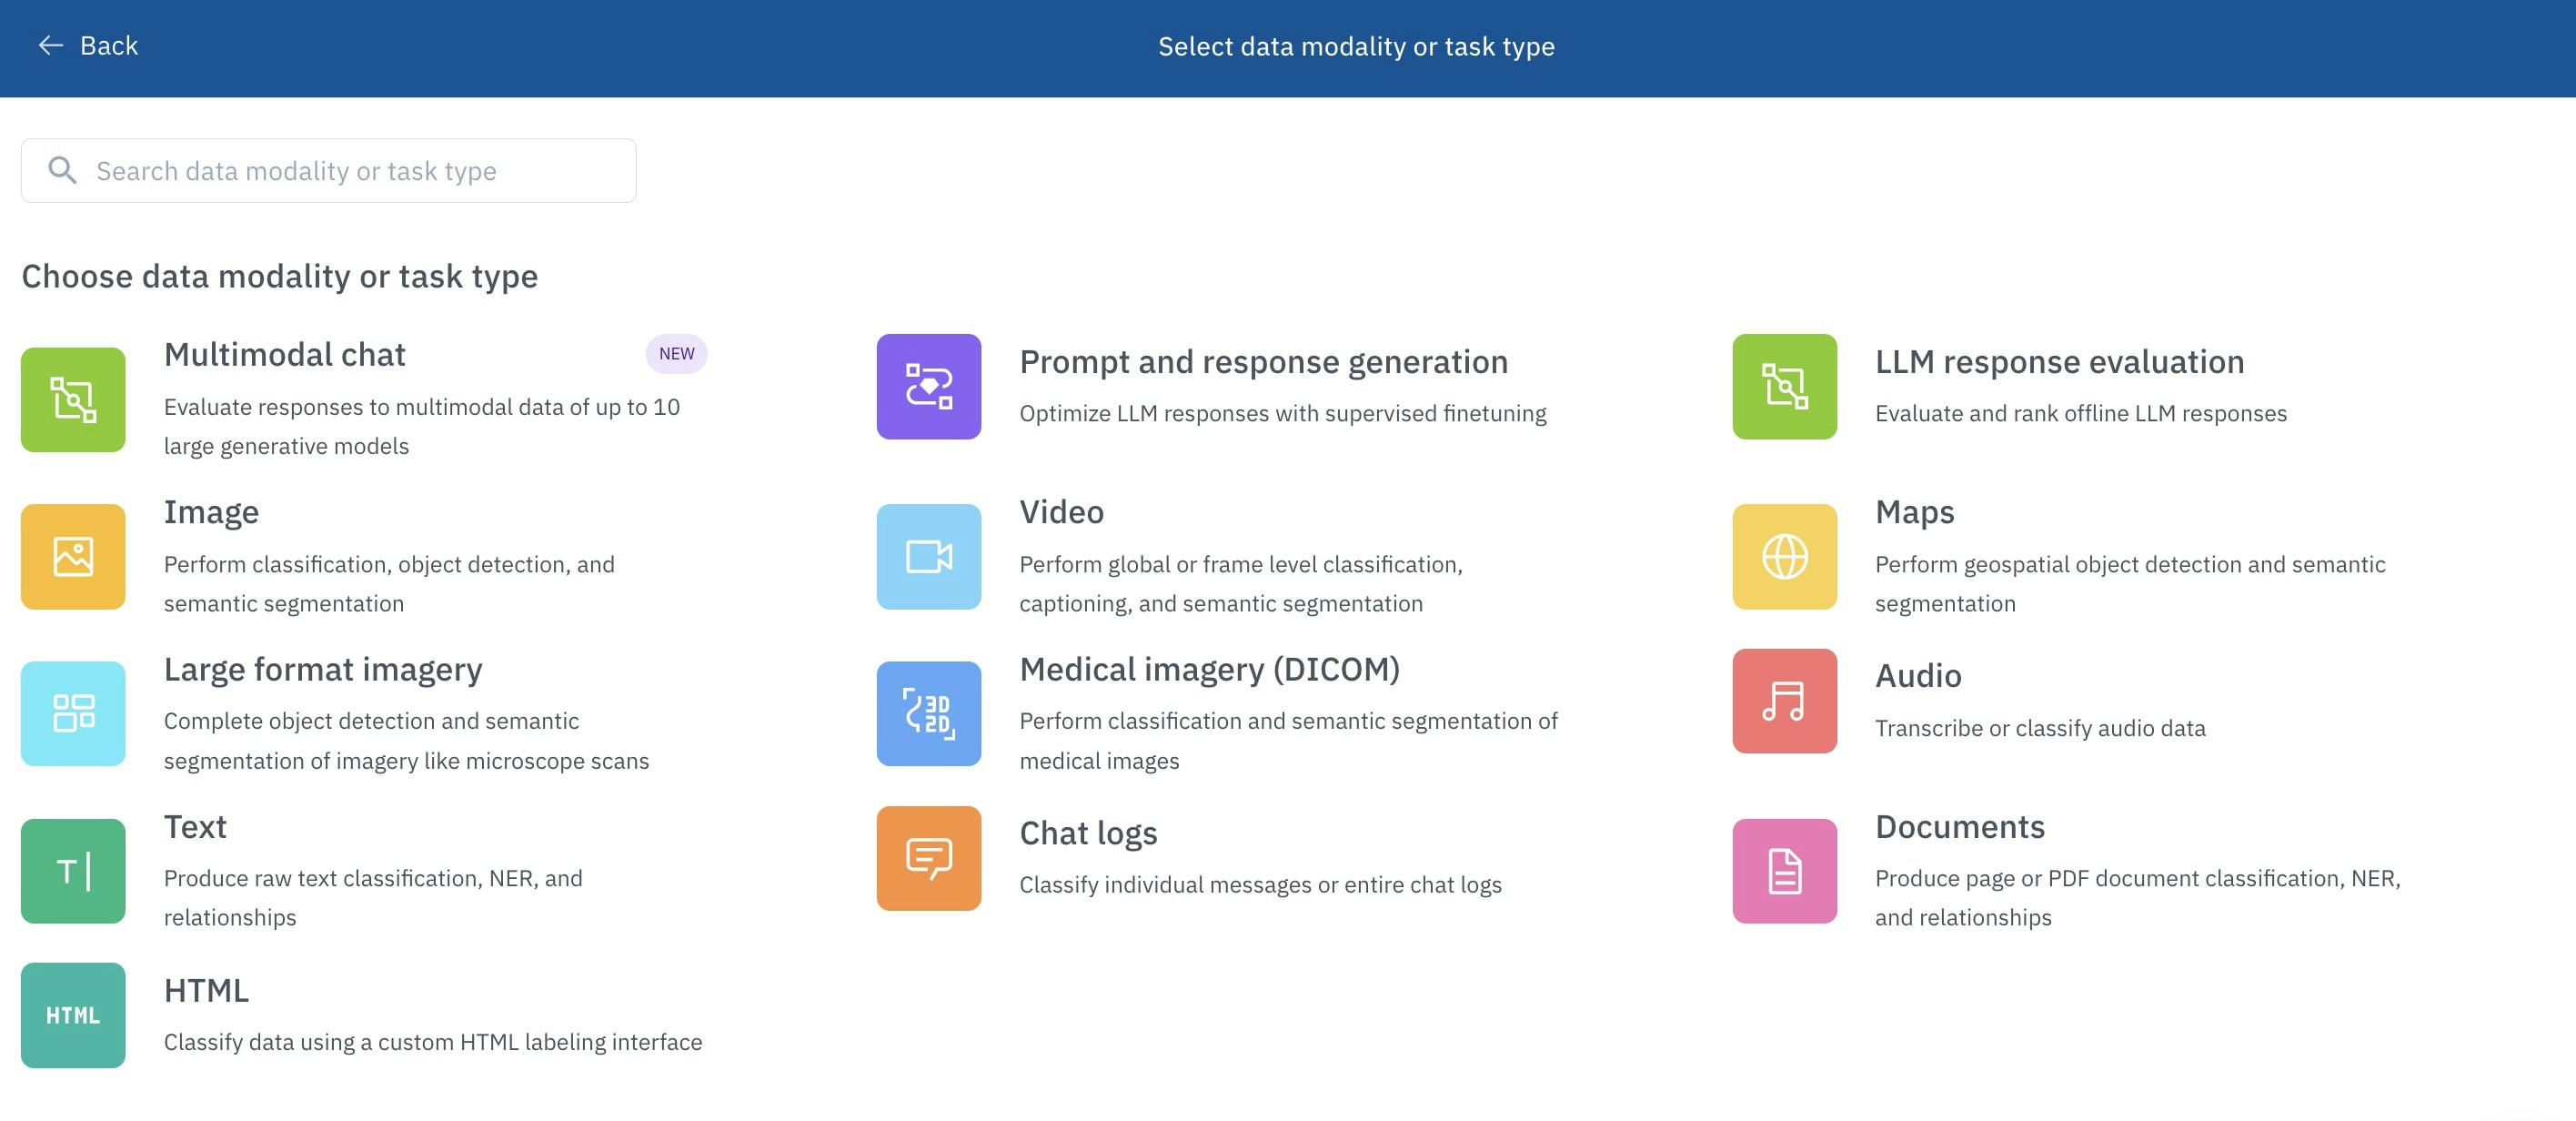
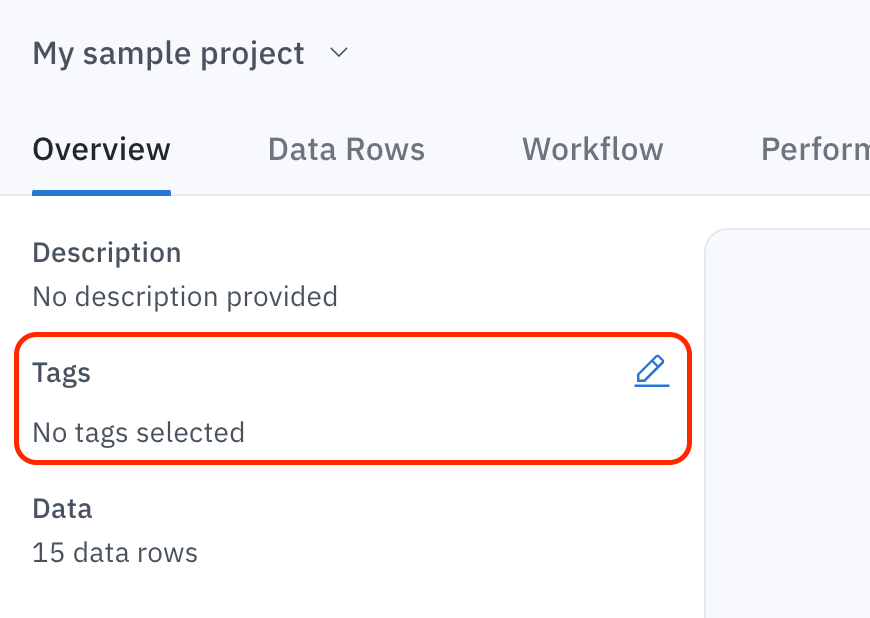
Step 2: Add project tags (optional)
Configure project tags to enable easier organization and retrieval of the project.
Step 3: Add data
Labelbox allows you to send a batch or batches of data rows to a project for labeling. When you click Add data you will be sent to Catalog, where you can select a batch of data rows and send it to the project you are configuring.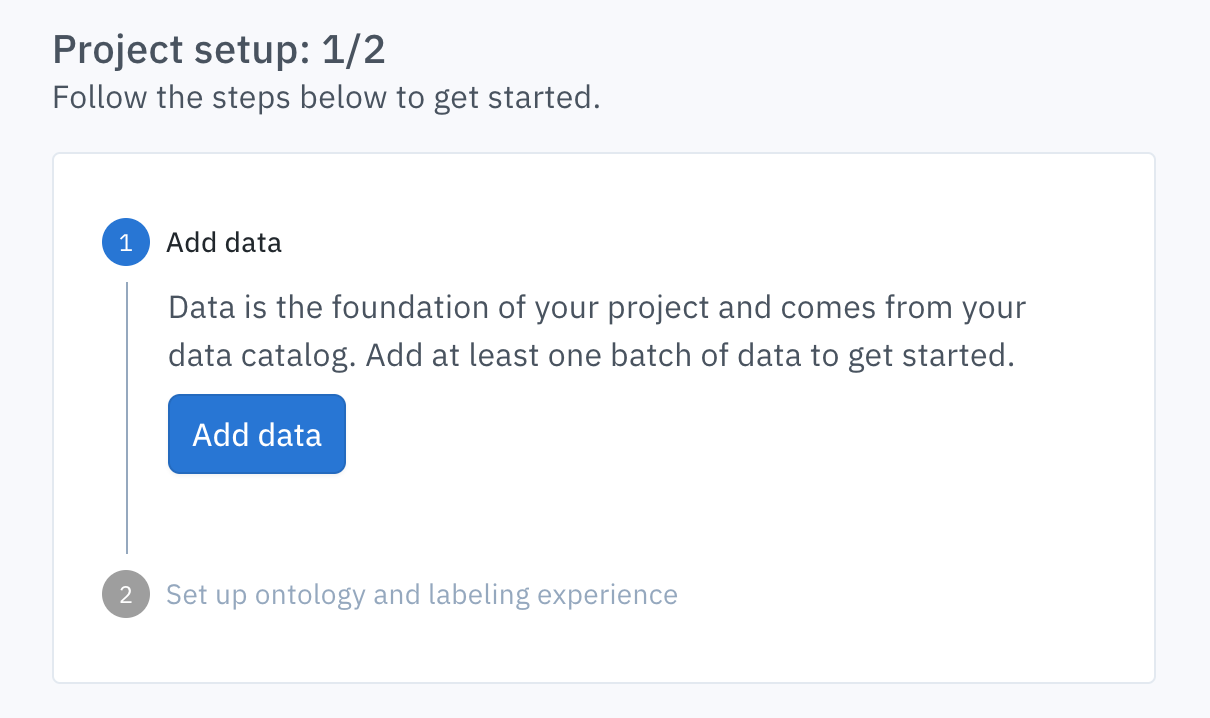
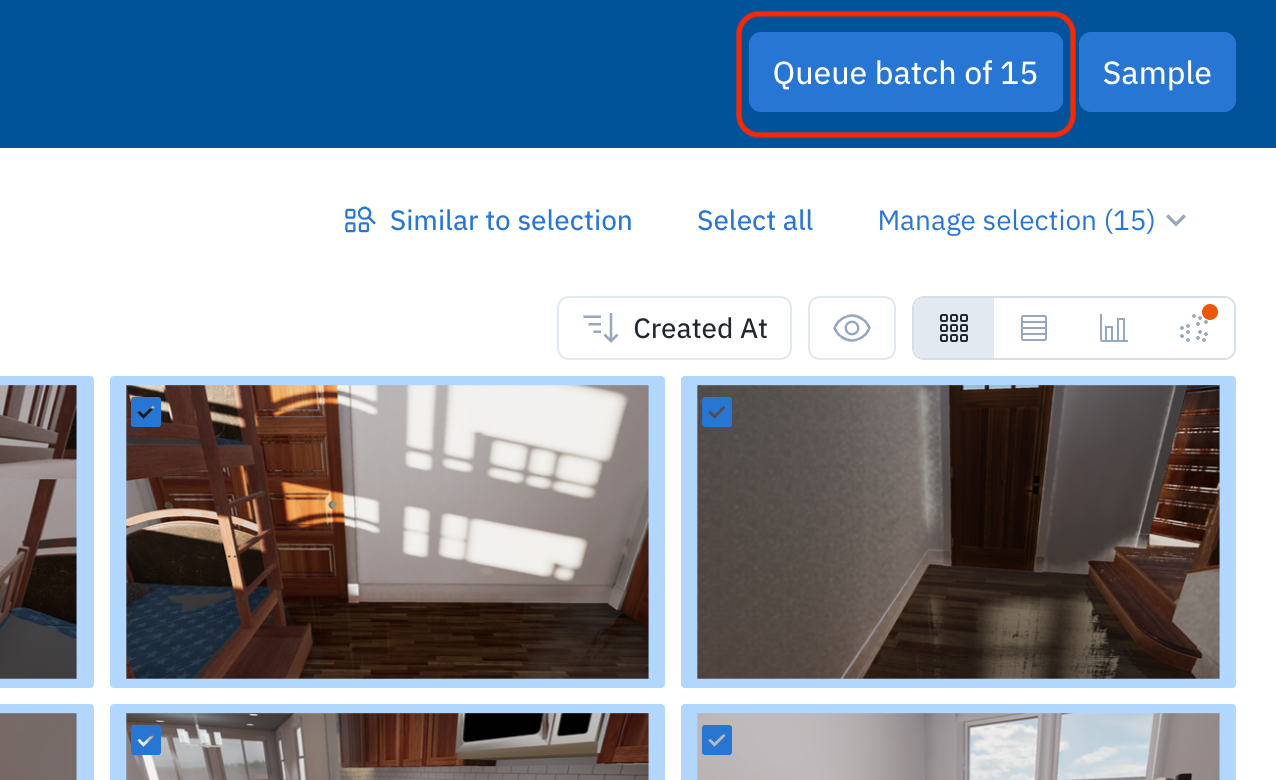
Step 4: Submit batch
Next, you will have the option to configure the data row priority settings. Select Submit to send this batch to your labeling project.
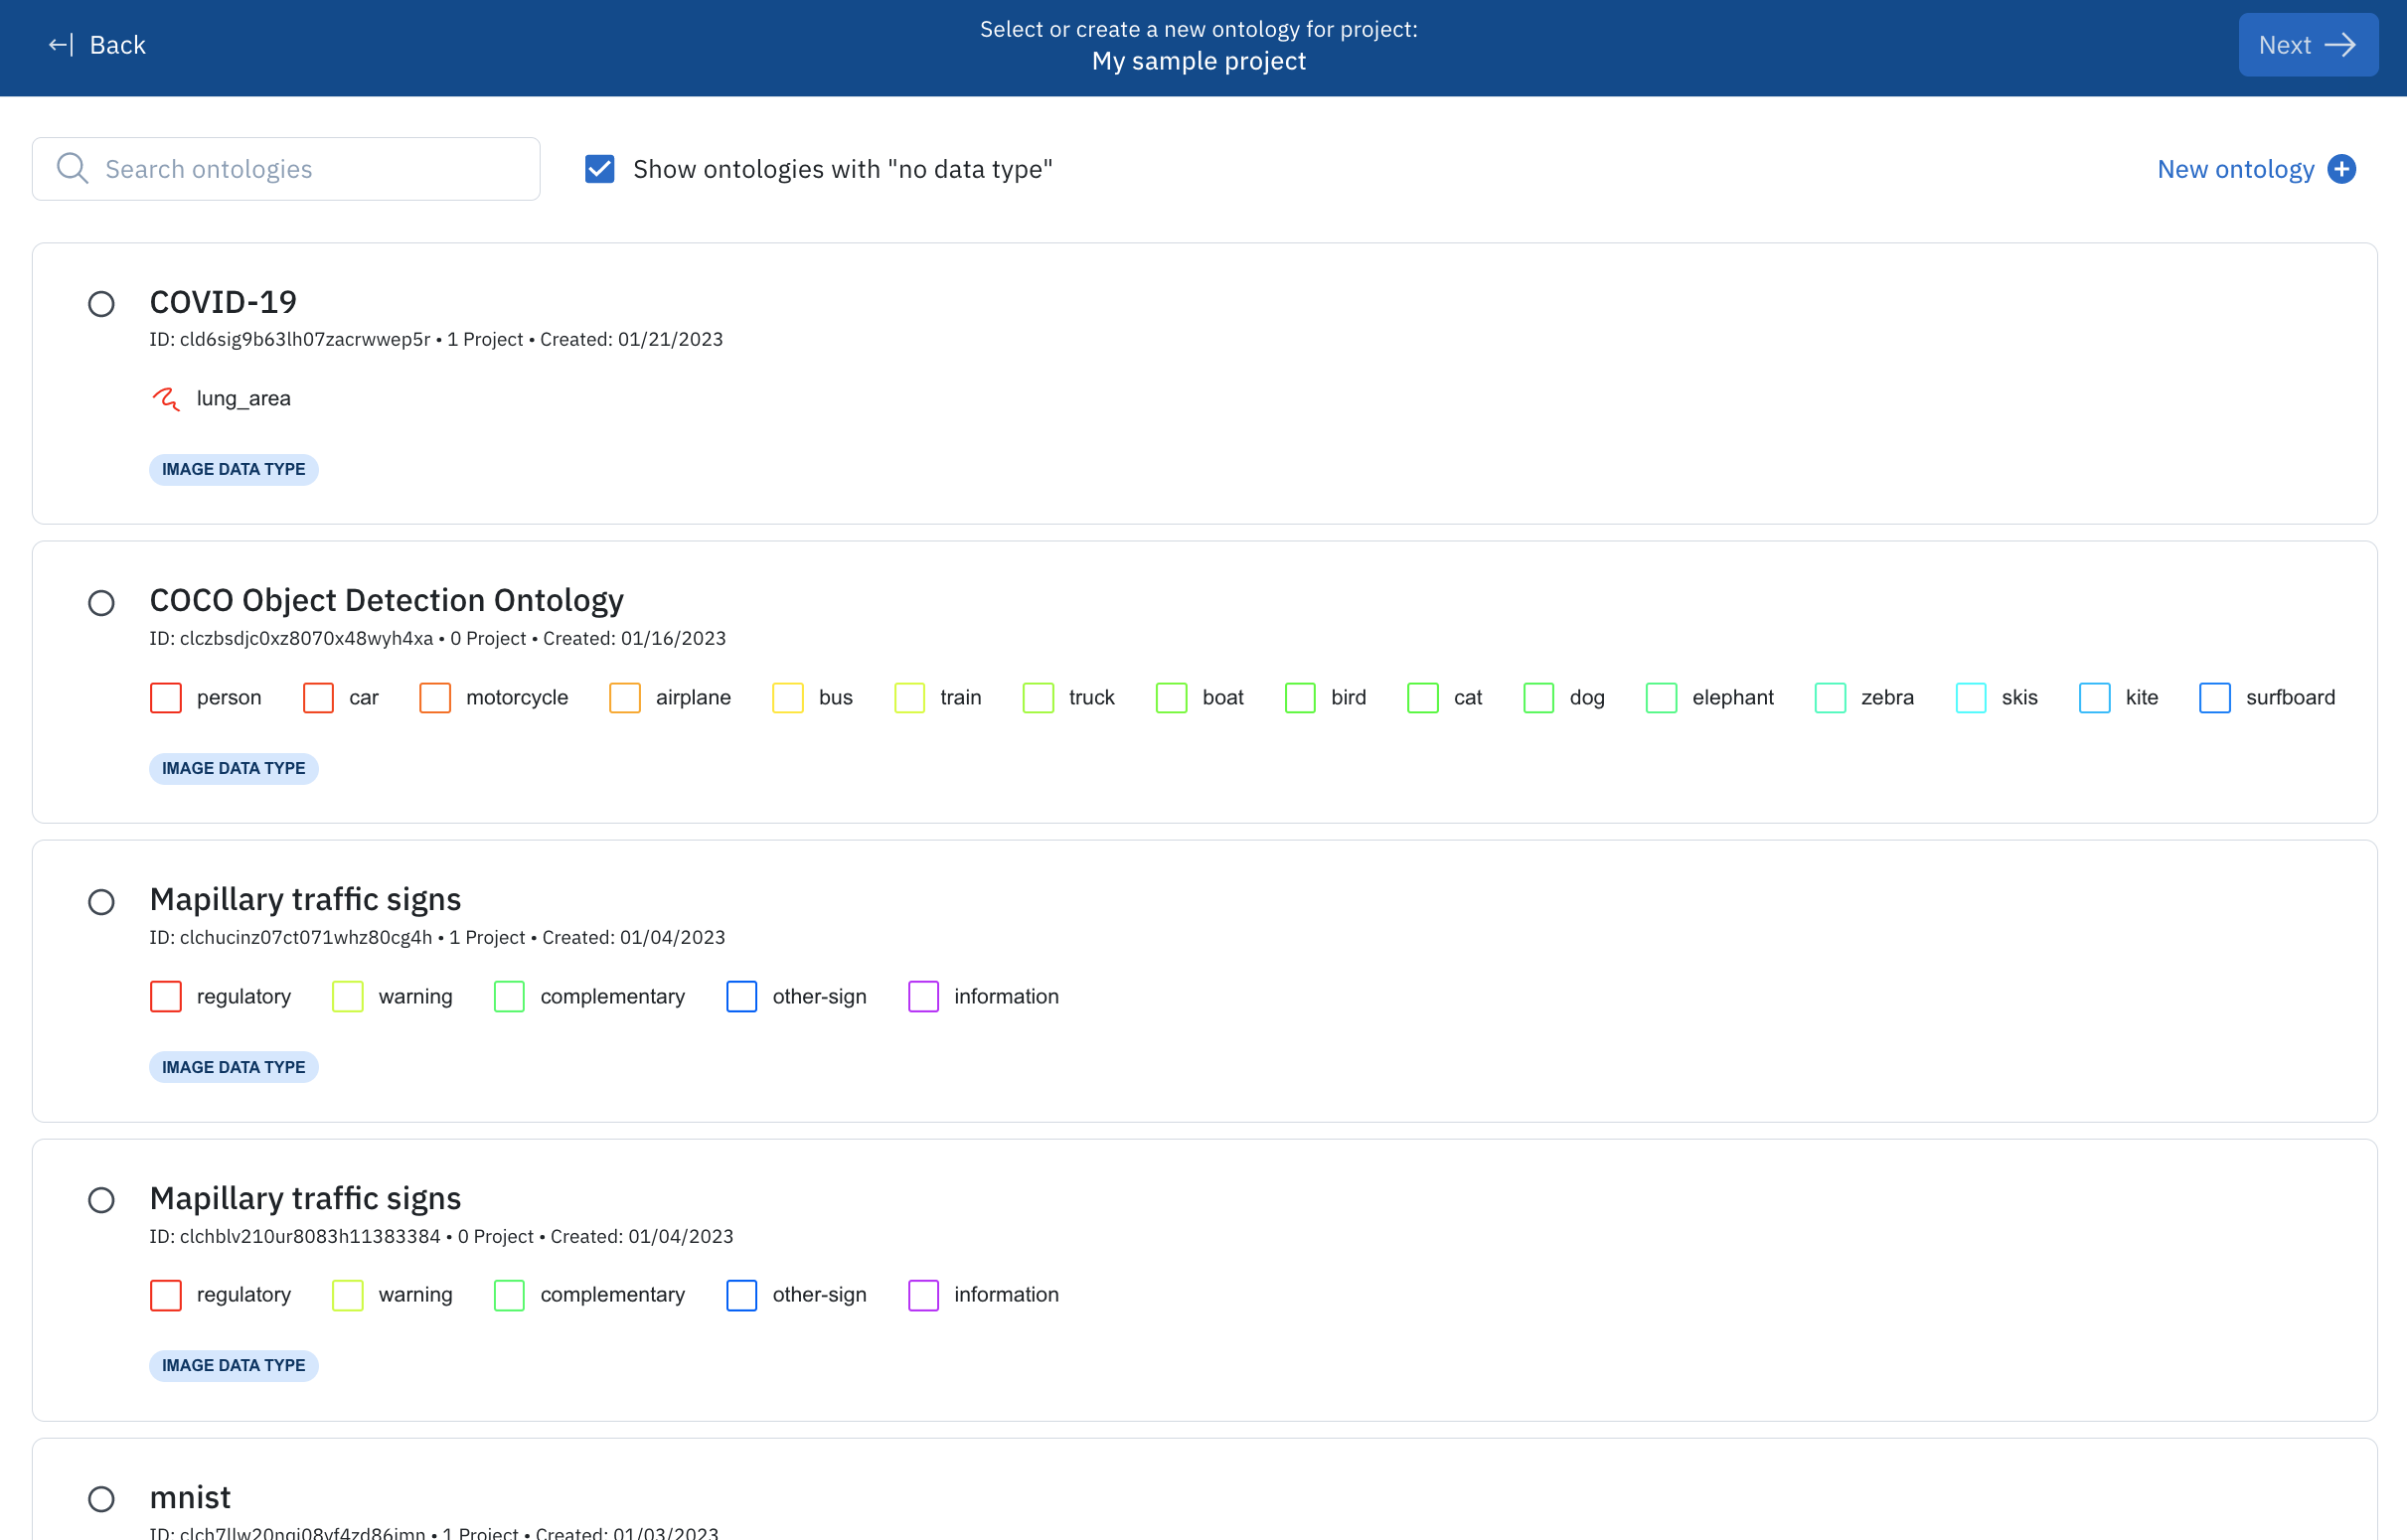
Step 5: Configure the editor / attach an ontology
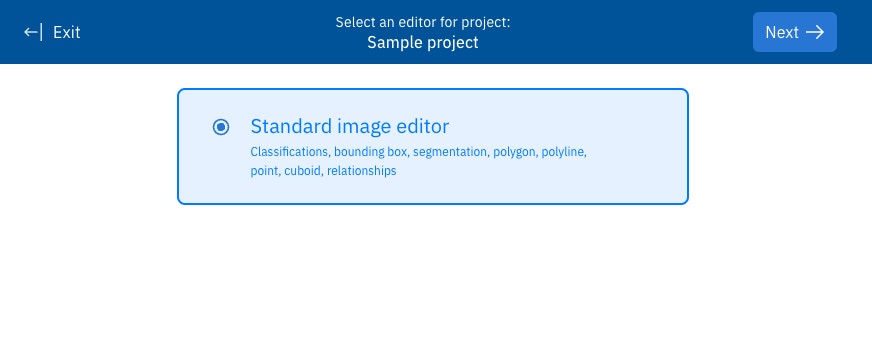
The final required step is to select the labeling interface (editor) that your project will use. To learn more about the various editors available, see our docs on labeling editors.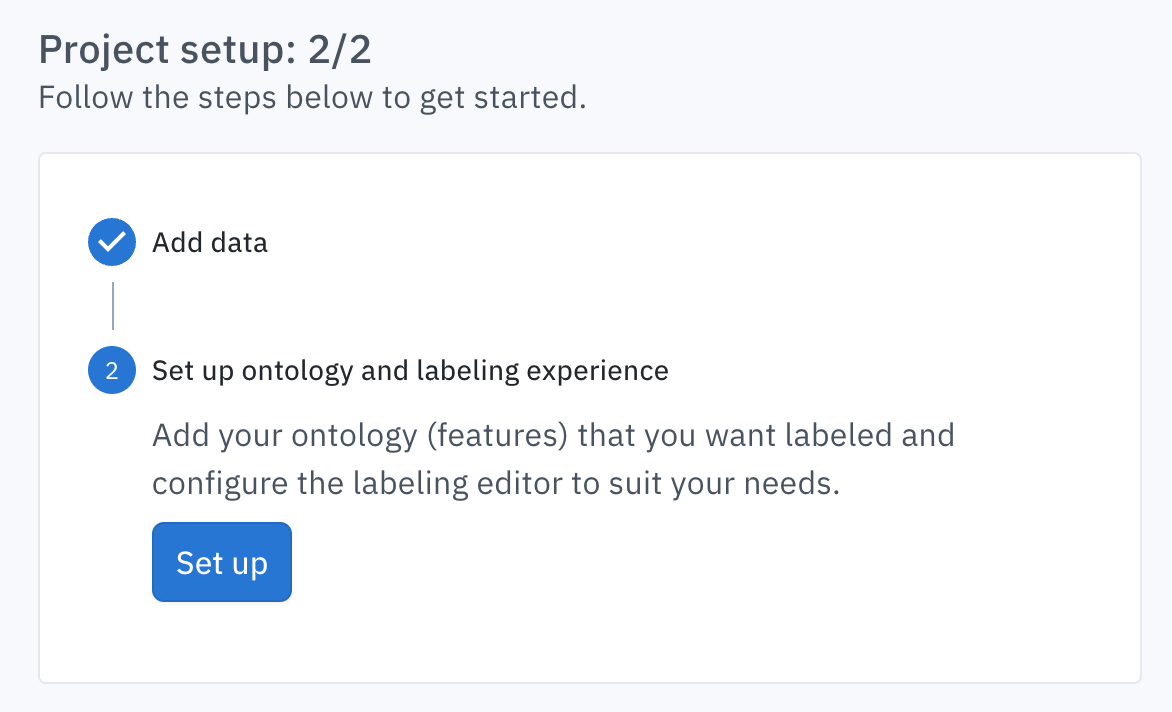
Duplicate a project
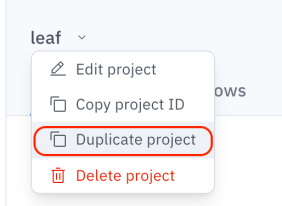
In addition to creating new projects from scratch, you can now duplicate an existing project with its settings. You can clone a project in two places:- By clicking on the three dots on the right side of any project in the Annotate page.
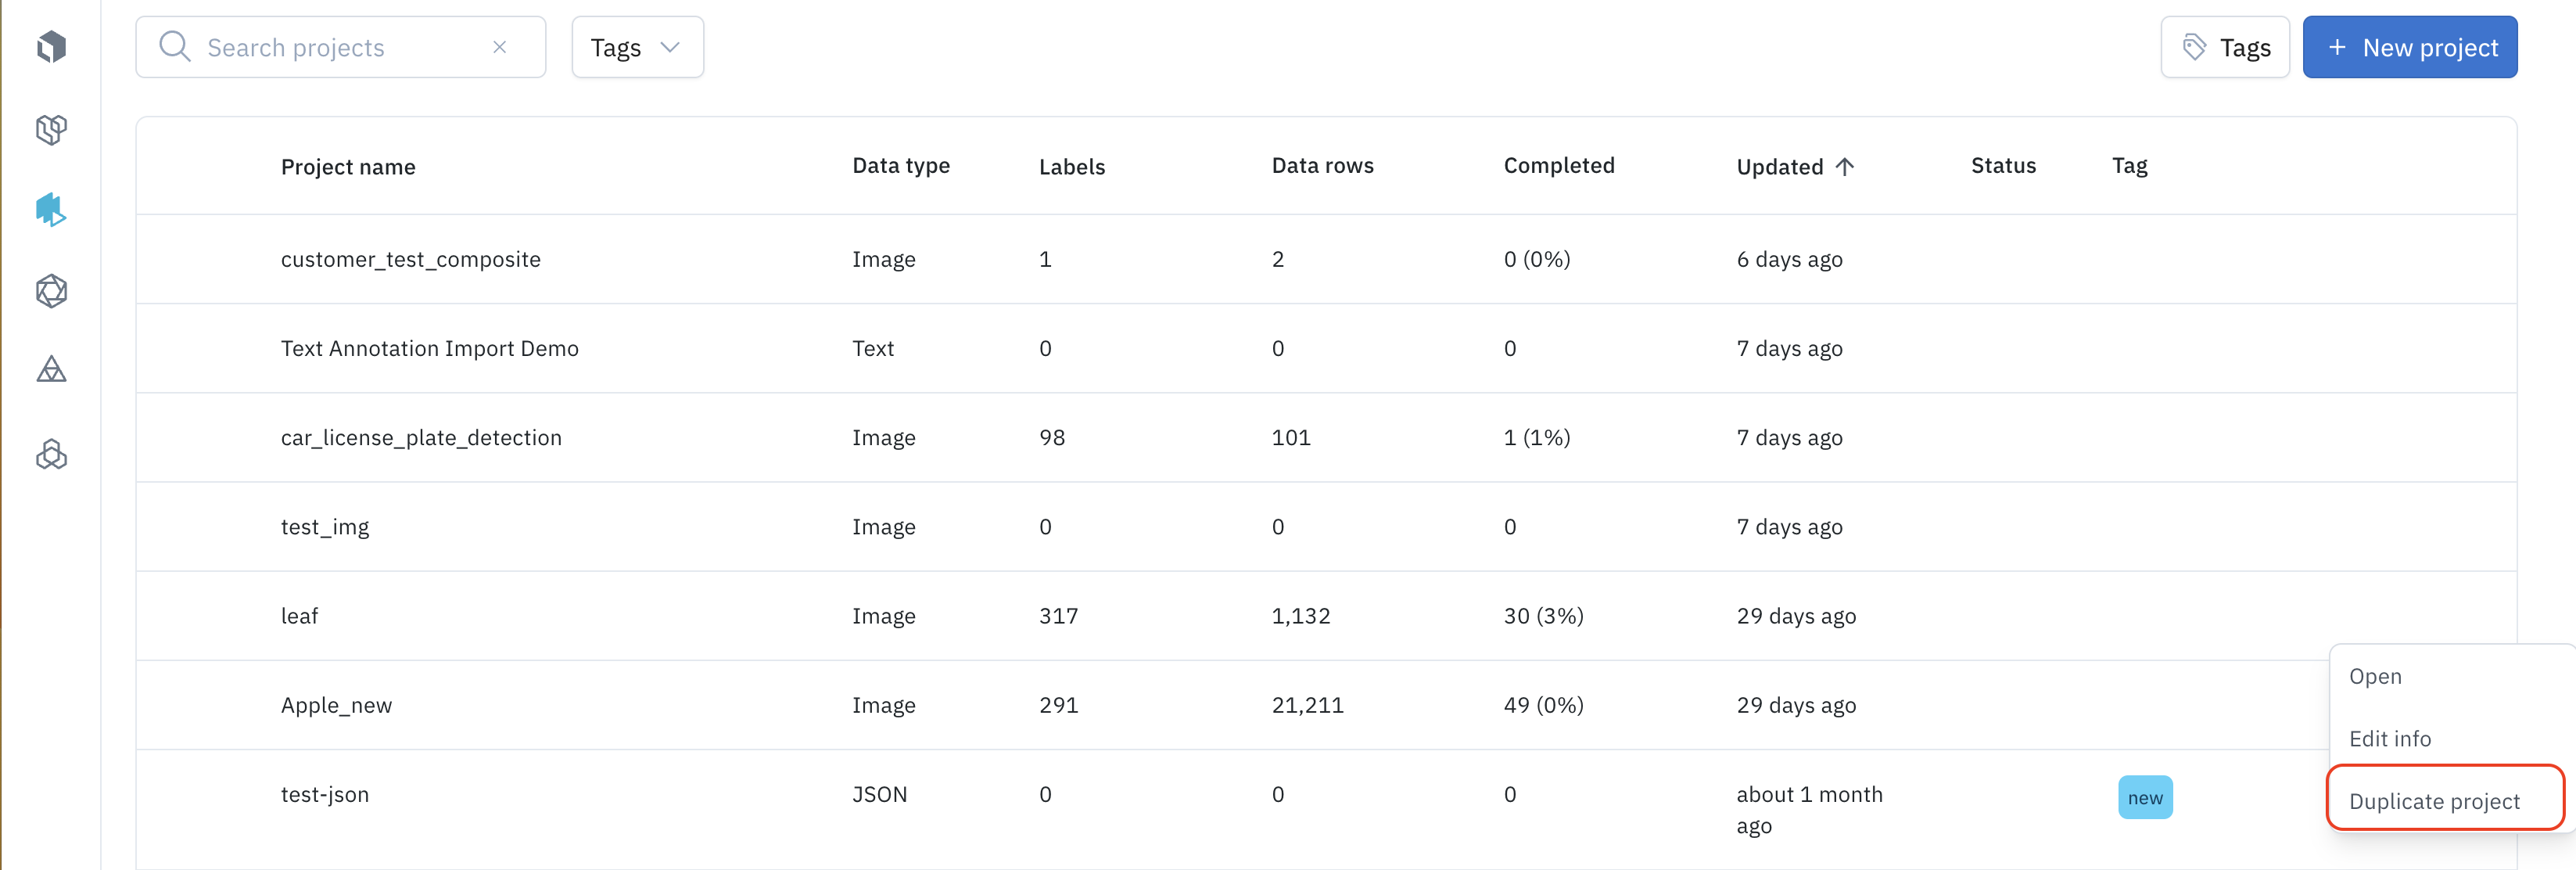
- From the dropdown menu within an existing opened project.
| Setting | Copied when cloned |
|---|---|
| Project Name | |
| Project Tags | |
| Project Description | |
| Ontology | |
| Quality | |
| Batches | |
| Data rows | |
| Workflow instructions/setup | |
| Performance | |
| Issues | |
| Issue Categories | |
| Notifications | |
| Import labels | |
| Export | |
| Members (settings) | |
| External workforces | |
| Models (for Live multimodal chat projects) |

Choose human workforce configuration
Option 1: Labelbox labeling services
Many customers need to use a dedicated external data labeling team. Labelbox offers a premium data labeling service integrated tightly into the Labelbox Annotate platform. See Labeling services for more details.Option 2: Internal data labeling team
To learn how to invite, set up, and manage your own data labeling team, see Manage members.Modify project settings
To update project settings, go to the Settings tab from with a project.
- Add or remove data rows.
- Update the ontology.
- Manage the team members assigned to a project.
- Configure webhooks.
Delete a project
A project can only be deleted by an organization-wide admin. To delete a project, go to Settings > Danger zone, and proceed with the deletion.