Data types
All metadata needs to be one of the following types:| Type | Descriptions | Filtering |
|---|---|---|
DateTime | An ISO 8601 datetime field. All times must be in UTC timezone | Equals, greater than, less than, between |
Number | Floating-point value (max: 64-bit float) | Greater than & less than |
String | free text field. Max 4,096 characters. | Equals & prefix matching |
Enum | Enum field with options. Multiple options can be imported. | Equals |
Option (Enum) | Option of an enum. Max 64 options can be created per Enum type. 128 for enterprise customers and can be further increased upon request. | Equals |
Embedding | 128 float 32 vector used for similarity |
Reserved fields
By default, Labelbox defines several metadata fields on your data rows. You don’t have to use these fields and can change the field values, but you can’t delete or rename these fields. Each metadata field has a unique schema ID used to upload data to Labelbox.| Name | Type | Description |
|---|---|---|
tag | String | The tags of the data row |
split | Enum | The split of the dataset that the data row belongs, includingtrain, valid, and test |
captureDateTime | DateTime | The timestamp when the data is captured |
skipNFrames | Number | (Video data only) The number of frames to skip |
turnInstructions | String | JSON string that contains instructions for each turn in a Multi-modal chat conversation. |
Custom fields
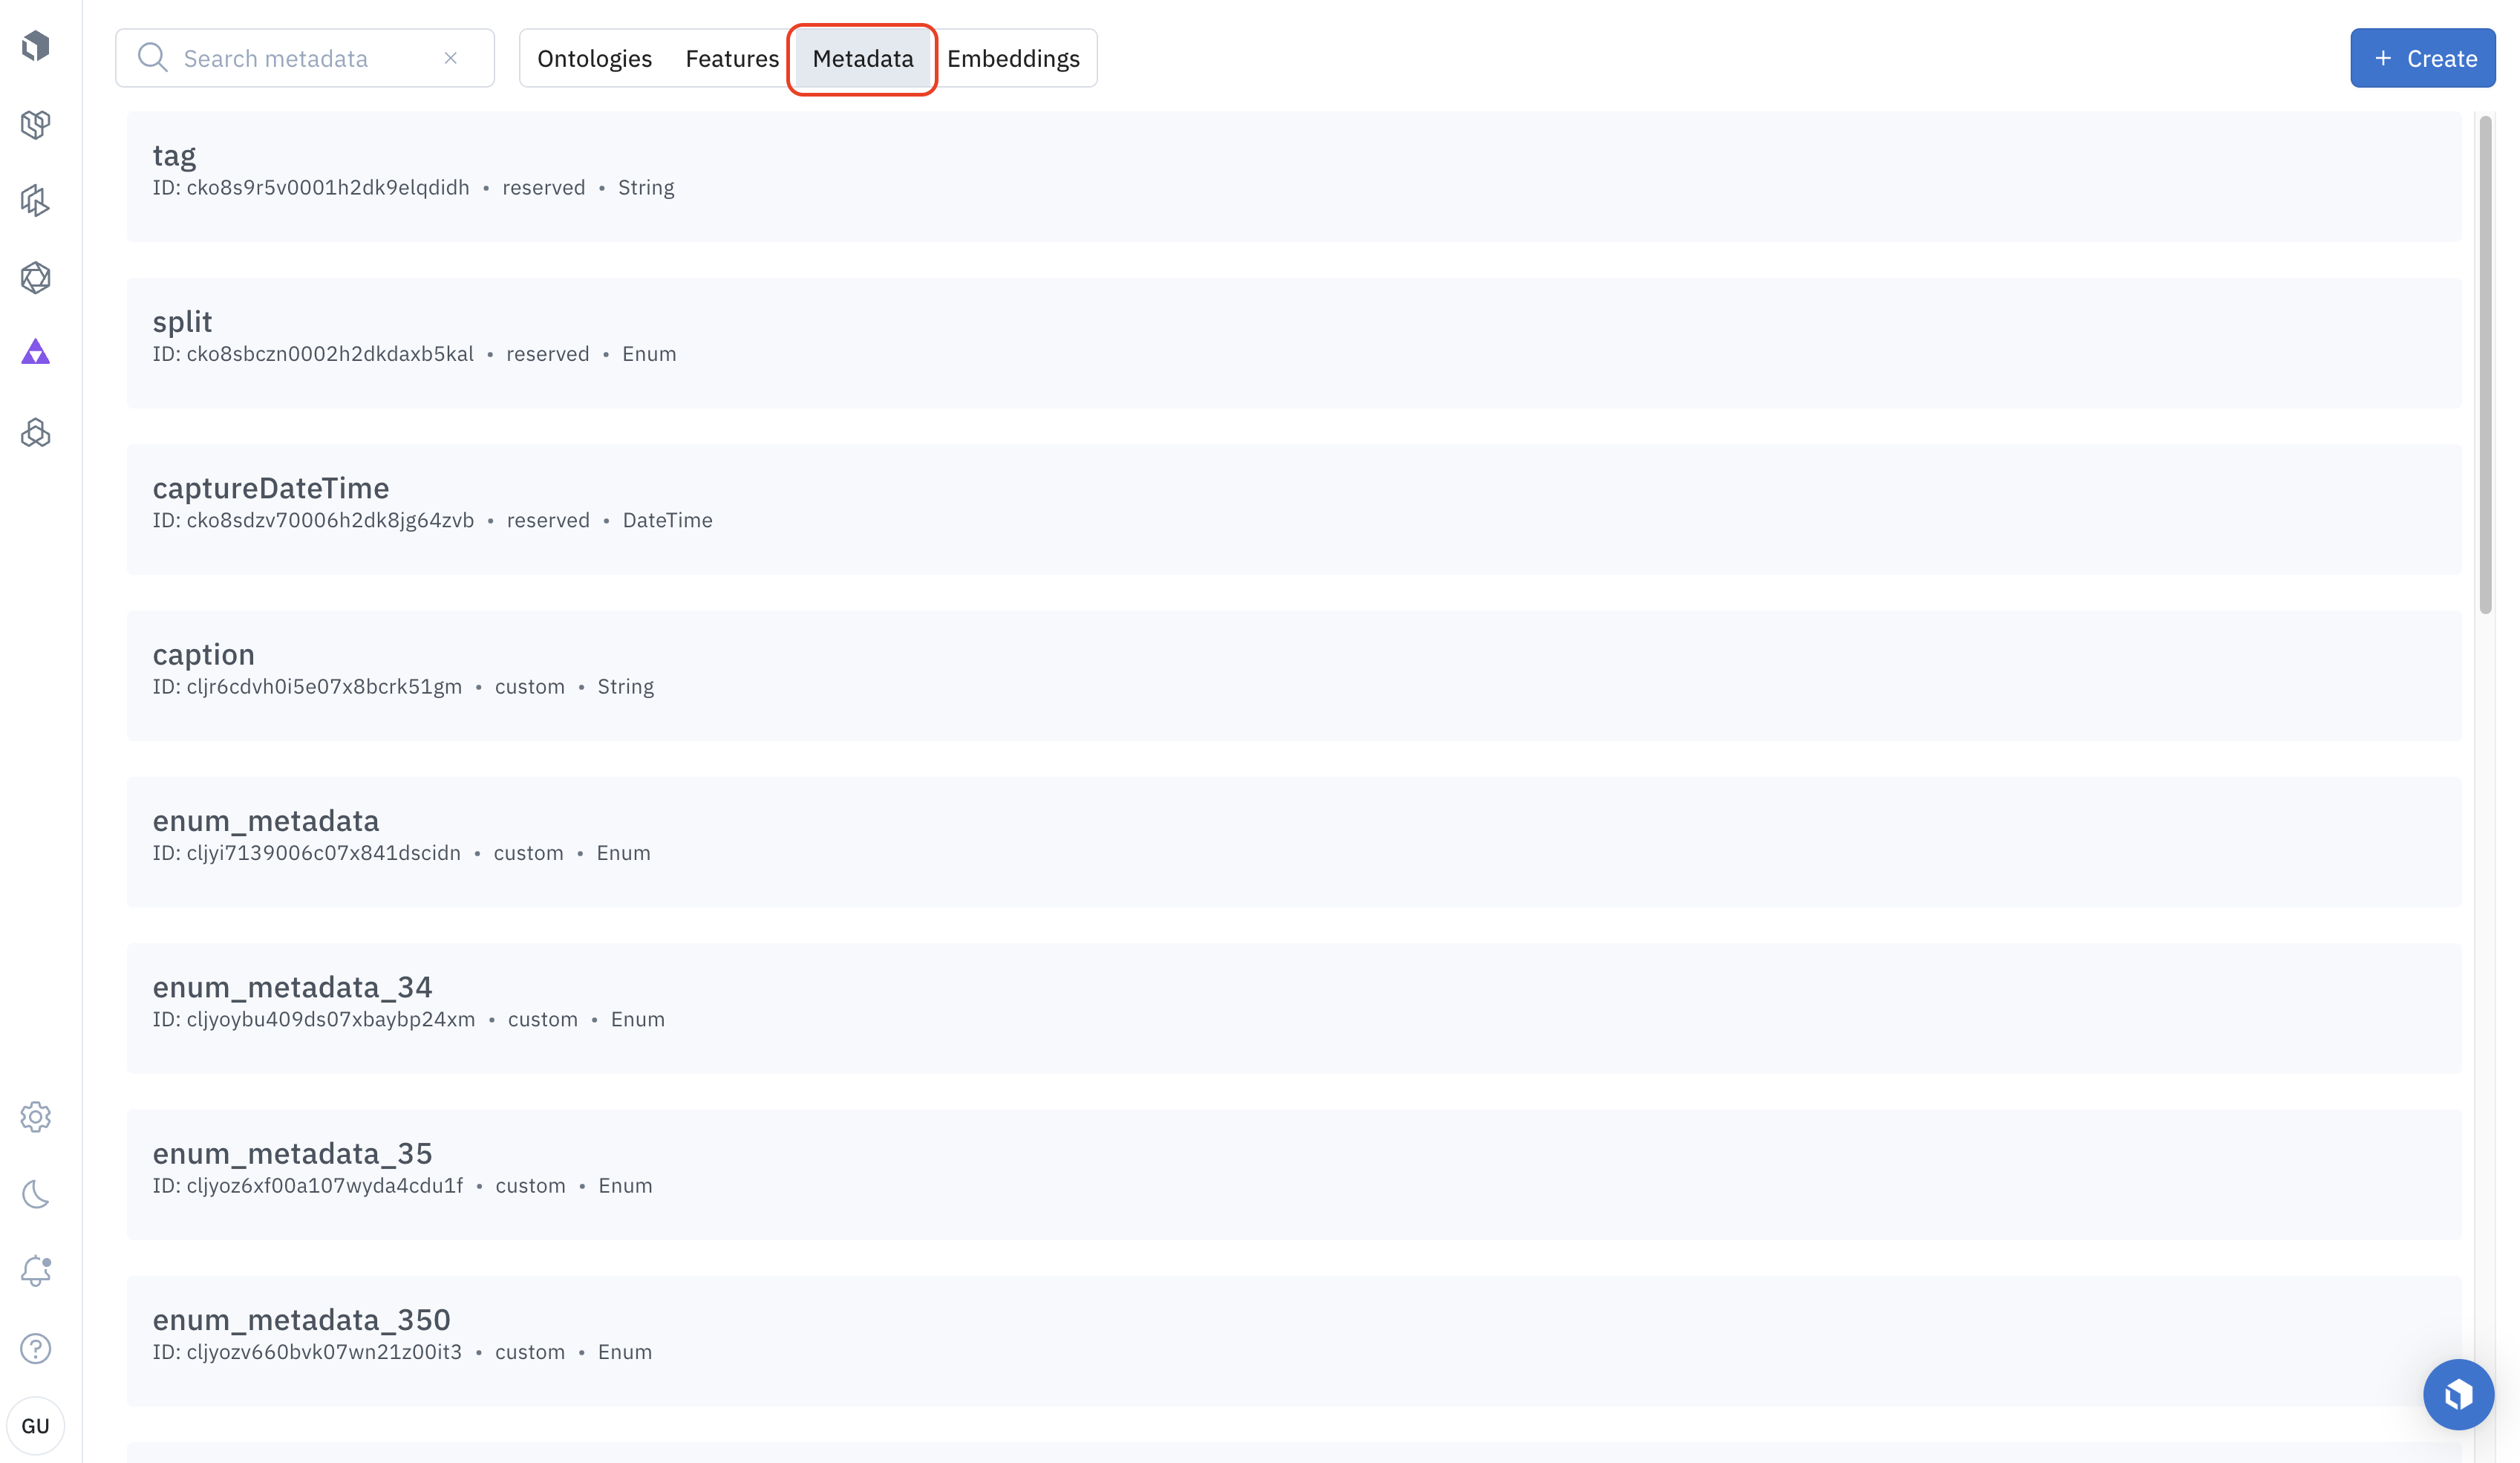
To create custom metadata fields via the UI, go to the Schema tab. Select Create.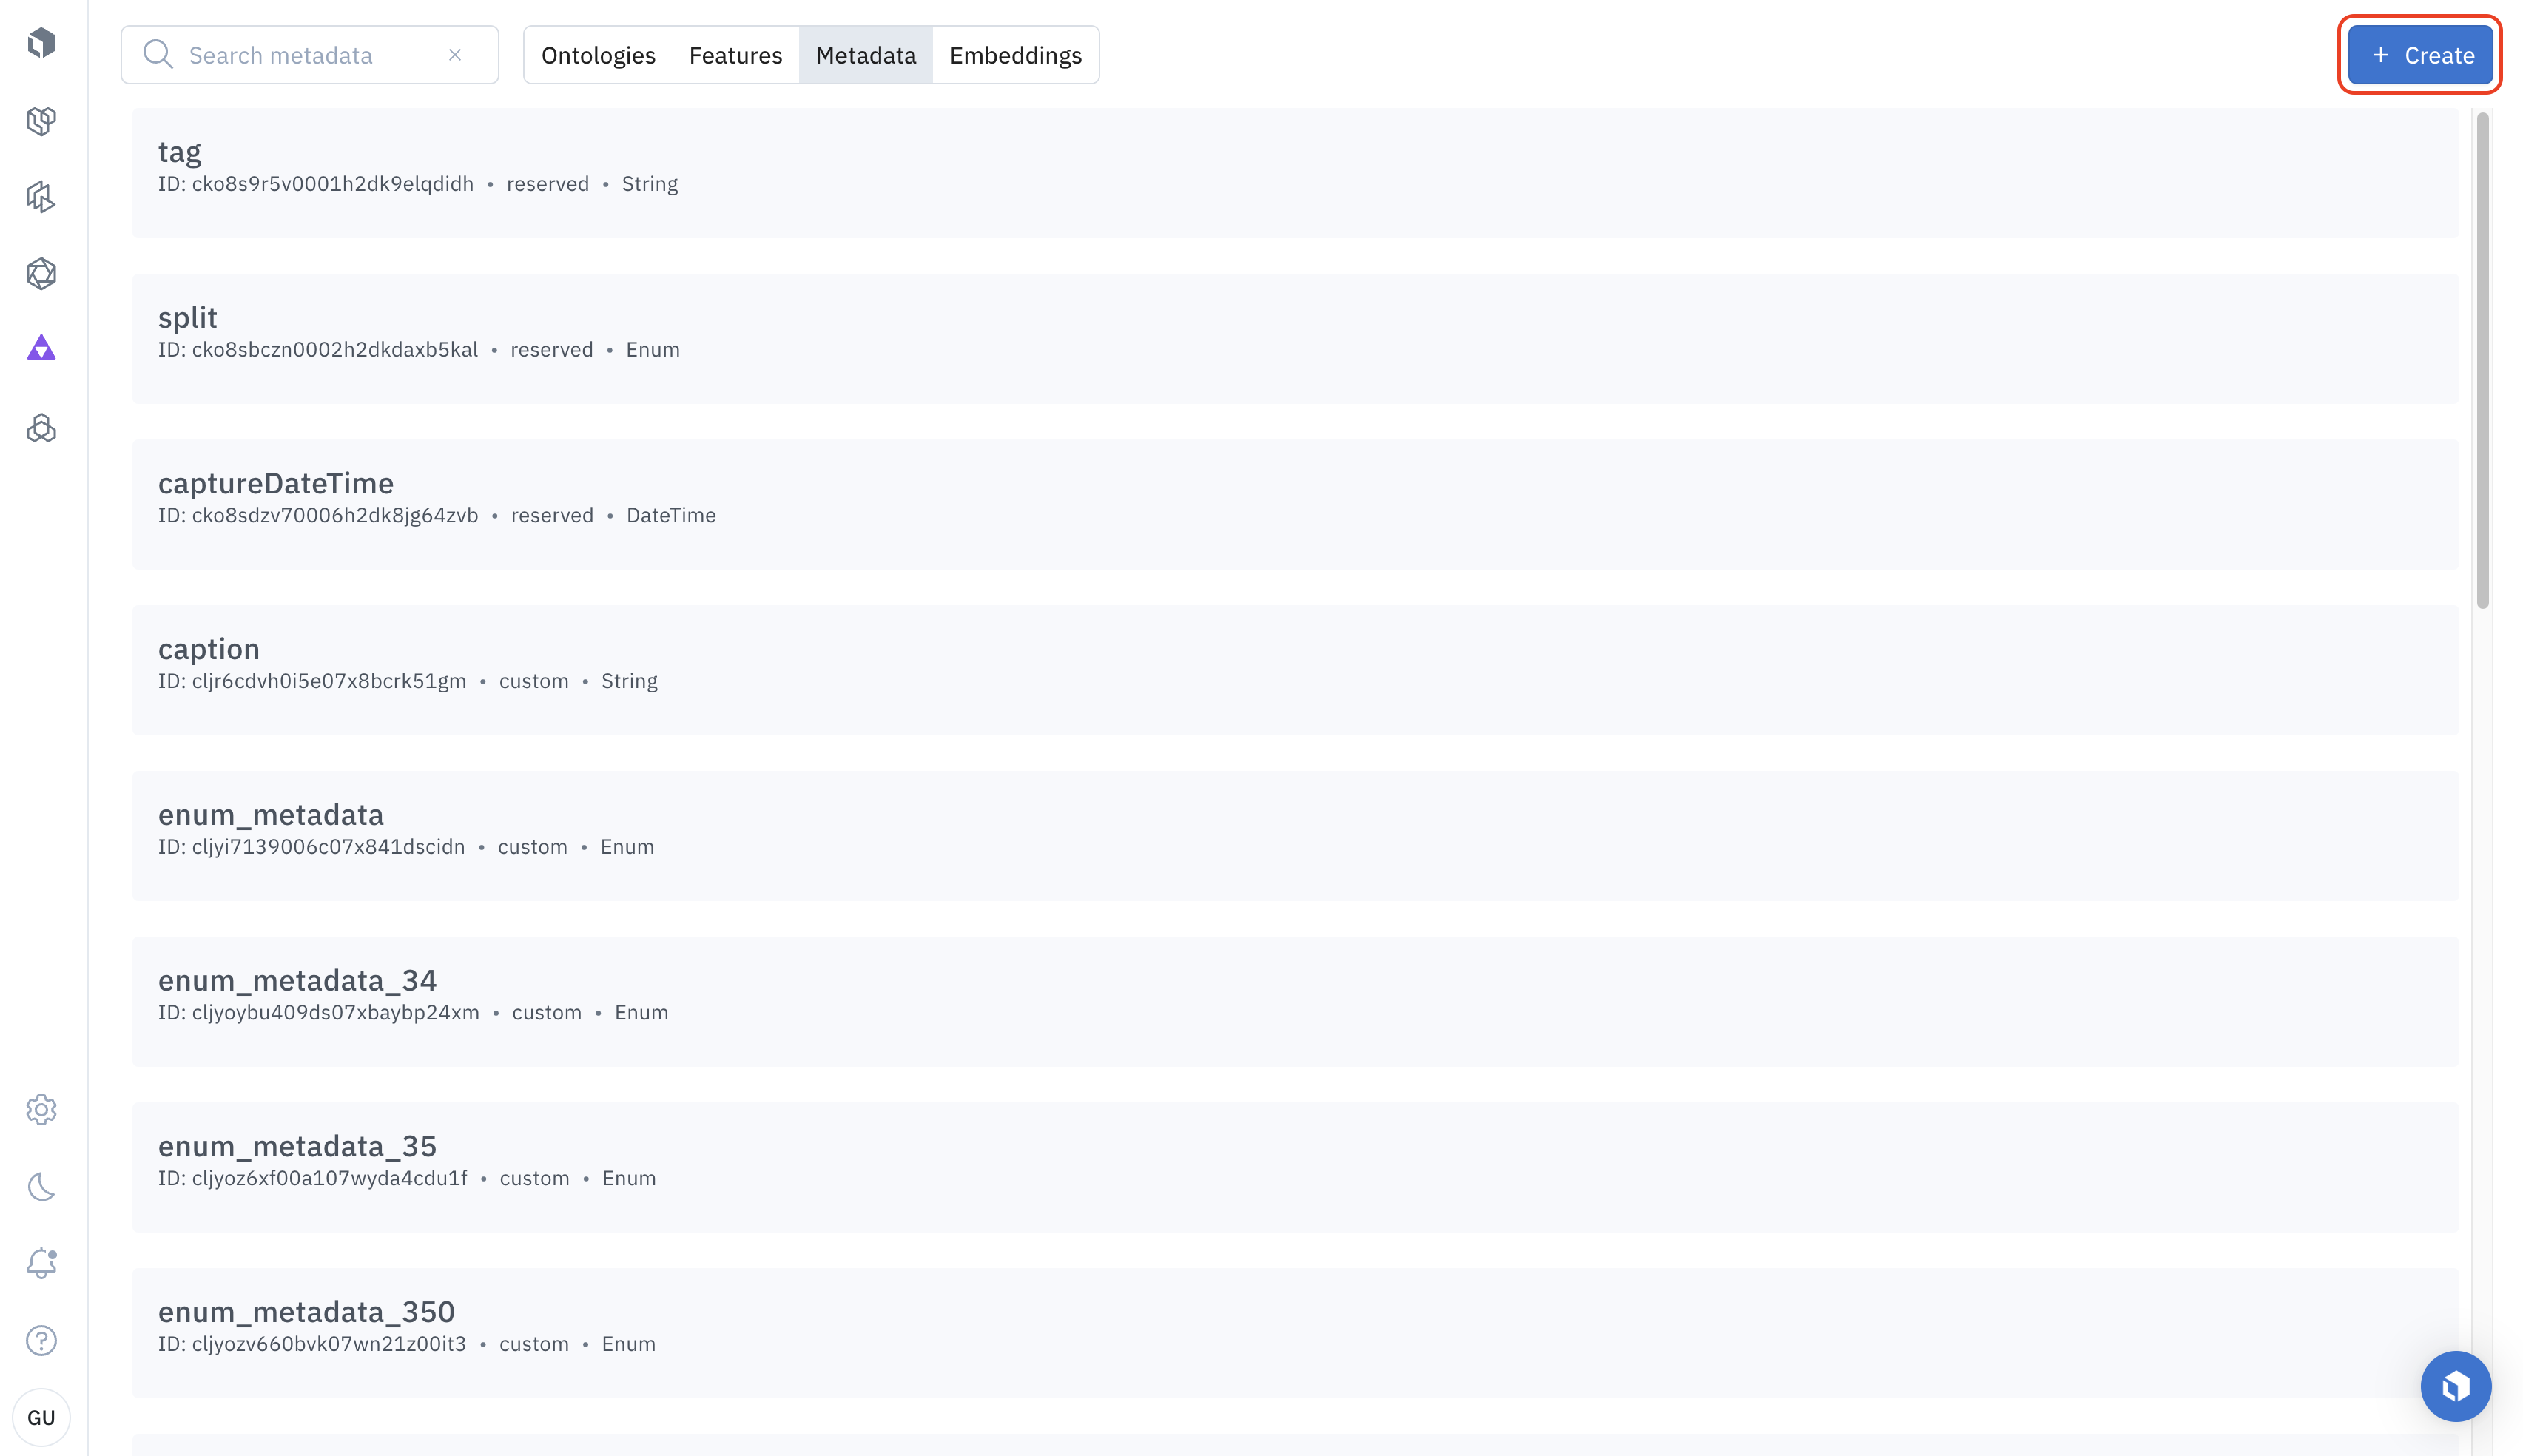
Metadata field limits
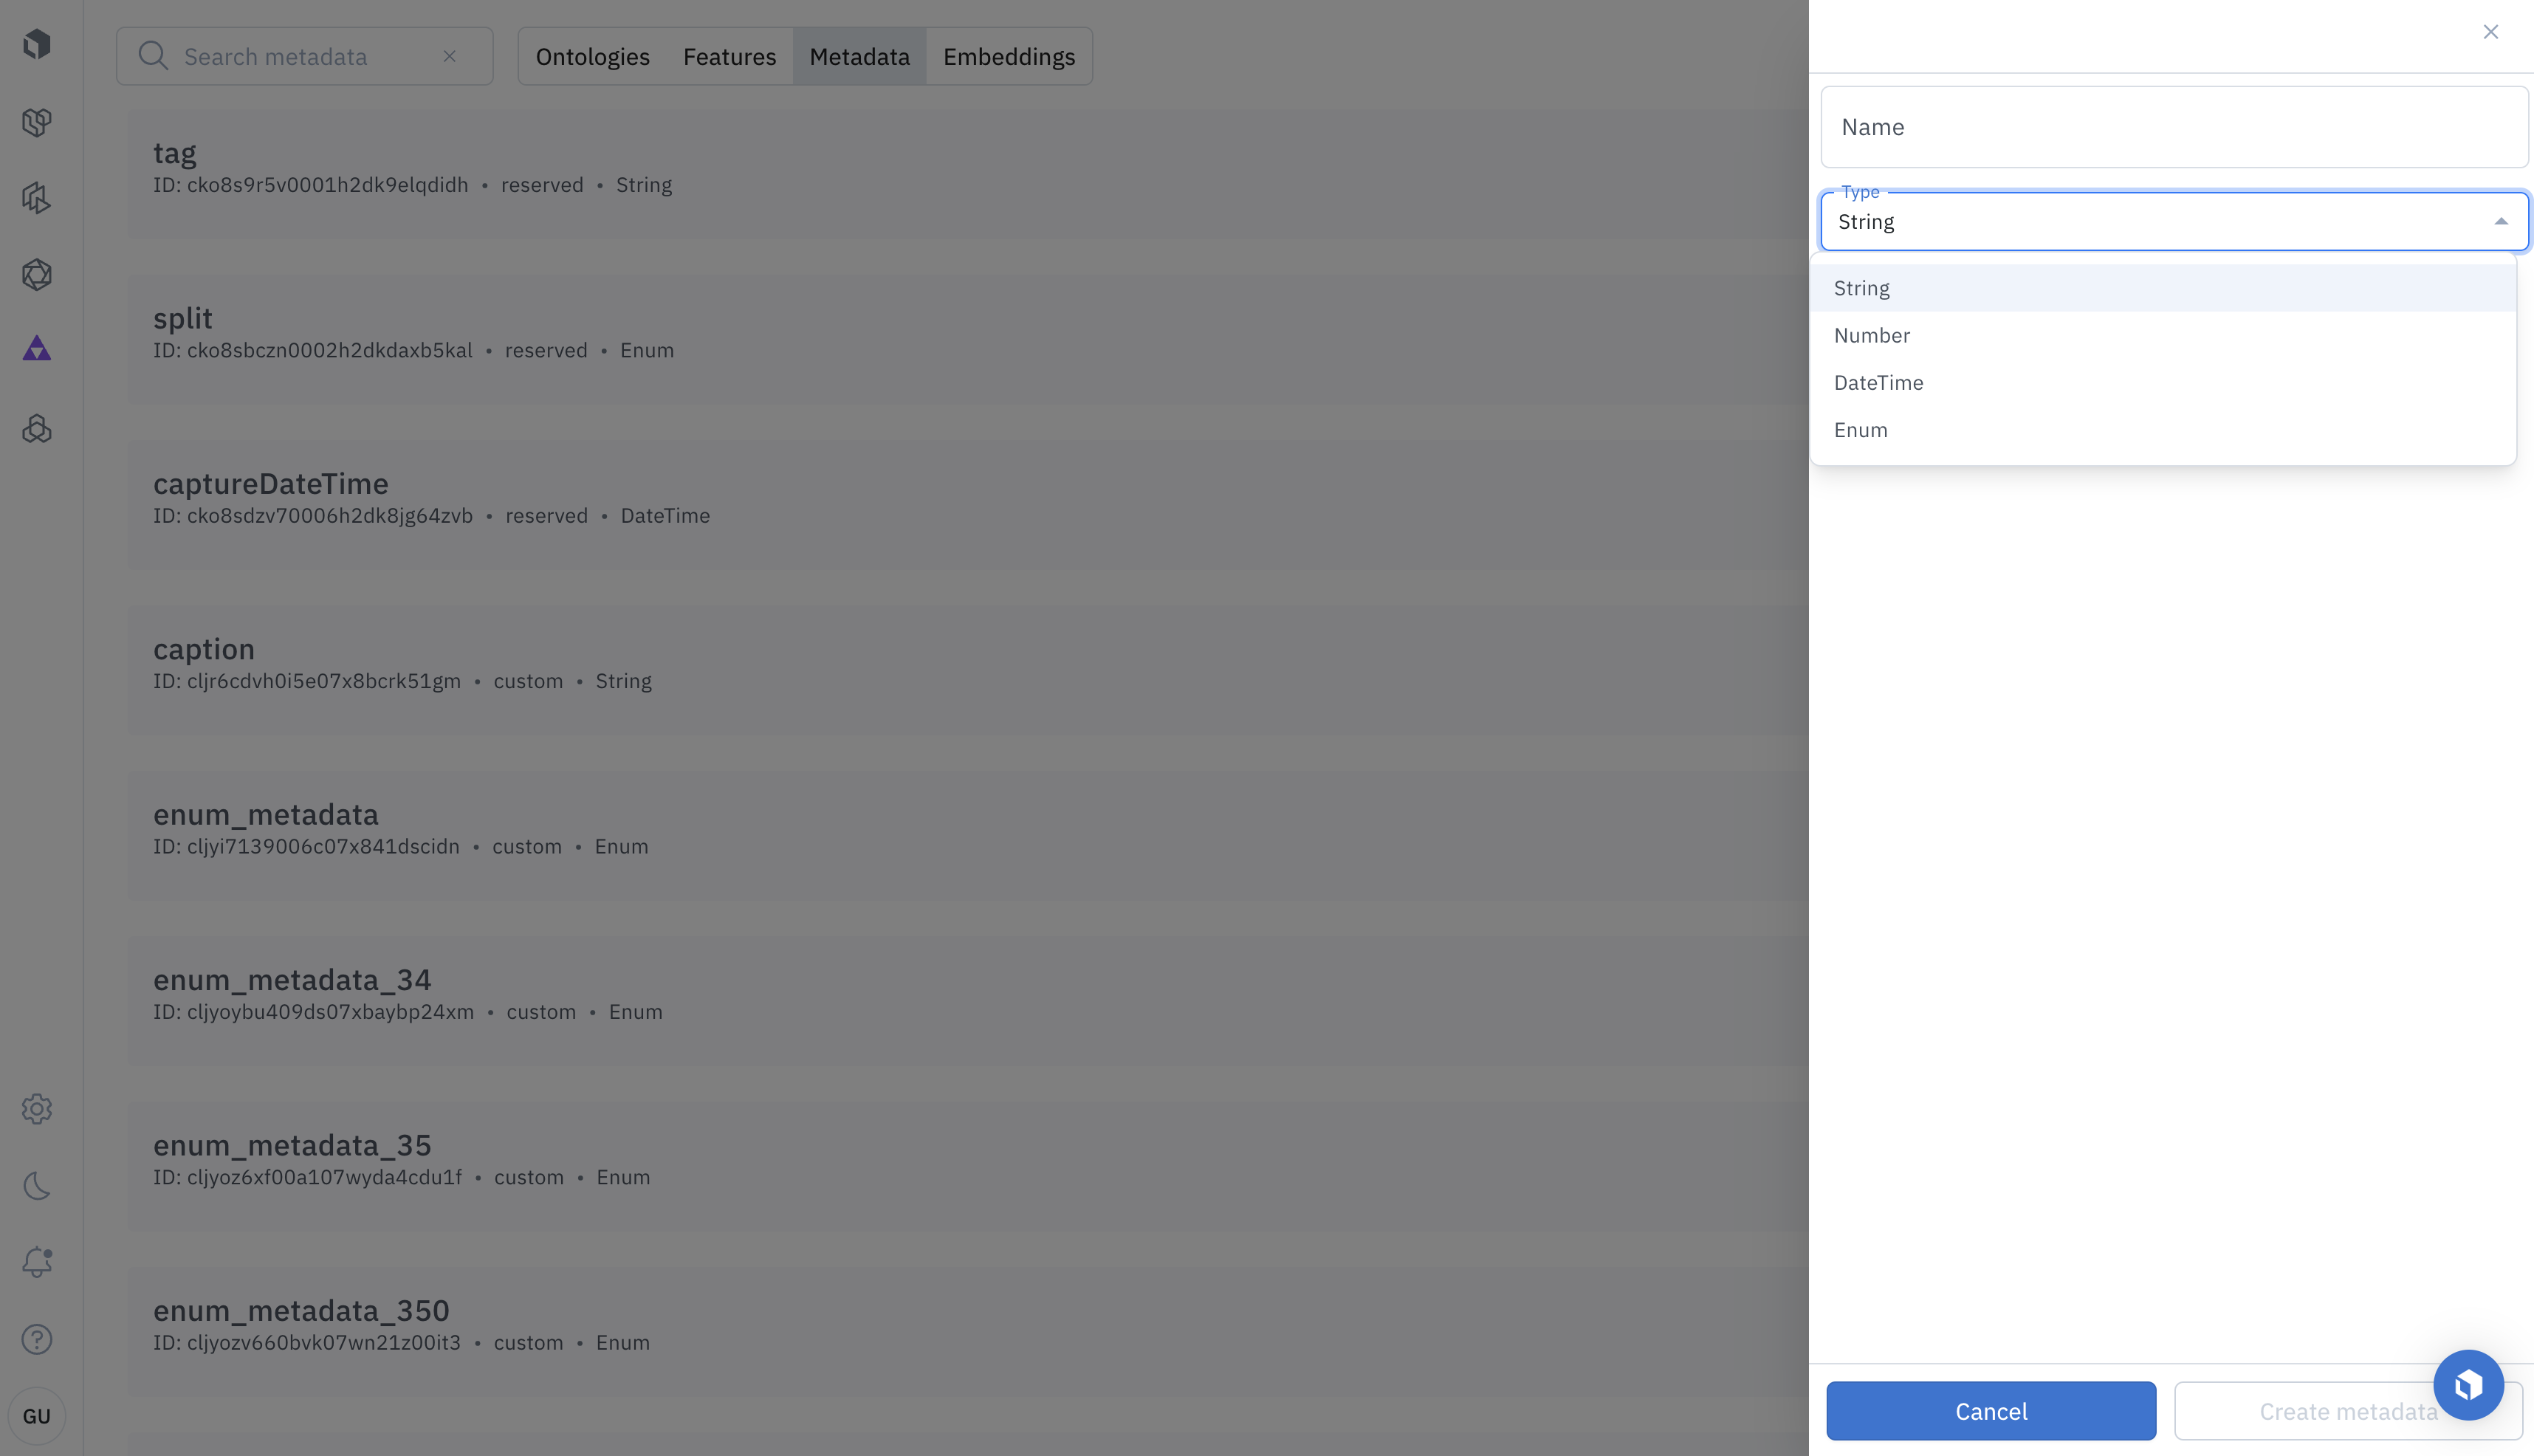
You can modify the names of custom metadata schema by clicking the Edit button in the detail view of each schema, but you can’t change the type once you create a field,. You also can’t modify the names of reserved fields. See limits to learn the maximum number of allowed metadata fields of your account.Update custom metadata schema via the UI
Go to the Schema tab to update custom metadata fields via the UI. Then, find the metadata you want to modify and click the Edit button. Only the following can be updated:- The name of custom metadata for non-reserved metadata
- The name of options for Enum metadata
Bulk add metadata
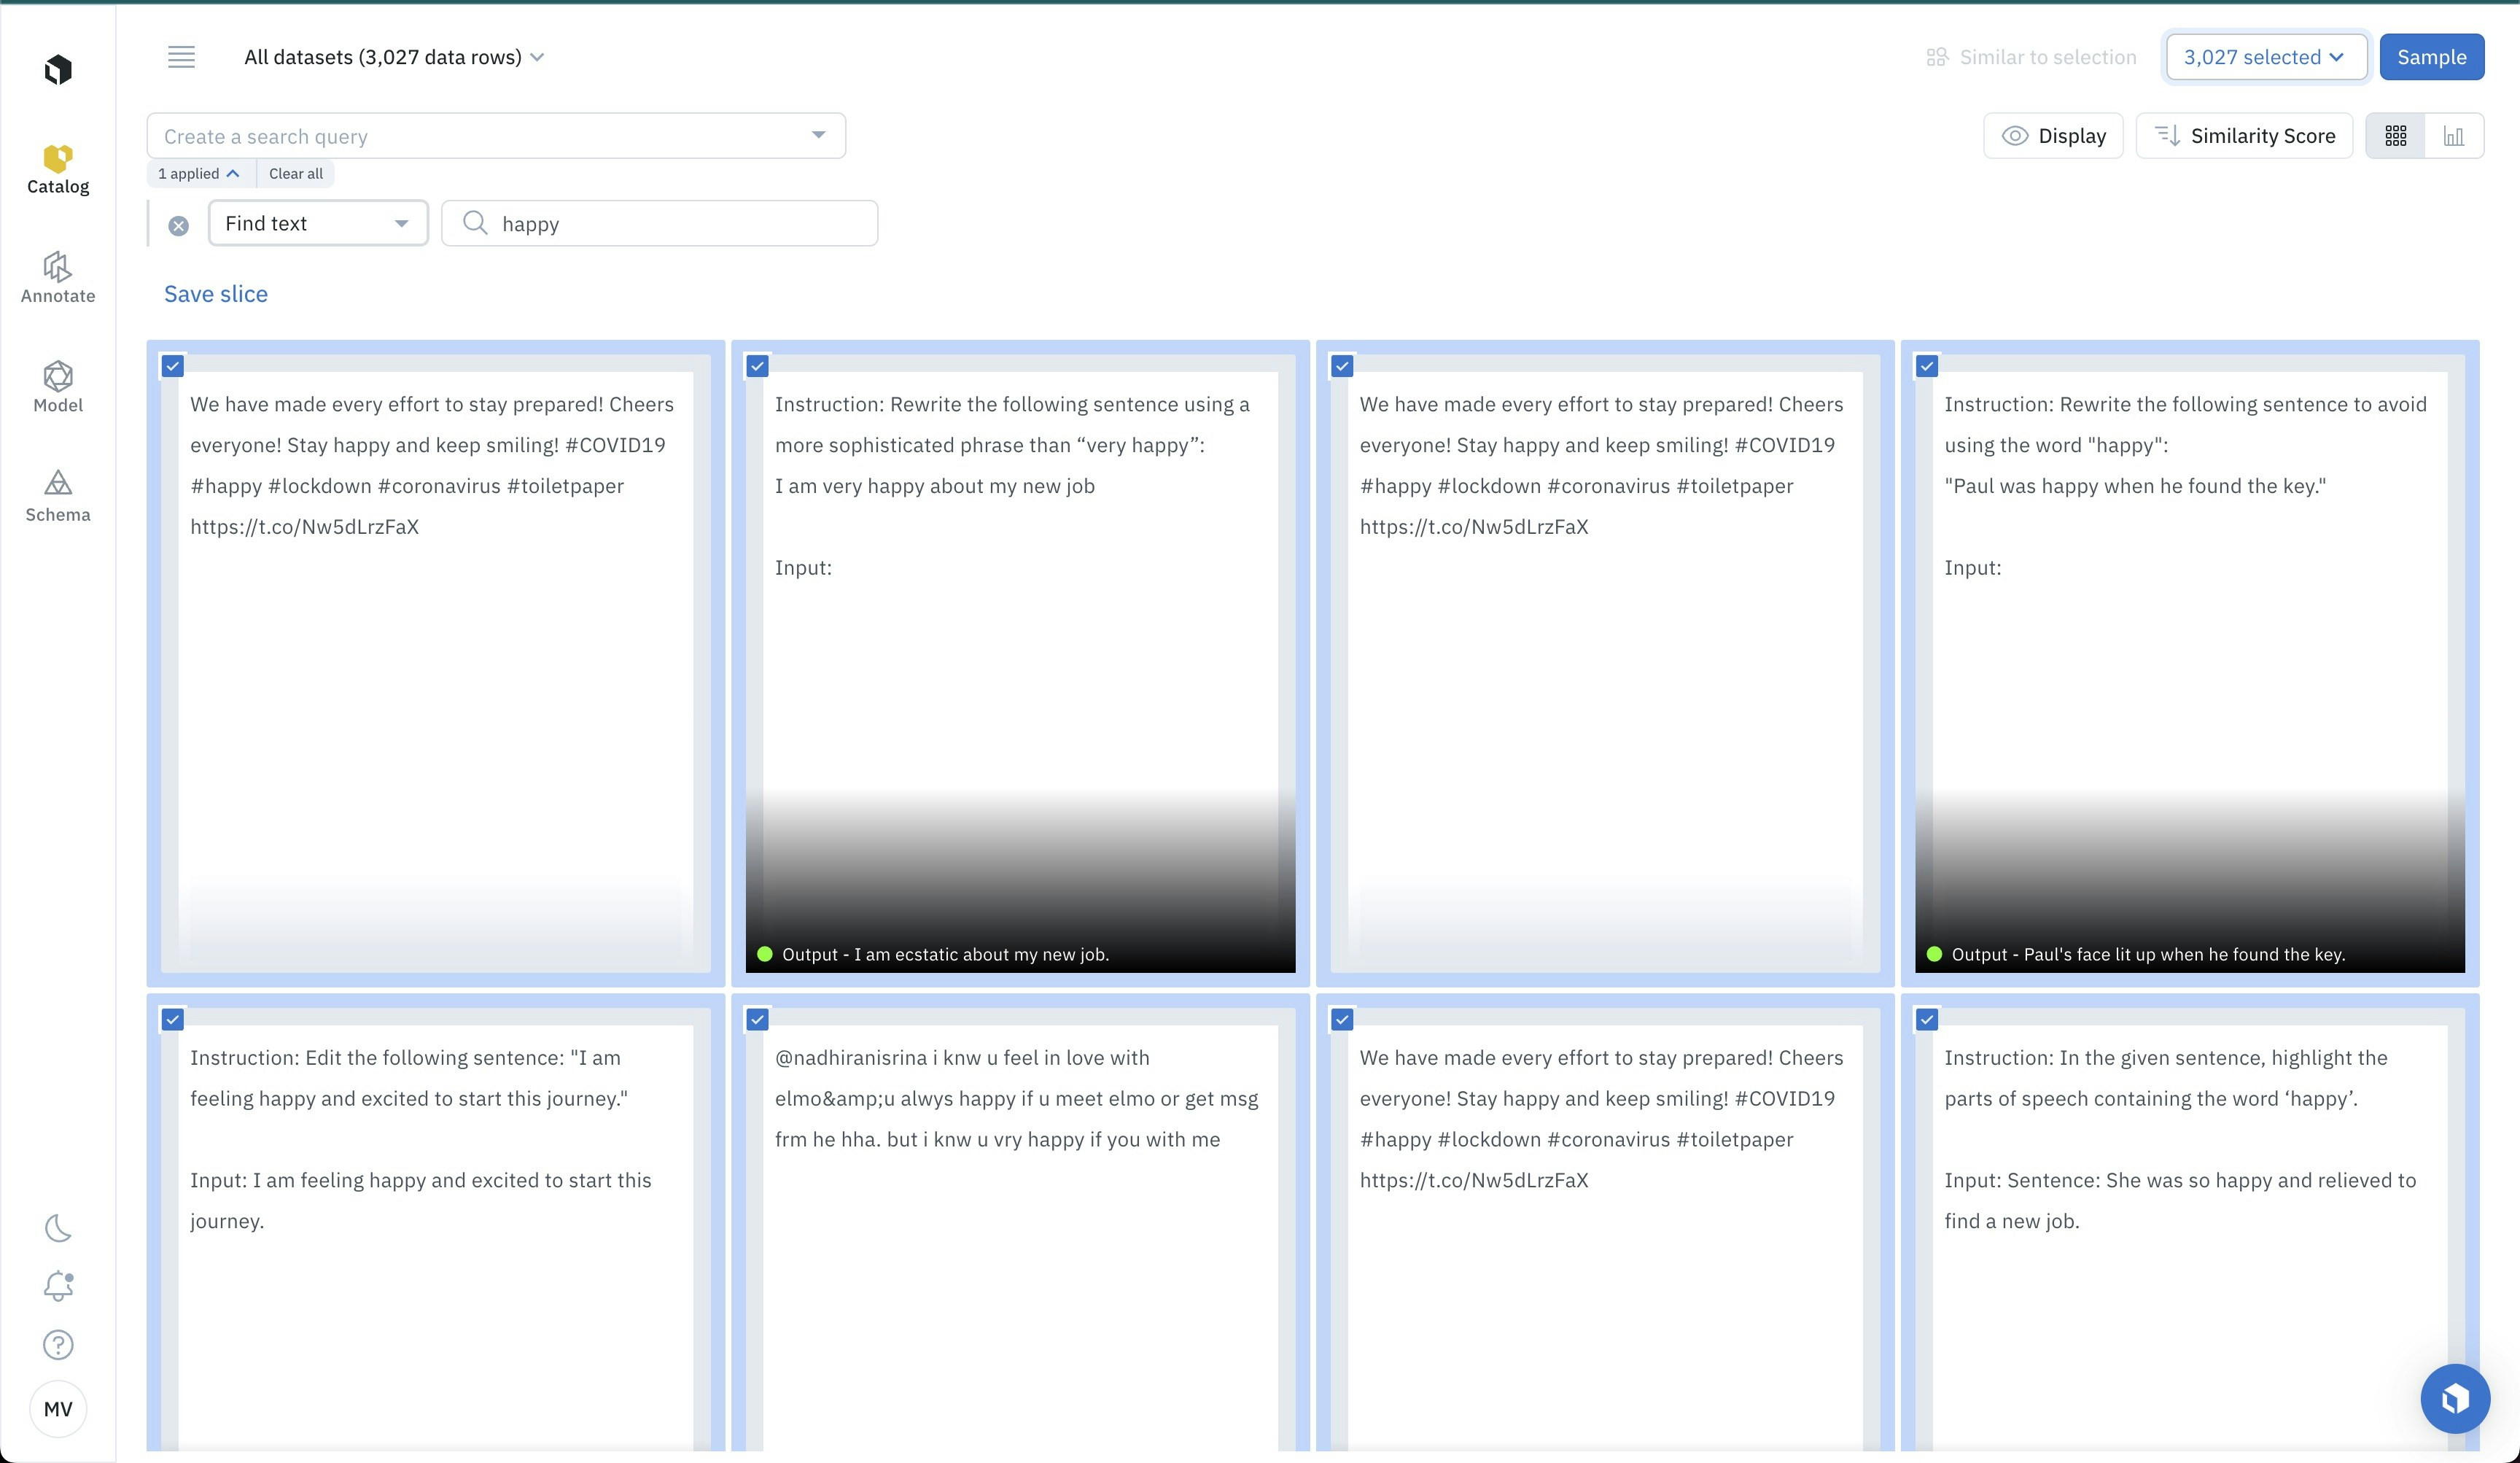
Follow these steps to bulk add metadata to your data rows in Catalog. See limits to learn the limits for bulk adding metadata to data rows in Catalog.Step 1: Select data rows
You will need to select a curated subset of data. For example, you may select a cluster of data from the projector view. Another option could be to select the top results of a natural language search. This way, you can use neural networks like CLIP as zero-shot classifiers. A third possibility is to select all assets that look similar to each other - thanks to Labelbox similarity search. Similarity search powered by embeddings allows you to leverage any off-the-shelf neural network as a zero-shot classifier. There are three ways to select data rows:- Option 1: Select all filtered data rows by choosing Select all.
- Option 2: Use the selection icon (checkbox) to manually select individual data rows.
- Option 3: Bulk select data rows by selecting the first data row, press and hold
Shift, and then select the last data row. All data rows between the first and last ones are selected.
Step 2: Add metadata
After you select your data rows, select Add metadata from the selection menu.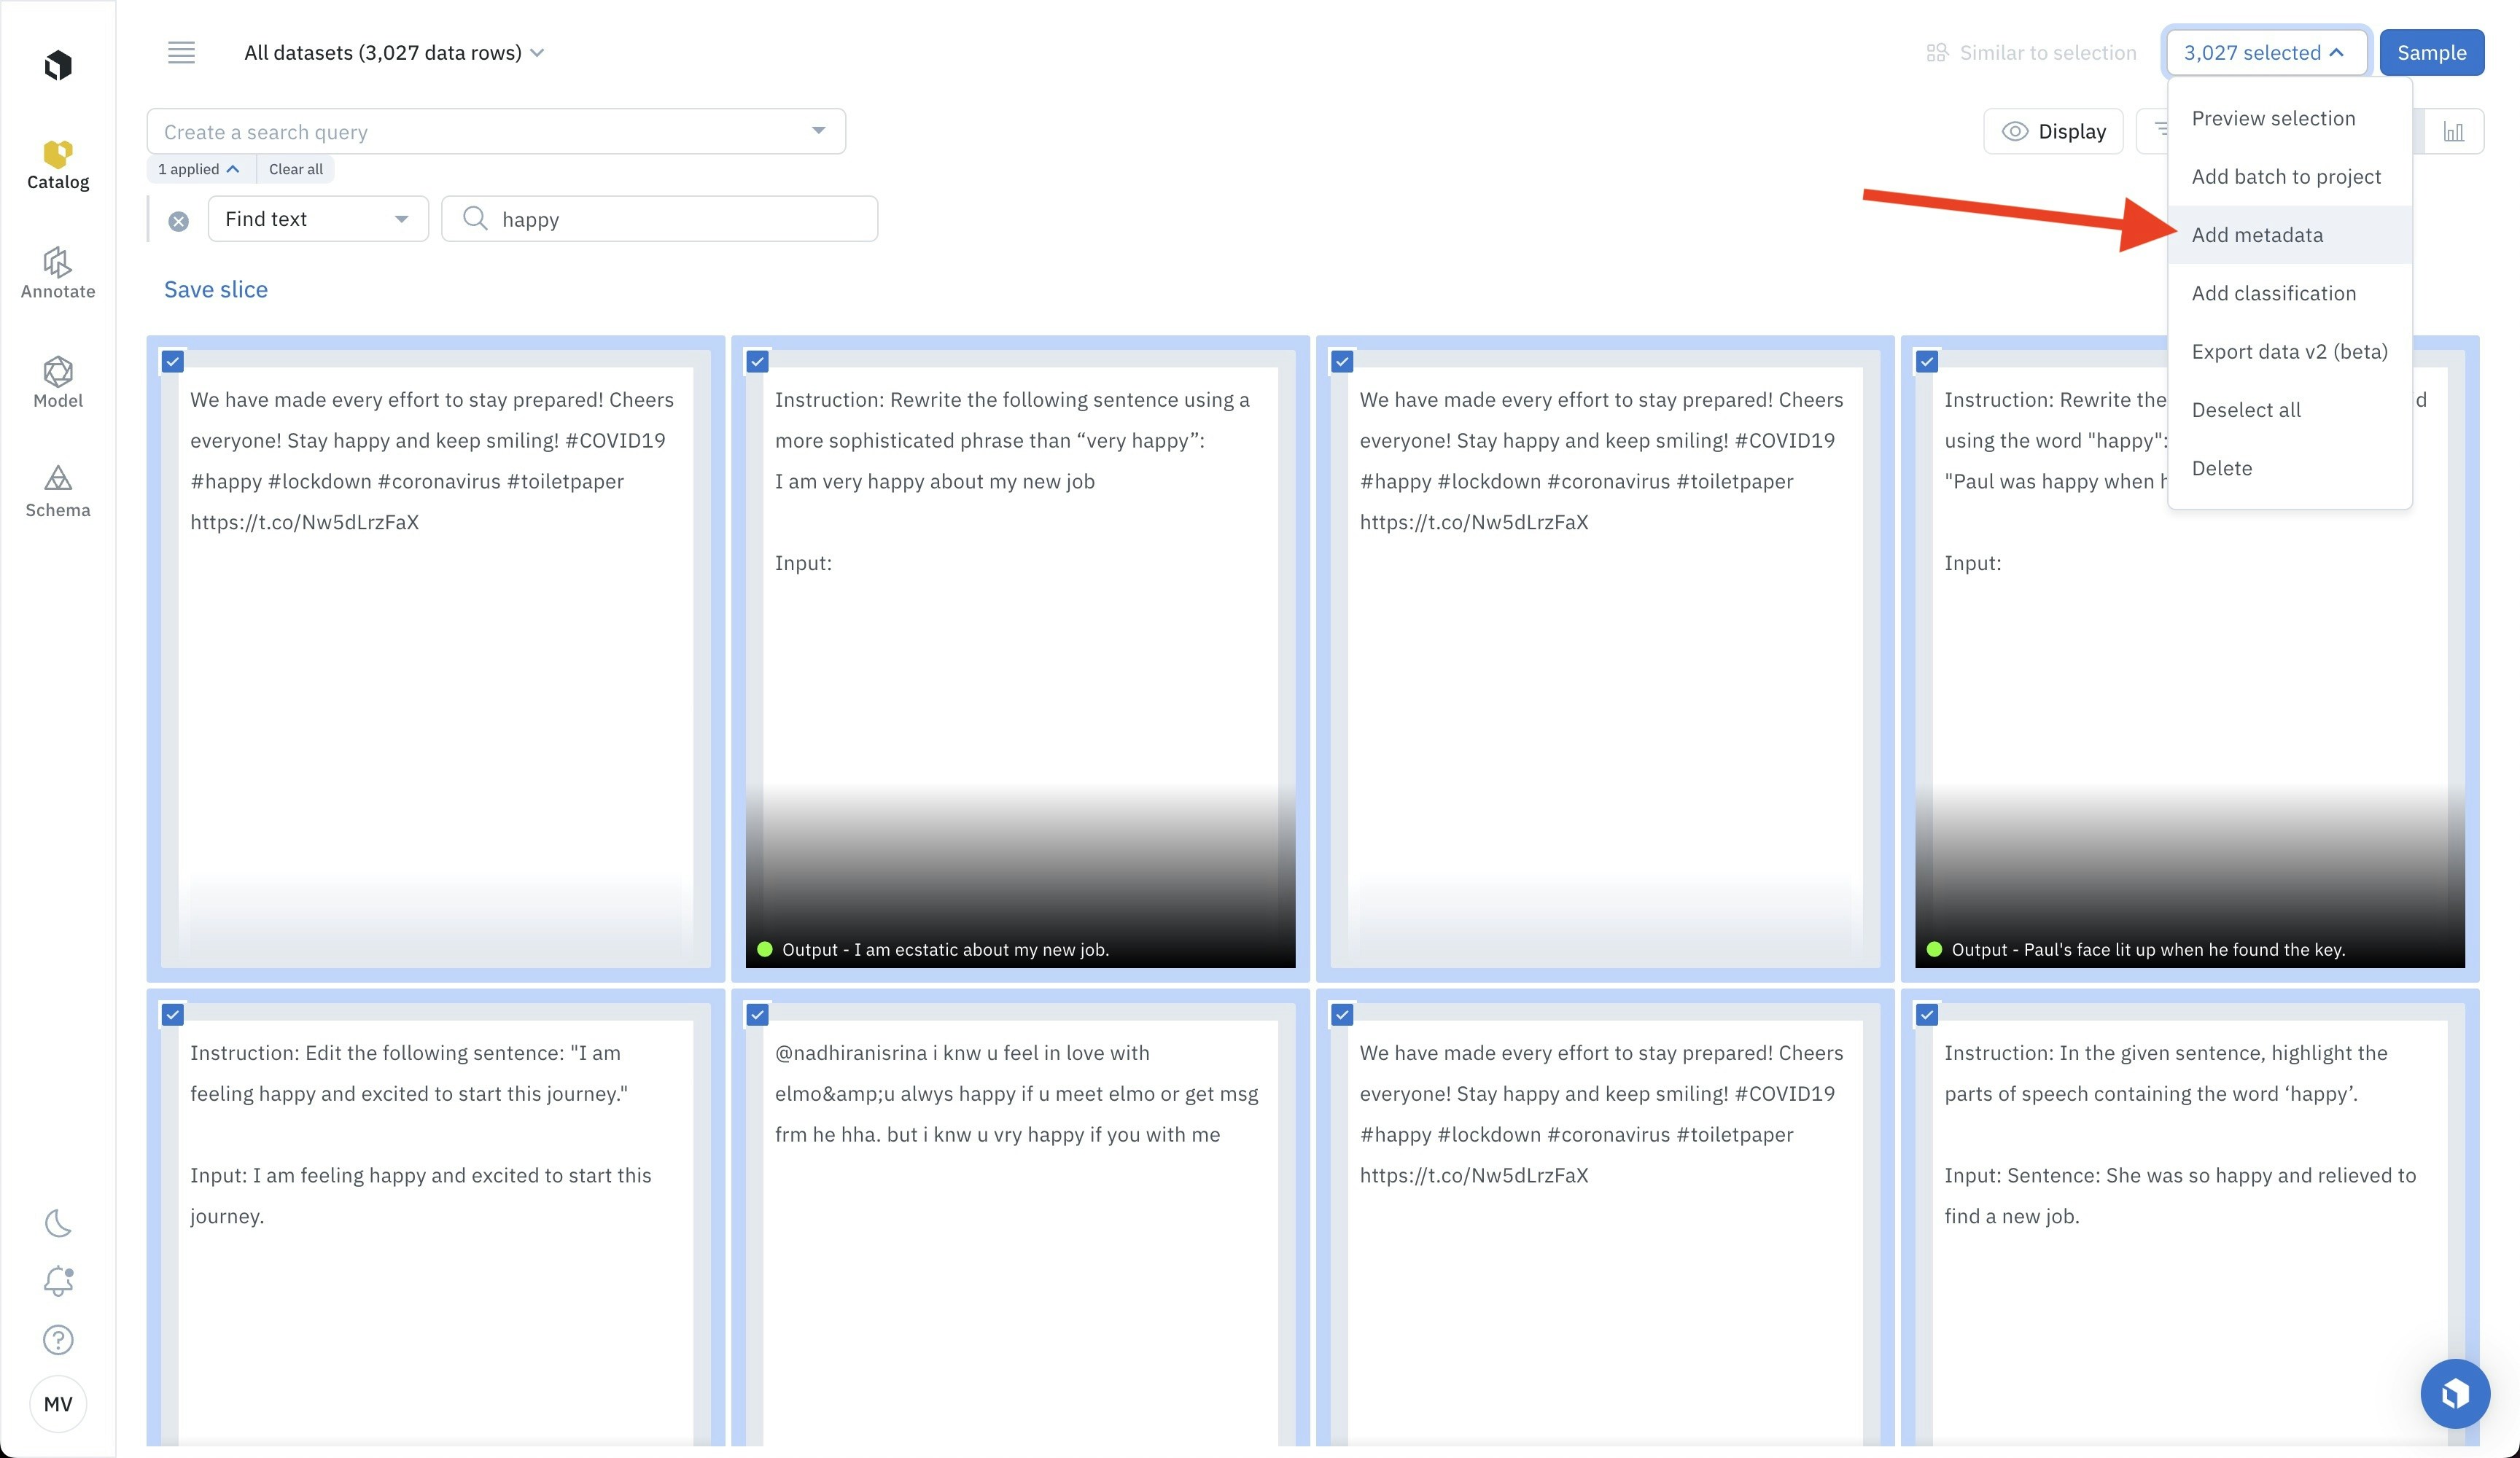
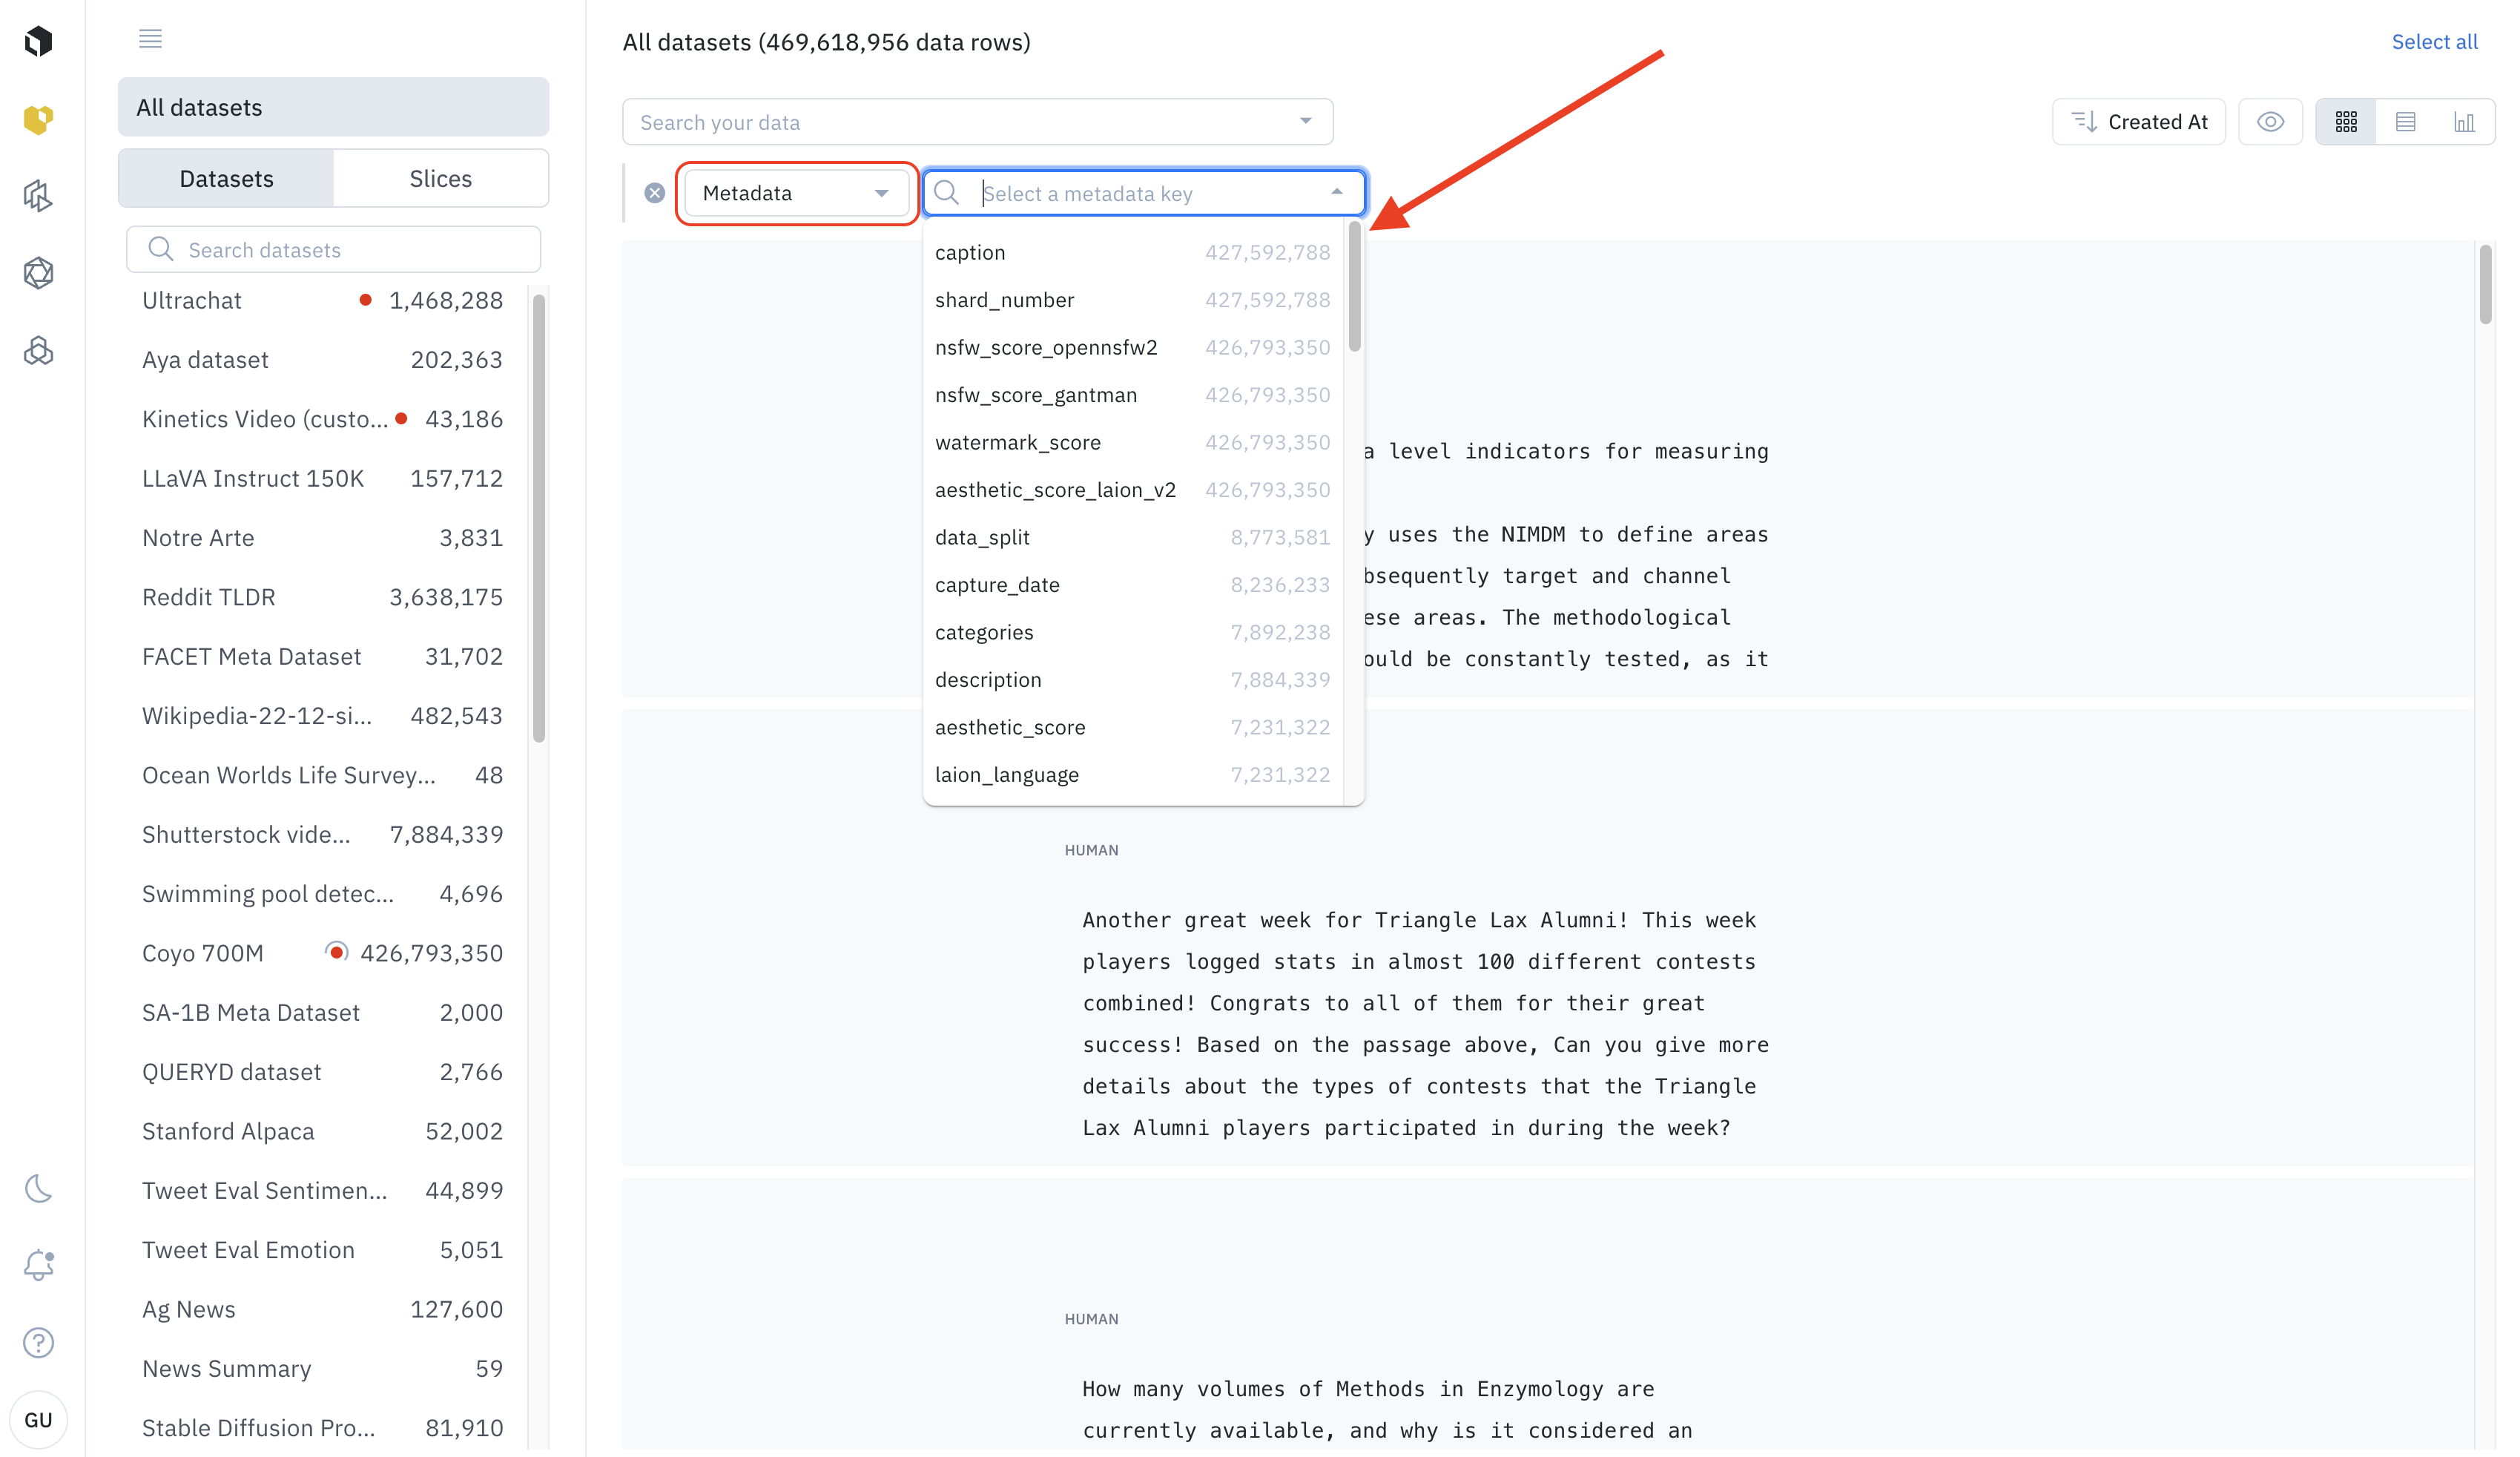
Step 3: Pick a metadata field
From the selection menu, select the metadata field you want to apply. You can search for metadata fields by typing their name if you don’t see them in the dropdown. Metadata fields must exist in Labelbox before they appear in the menu.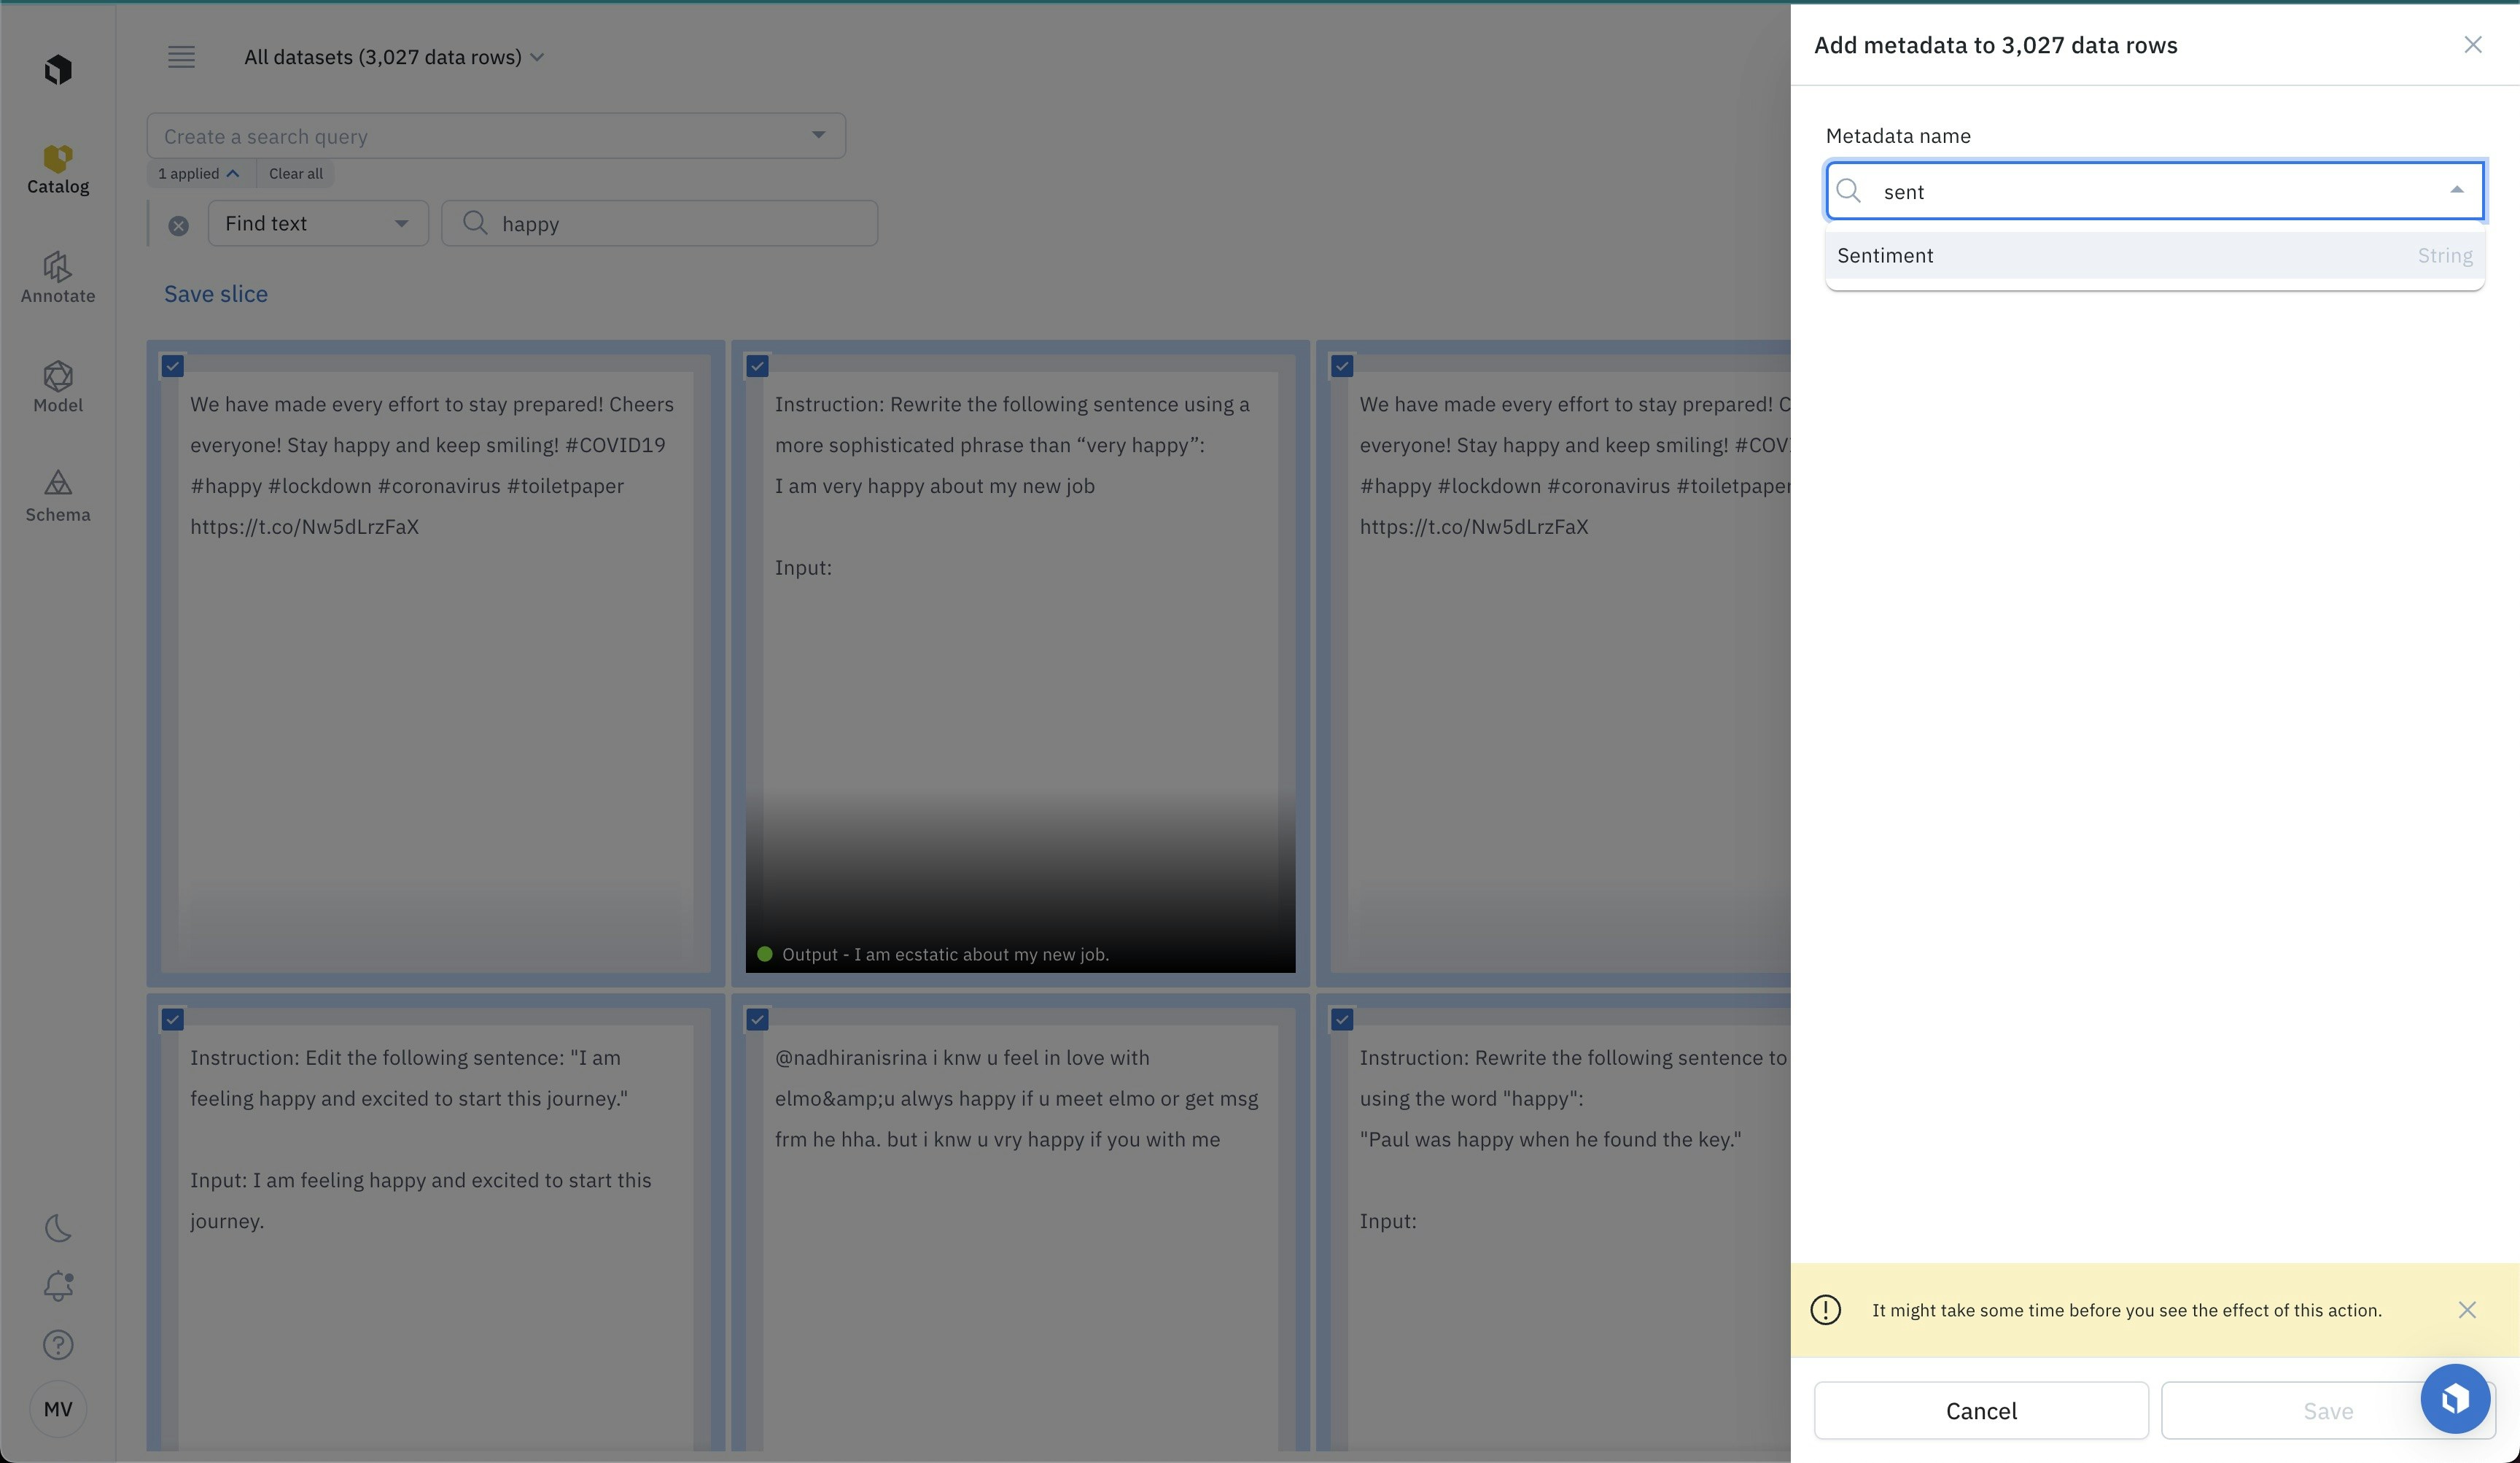
Step 4: Provide metadata values
Enter a metadata value. This metadata field and value will apply to all selected data rows. Choose Save to apply the metadata in bulk. Changes can take time to be reflected in the data row metadata.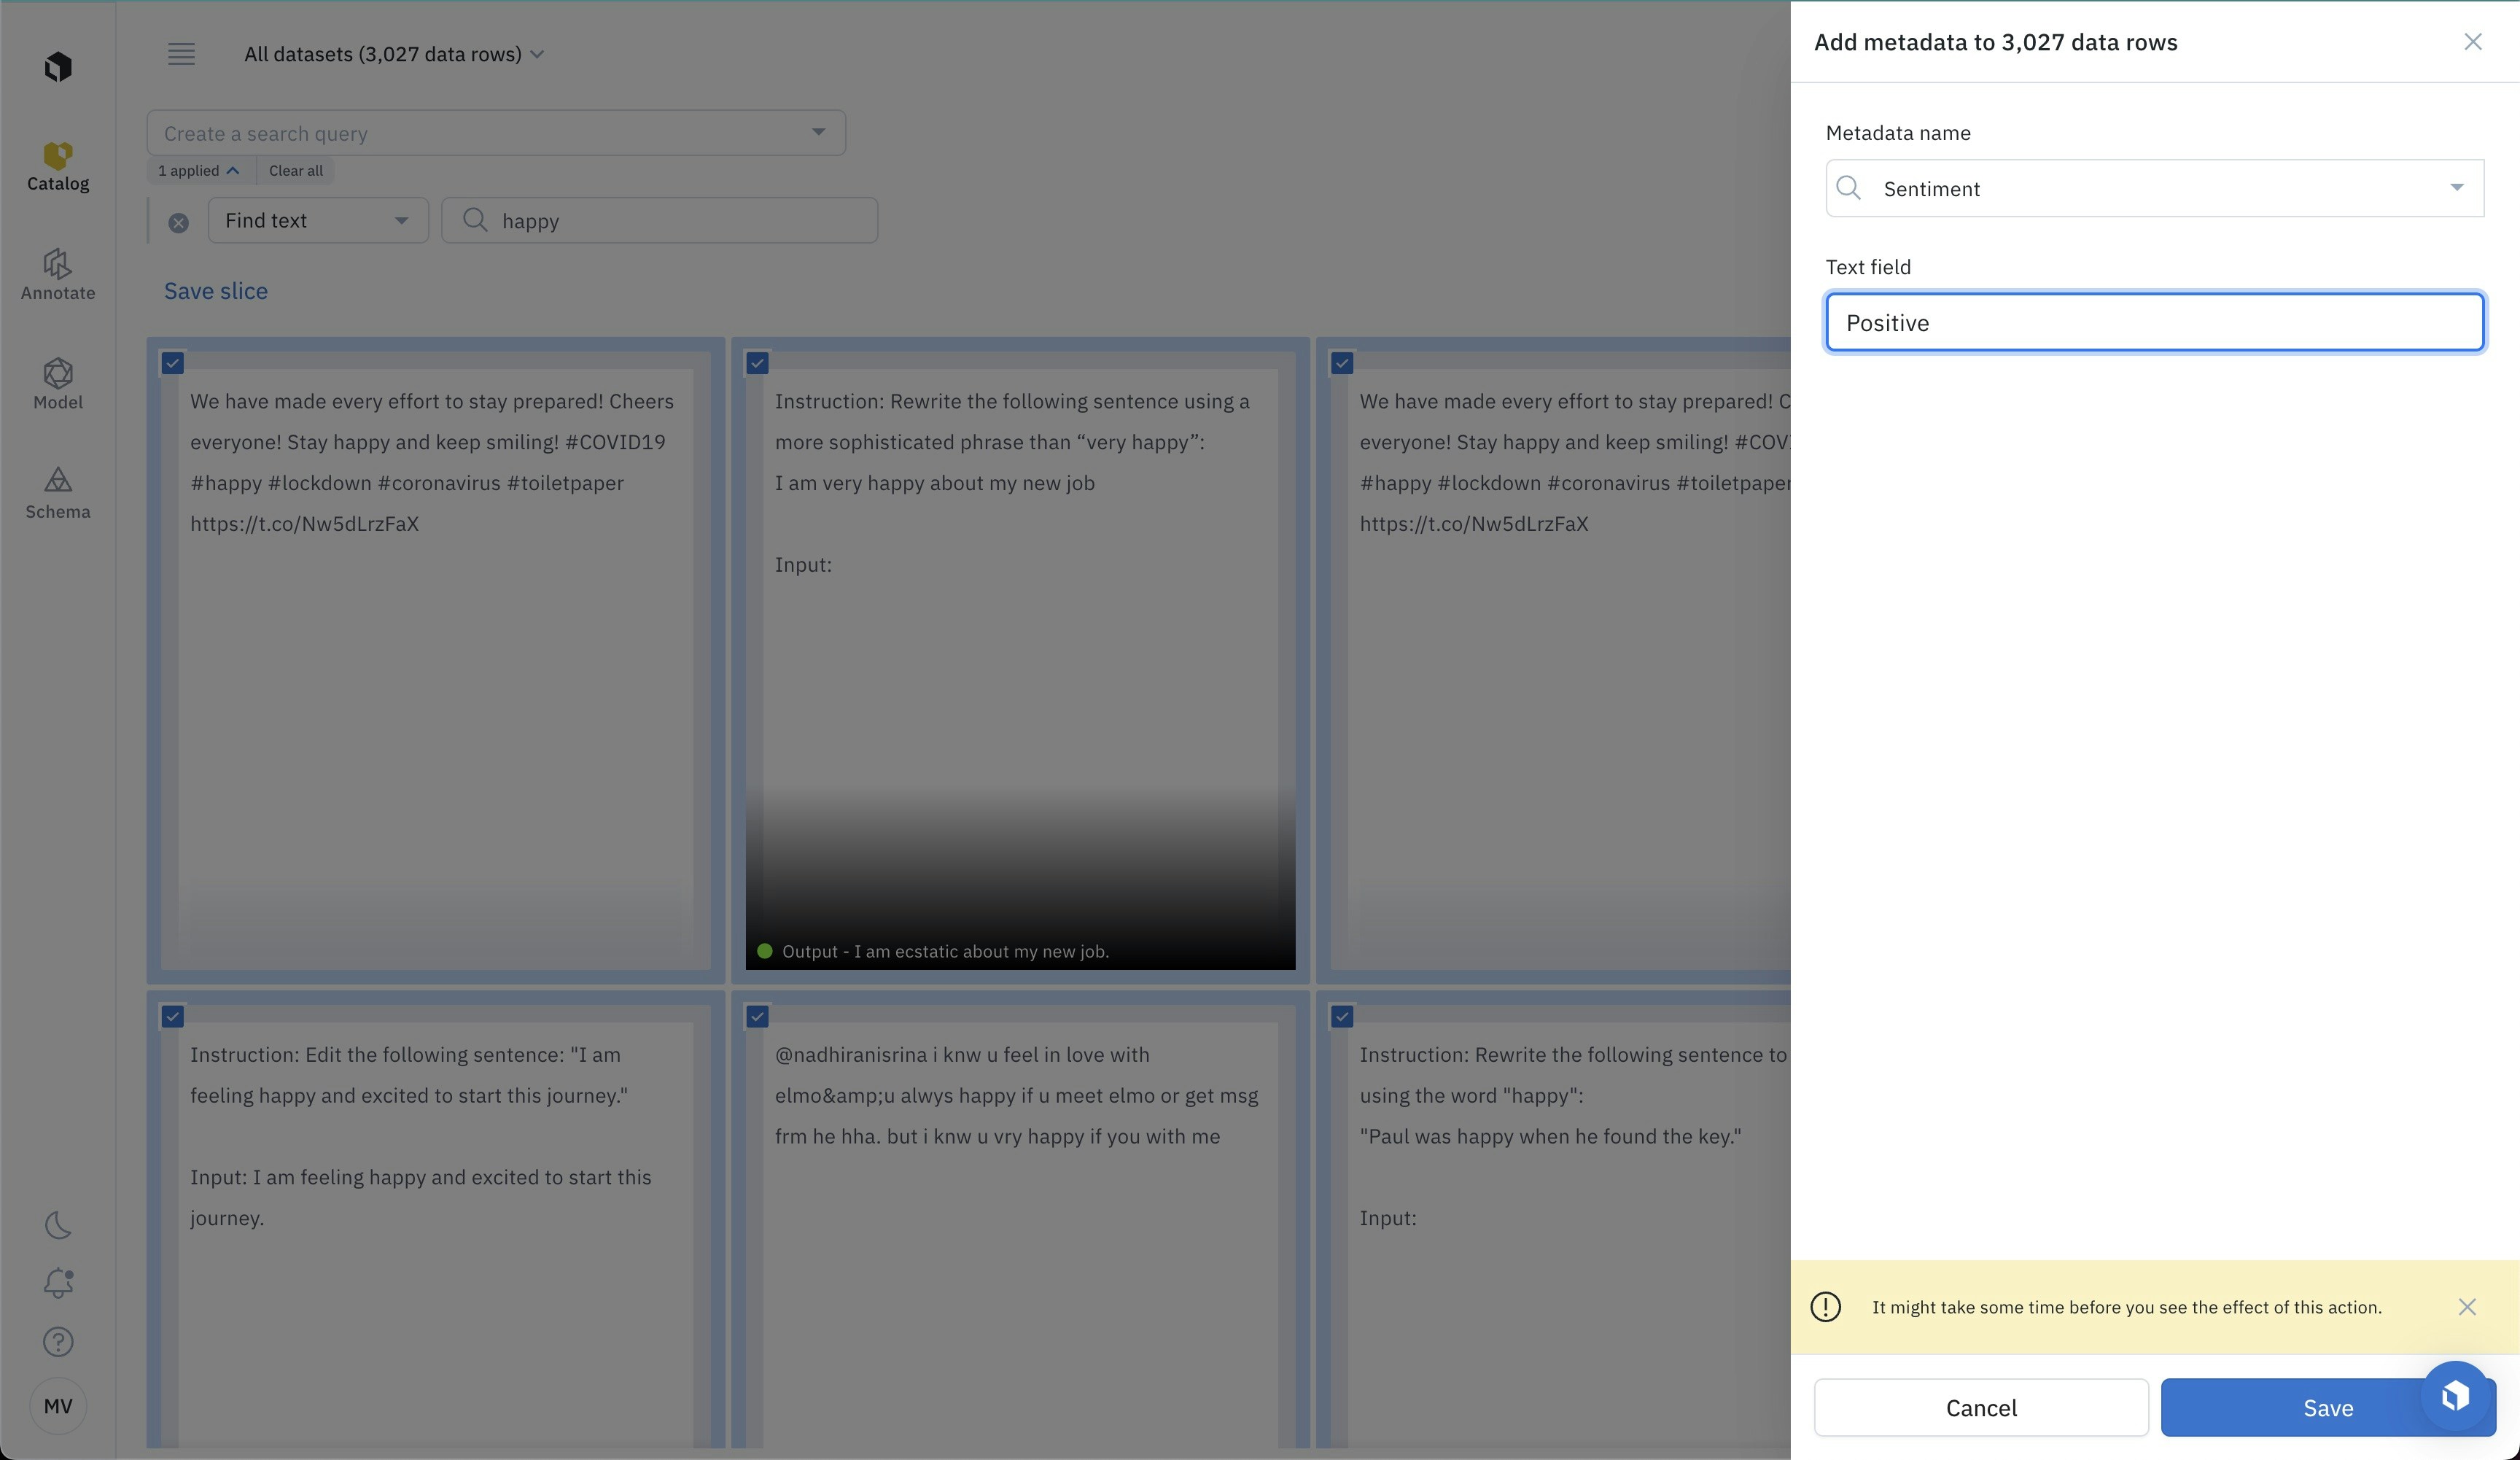
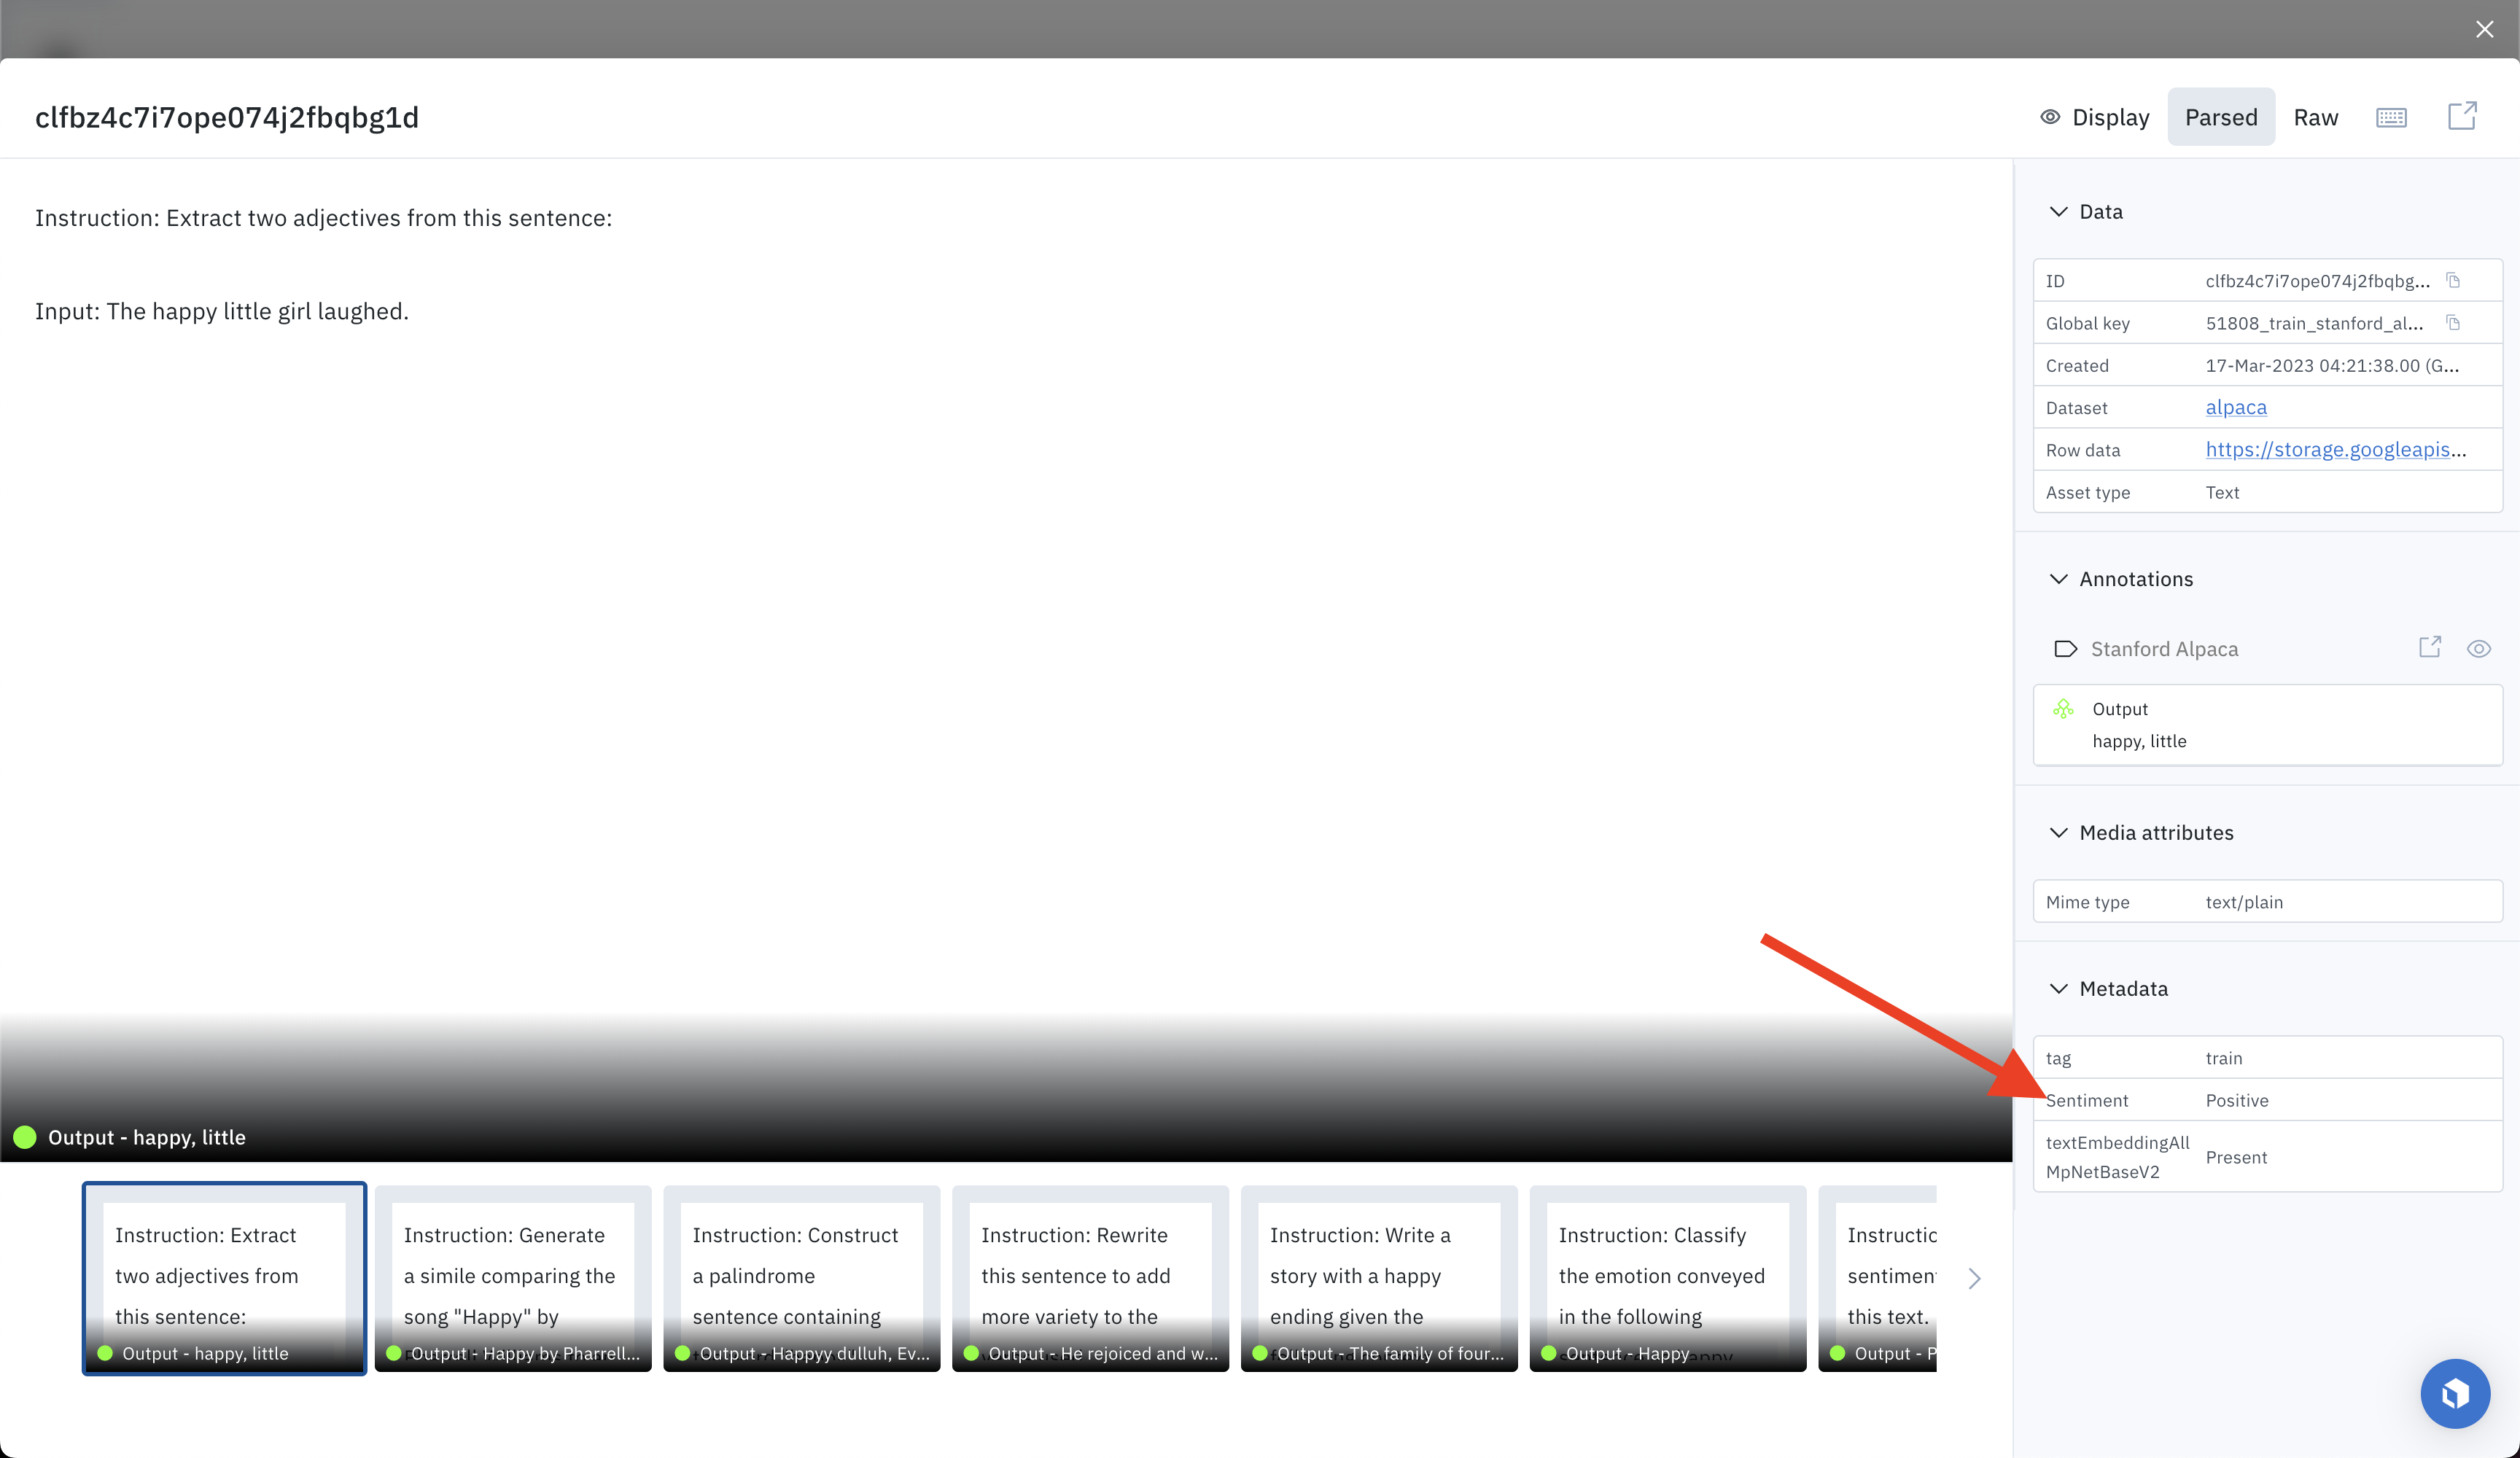
View metadata
You can surface data rows with the new metadata values, by searching on metadata in Labelbox.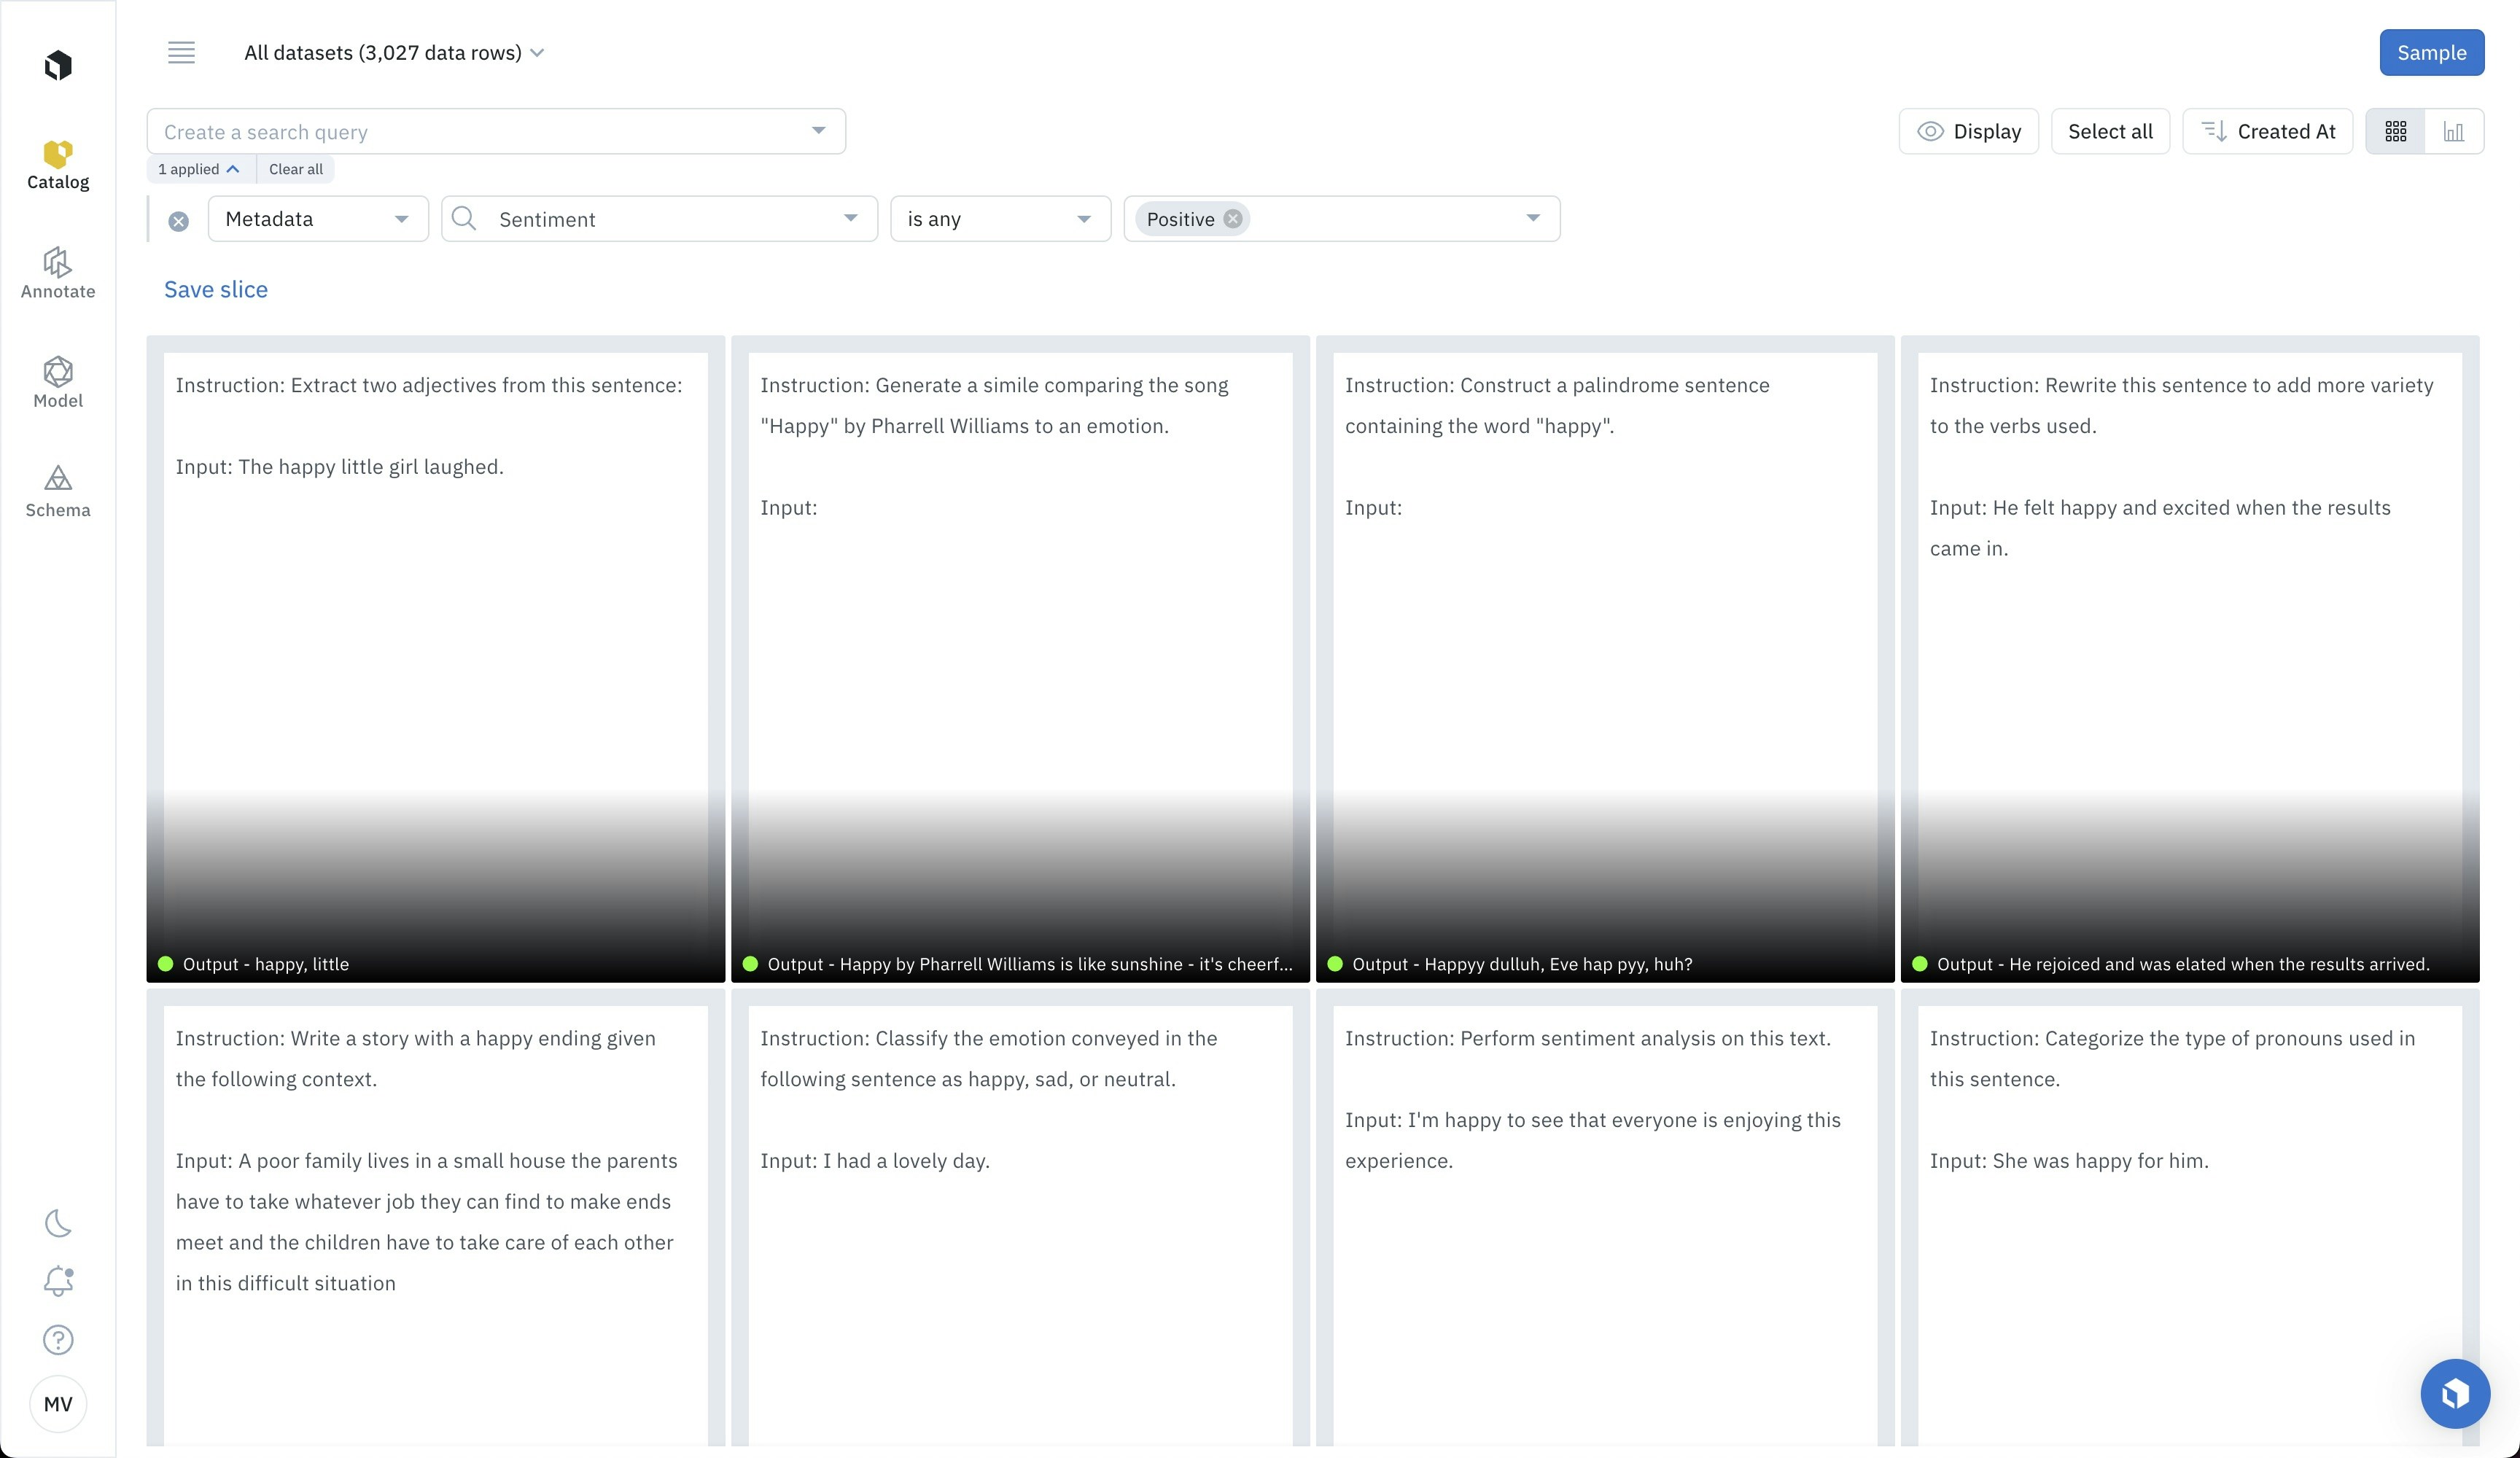
Filter metadata
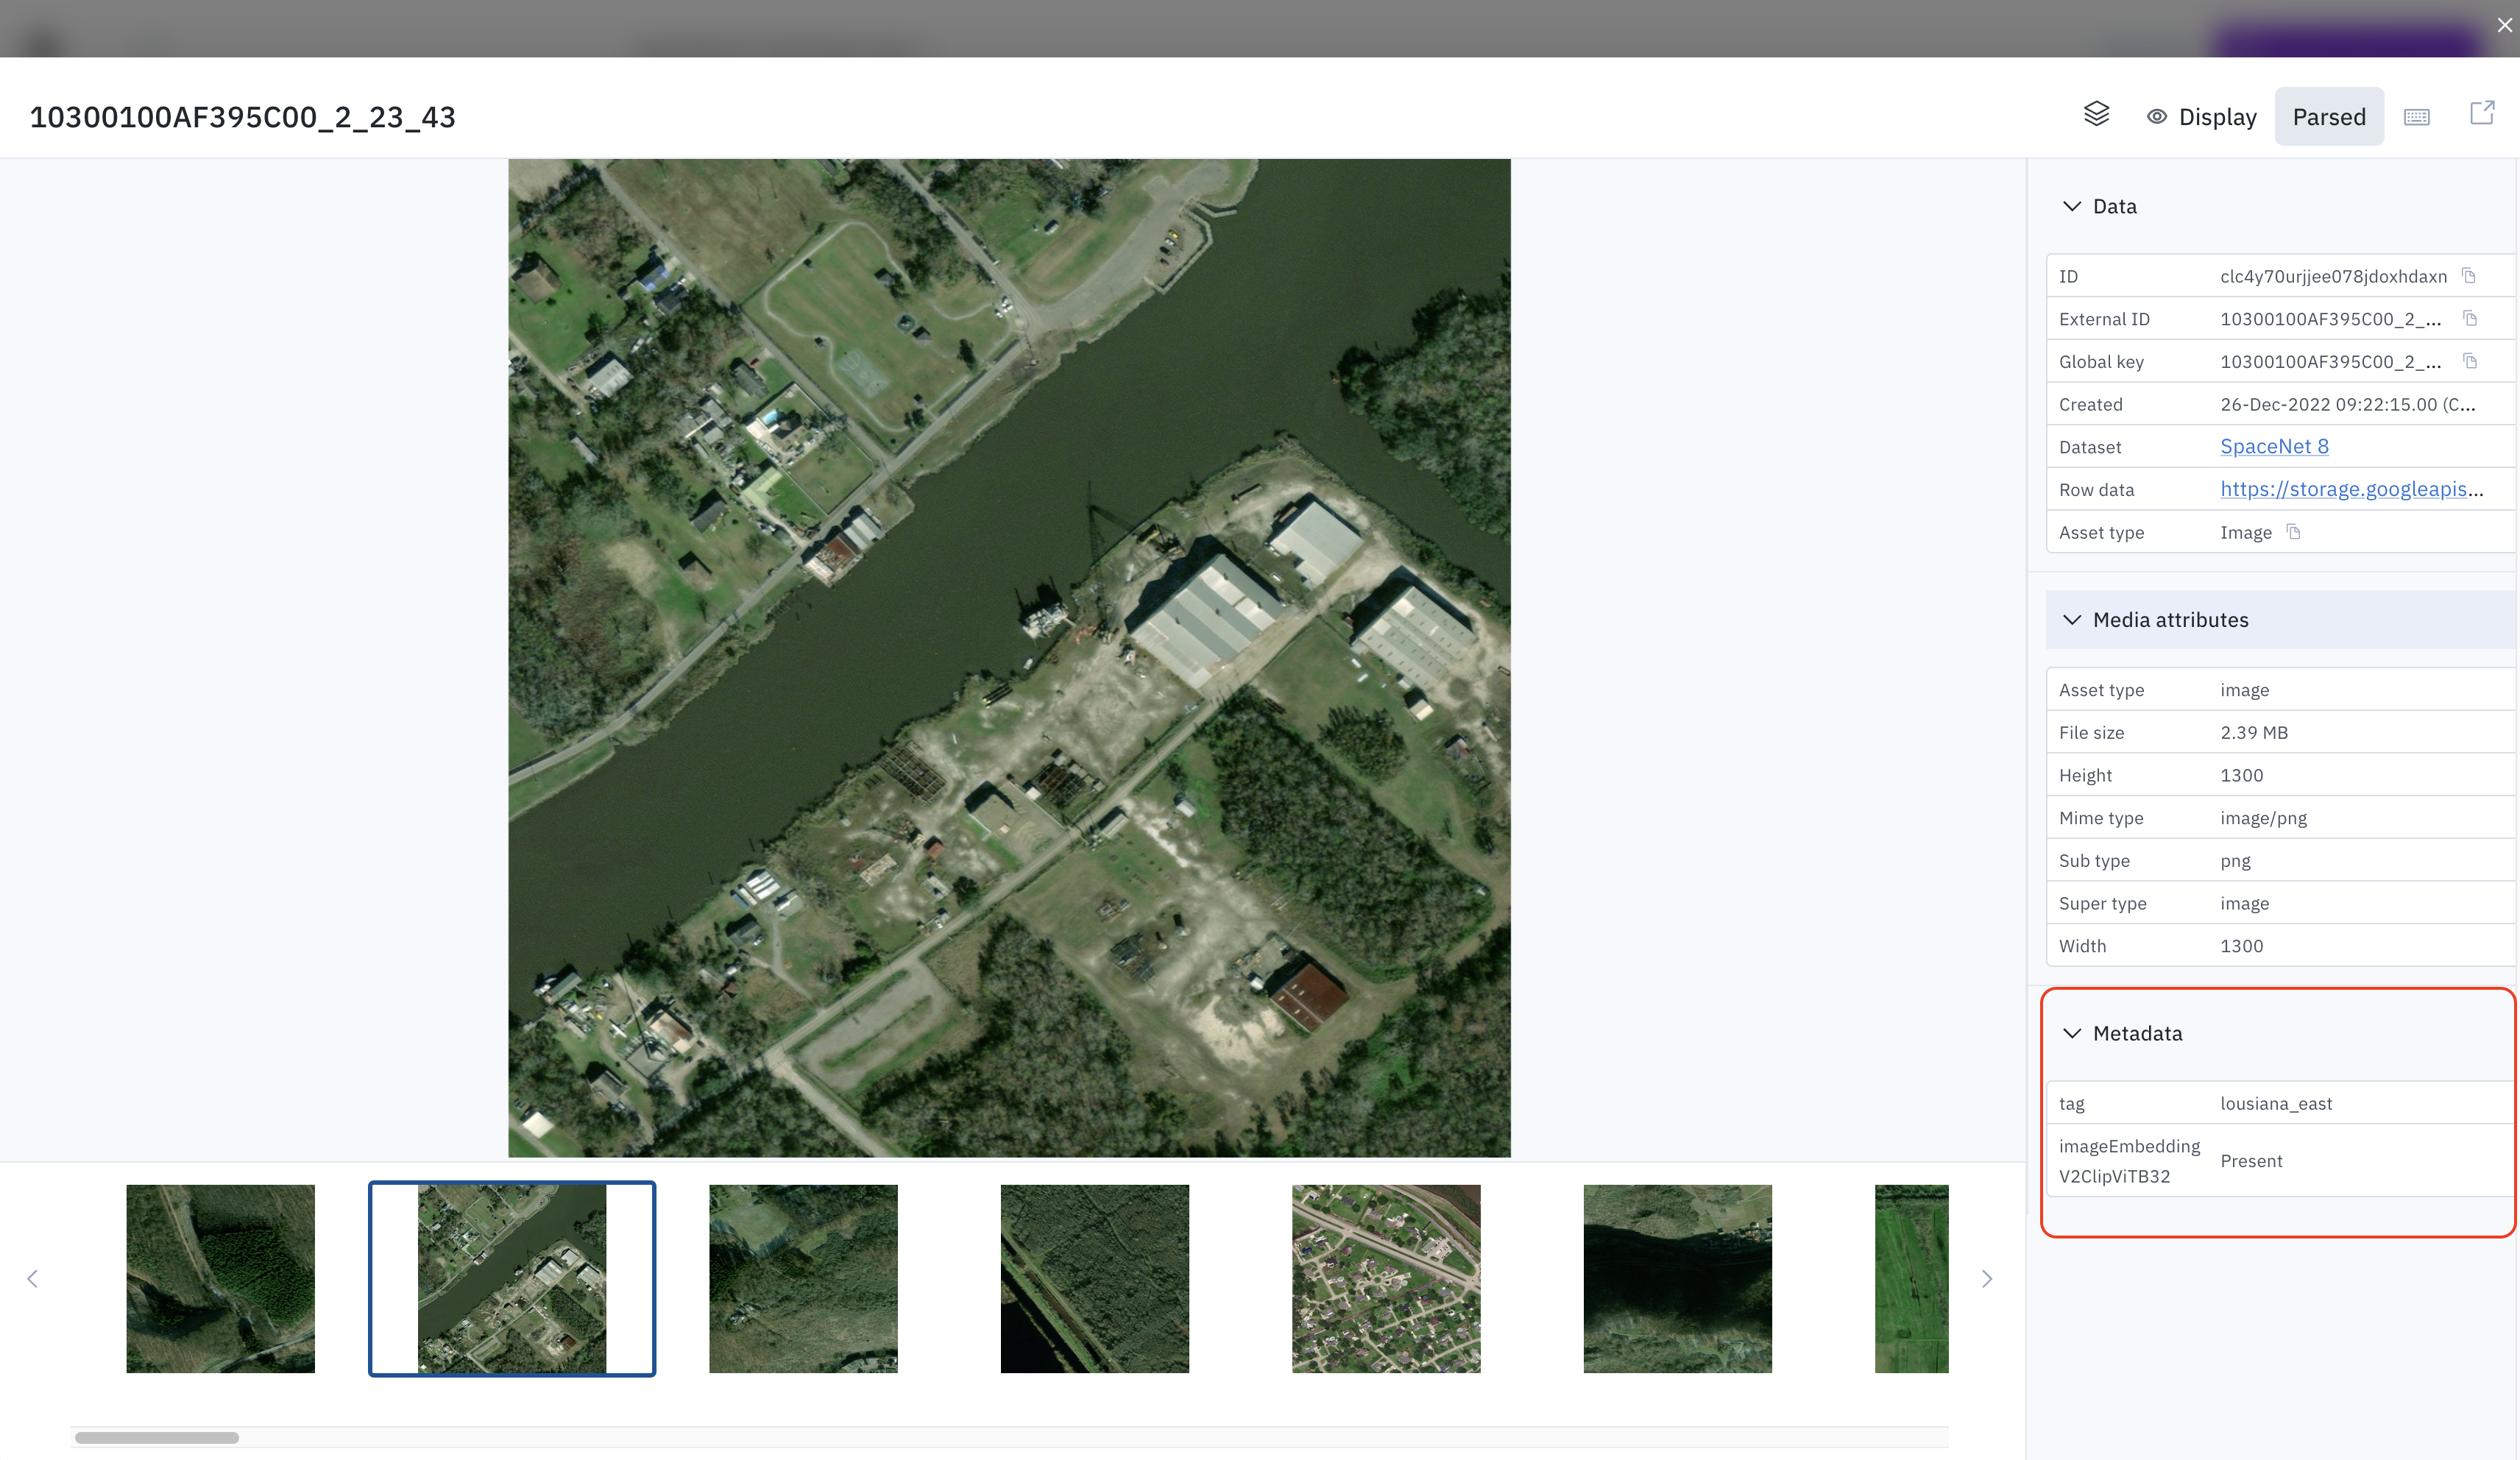
Once you upload your metadata, you can easily filter and view metadata in Catalog. If you want to label this set of data rows, you can filter by that metadata field and send them to a labeling project as a batch.Metadata viewing access
Labelers cannot filter and view metadata in Catalog. However, labelers will be able to view metadata information in the data row information panel.