Before you start
Before you can use the one-click model training integration, make sure you set up your model training integration first. You only need to connect your training cloud account to your Labelbox organization once. Then, you can use the same integration for all model training requests. Below are the annotation types that are supported directly by our reference models.| Annotation type | Reference model |
|---|---|
| Rectangle (bounding box) | Object detection |
| Radio and checklist | Image single/multi-classification Text single/multi-classification |
| Text Entity | Named entity recognition |
Step 1: Configure the model training settings
- To configure the settings for your model training integration, go to the Settings tab and click Model training.
- In the URL, input the IP address of your training pipeline coordinator deployed in the cloud (it should be printed in the console once at the end of the deploy script).
- Replace Secret with the
SERVICE_SECRETyou set in your.envfile. - Then, click Save.

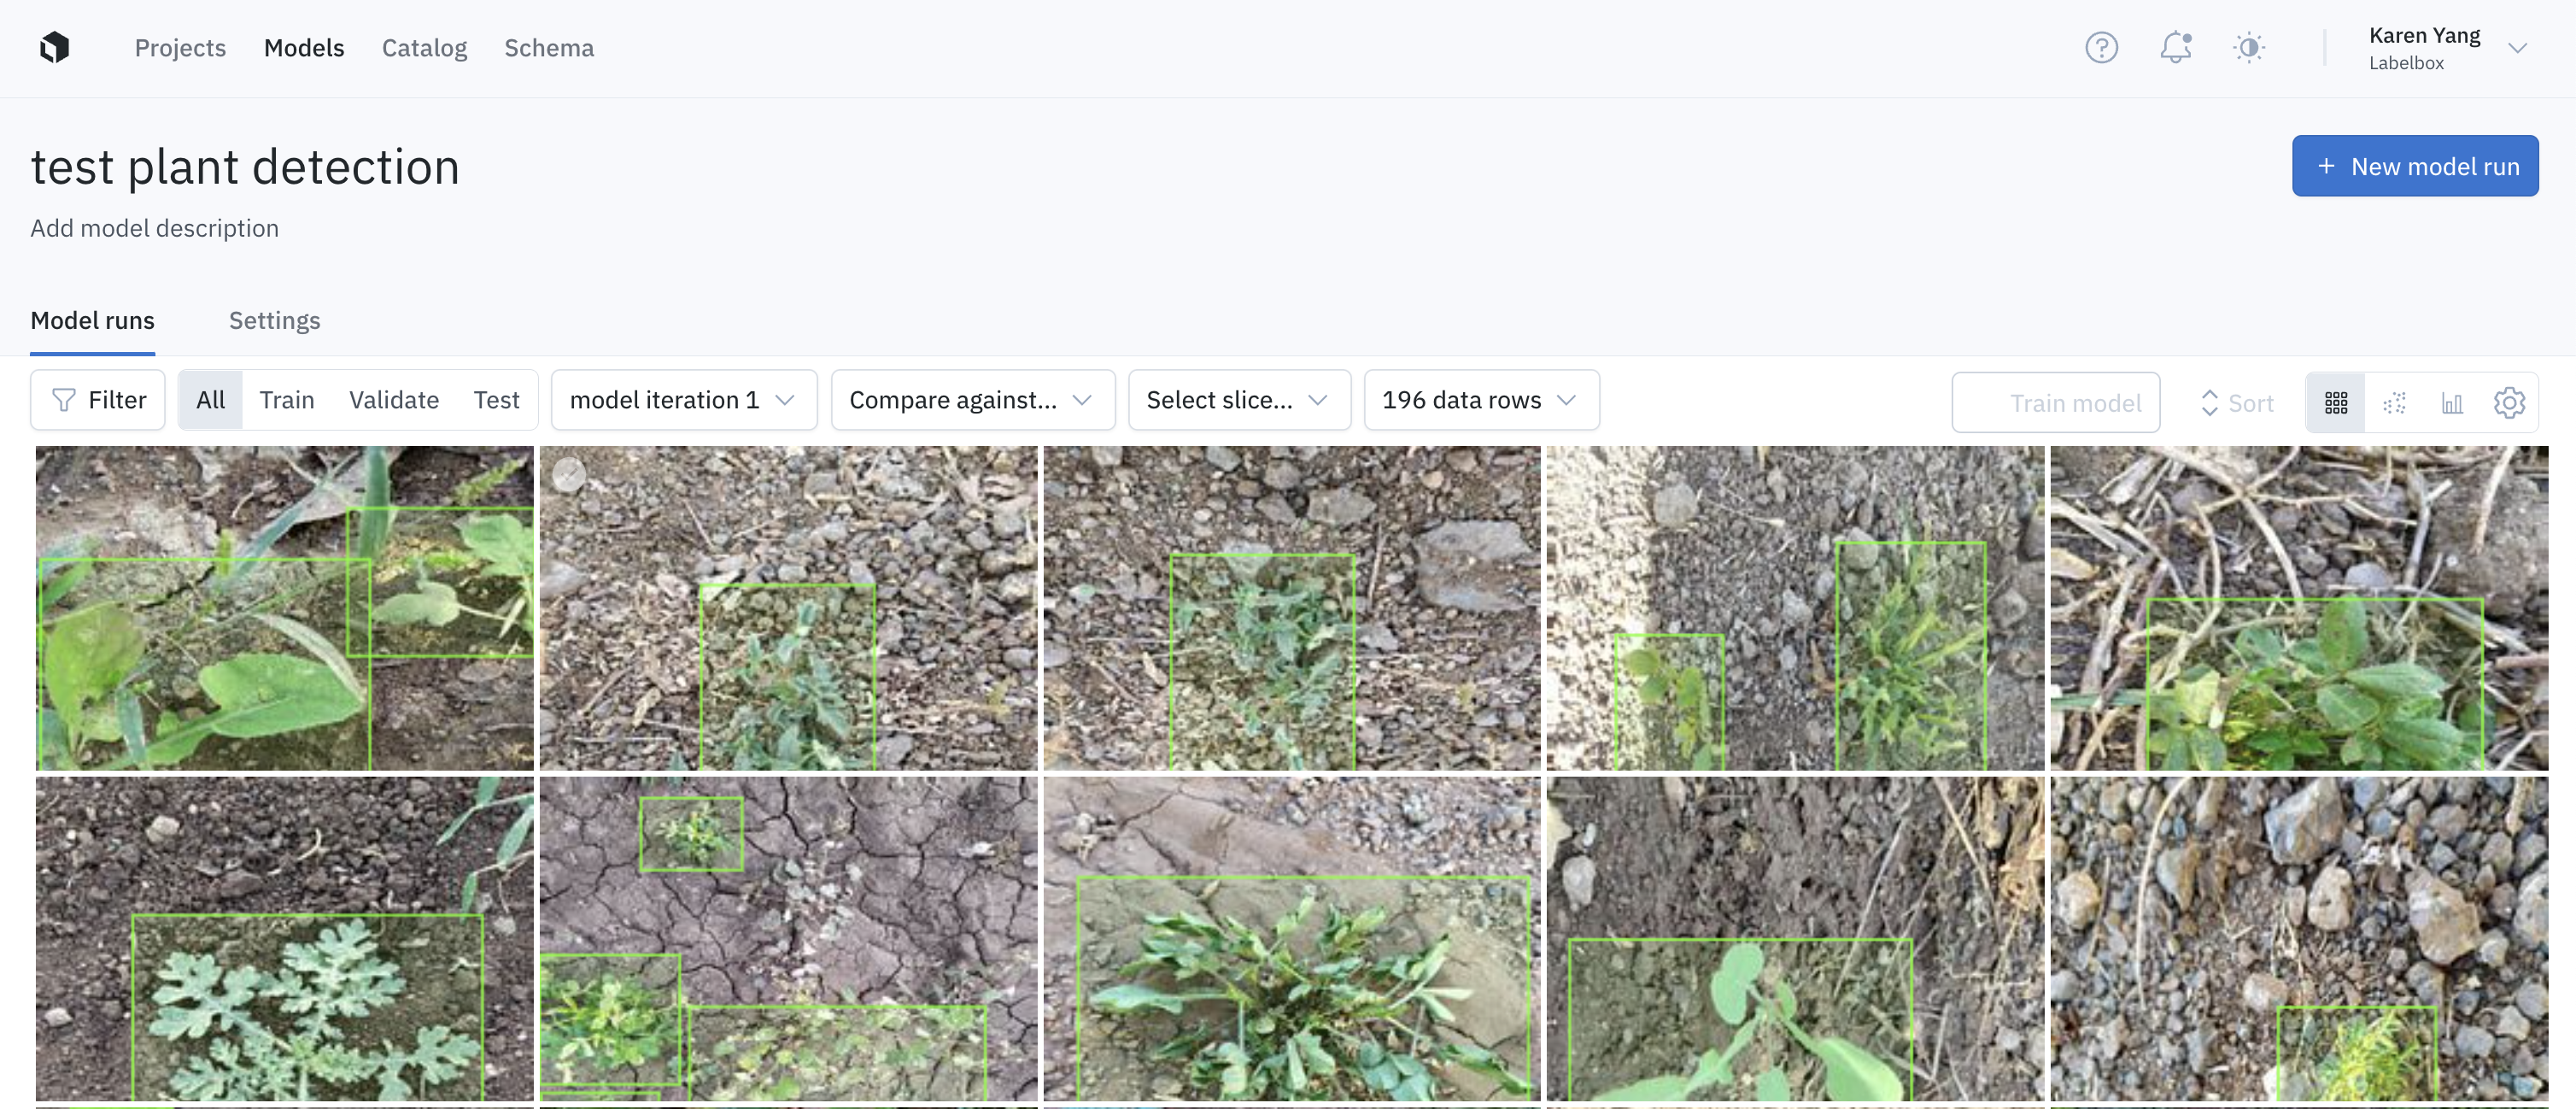
Step 2: Select the machine learning task
Now that you have the integration settings configured, go back to the Model runs tab where the Train model button should now be activated.- Click Train model to select one of the available models.
- You will see a list of reference models provided by Labelbox. If you set up your custom training pipeline, those options should appear here as well.
- Once you select the model, click Submit to start model training.
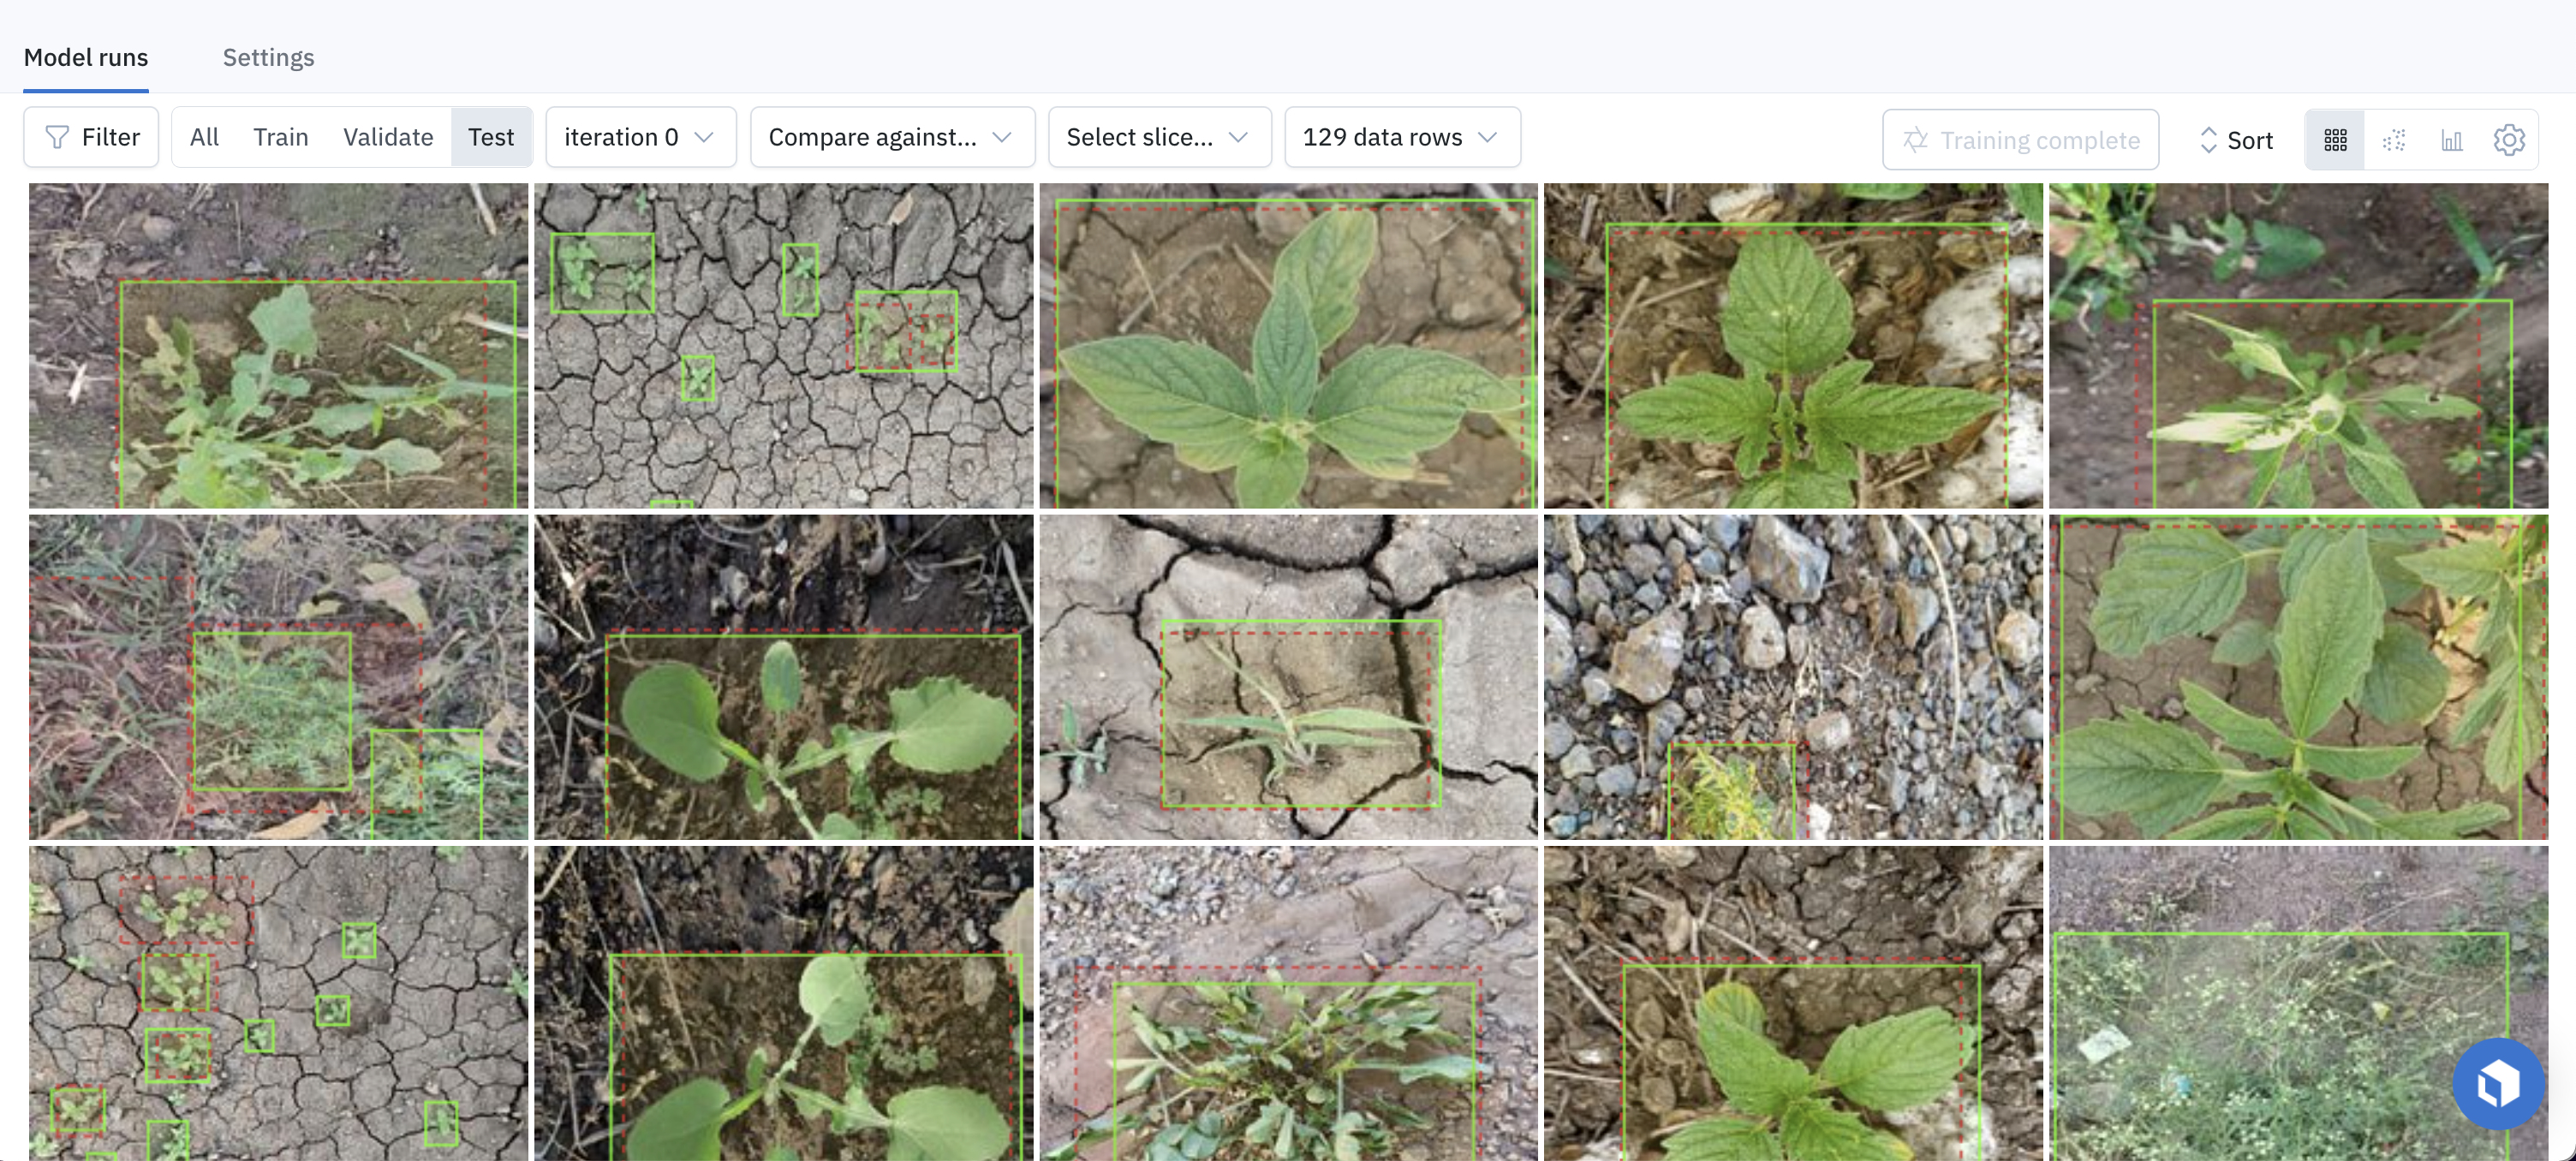
Step 3: View results
The model training will take a few hours to complete. You can come back to the Model runs page to check its progress. Once the training is complete, you can view the predictions of the model on each data row as well as quantitative evaluation results.