
Import conversational text
To learn how to import conversational text data, visit our documentation on importing conversational text.Supported annotation types
Below are all of the annotation types you may include in your ontology when you are labeling conversational or thread data. Classification-type annotations can be applied globally and/or nested within an object-type annotation.| Feature | Import annotations | Export annotations |
|---|---|---|
| Entity | See payload | See payload |
| Relationships | See payload | See payload |
| Radio classification (Global or message-based) | See payload | See payload |
| Checklist classification (Global) | See payload | See payload |
| Free-form text classification (Global) | See payload | See payload |
Entity
To create an entity, simply choose the entity tool in your ontology and select the text string by clicking the desired starting character and dragging to select a sequence of characters in the unstructured text.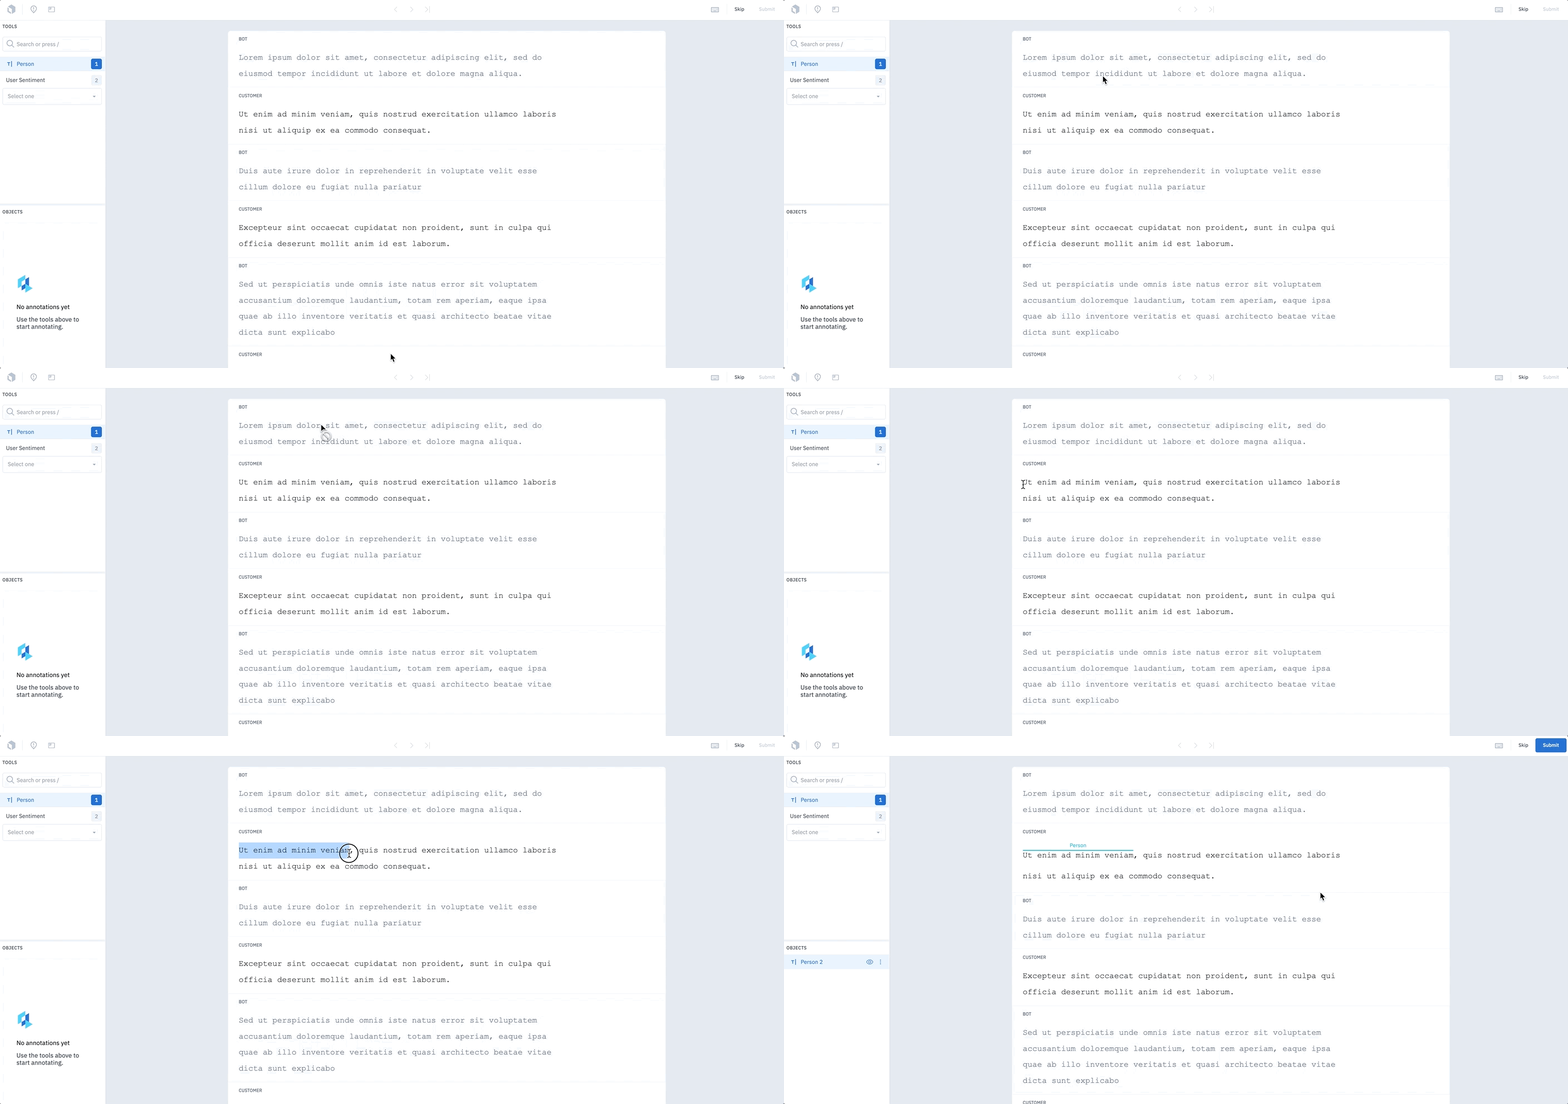
canLabel in the import file. The messages that can be annotated will have a white background while those that cannot be annotated will have a grey background.
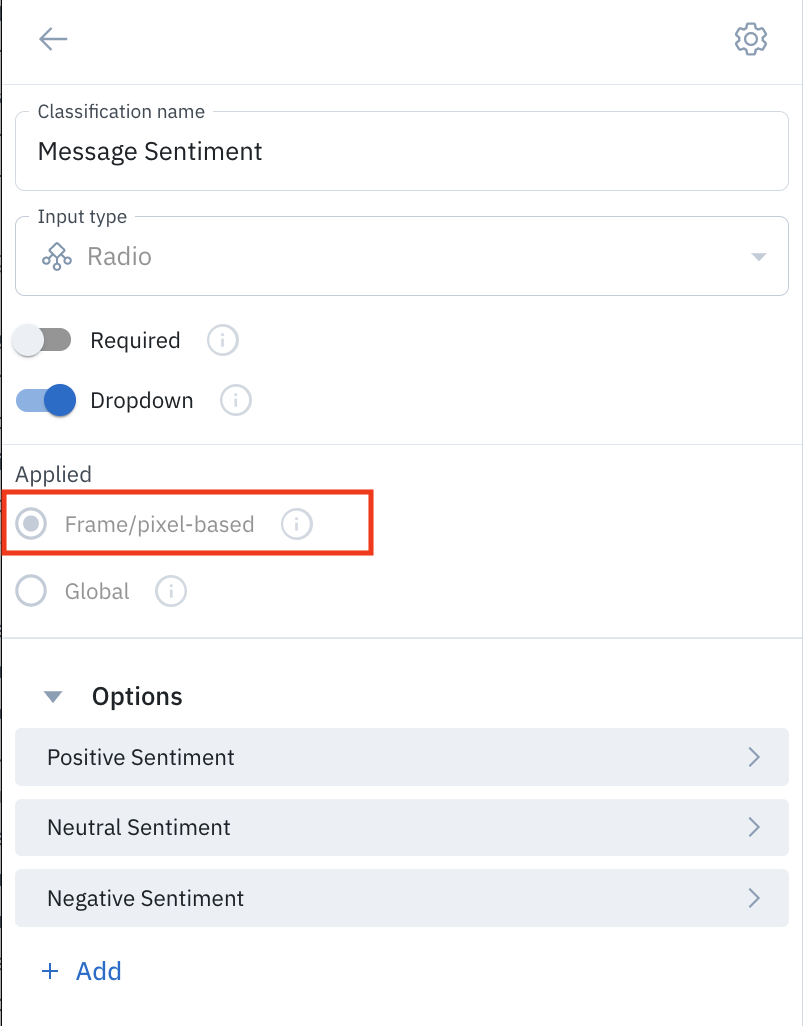
Message-based radio classifications
One unique feature of our conversation editor is the ability to label specific messages in a conversation with a radio classification value. This enables you to annotate messages with values such as intent or user sentiment.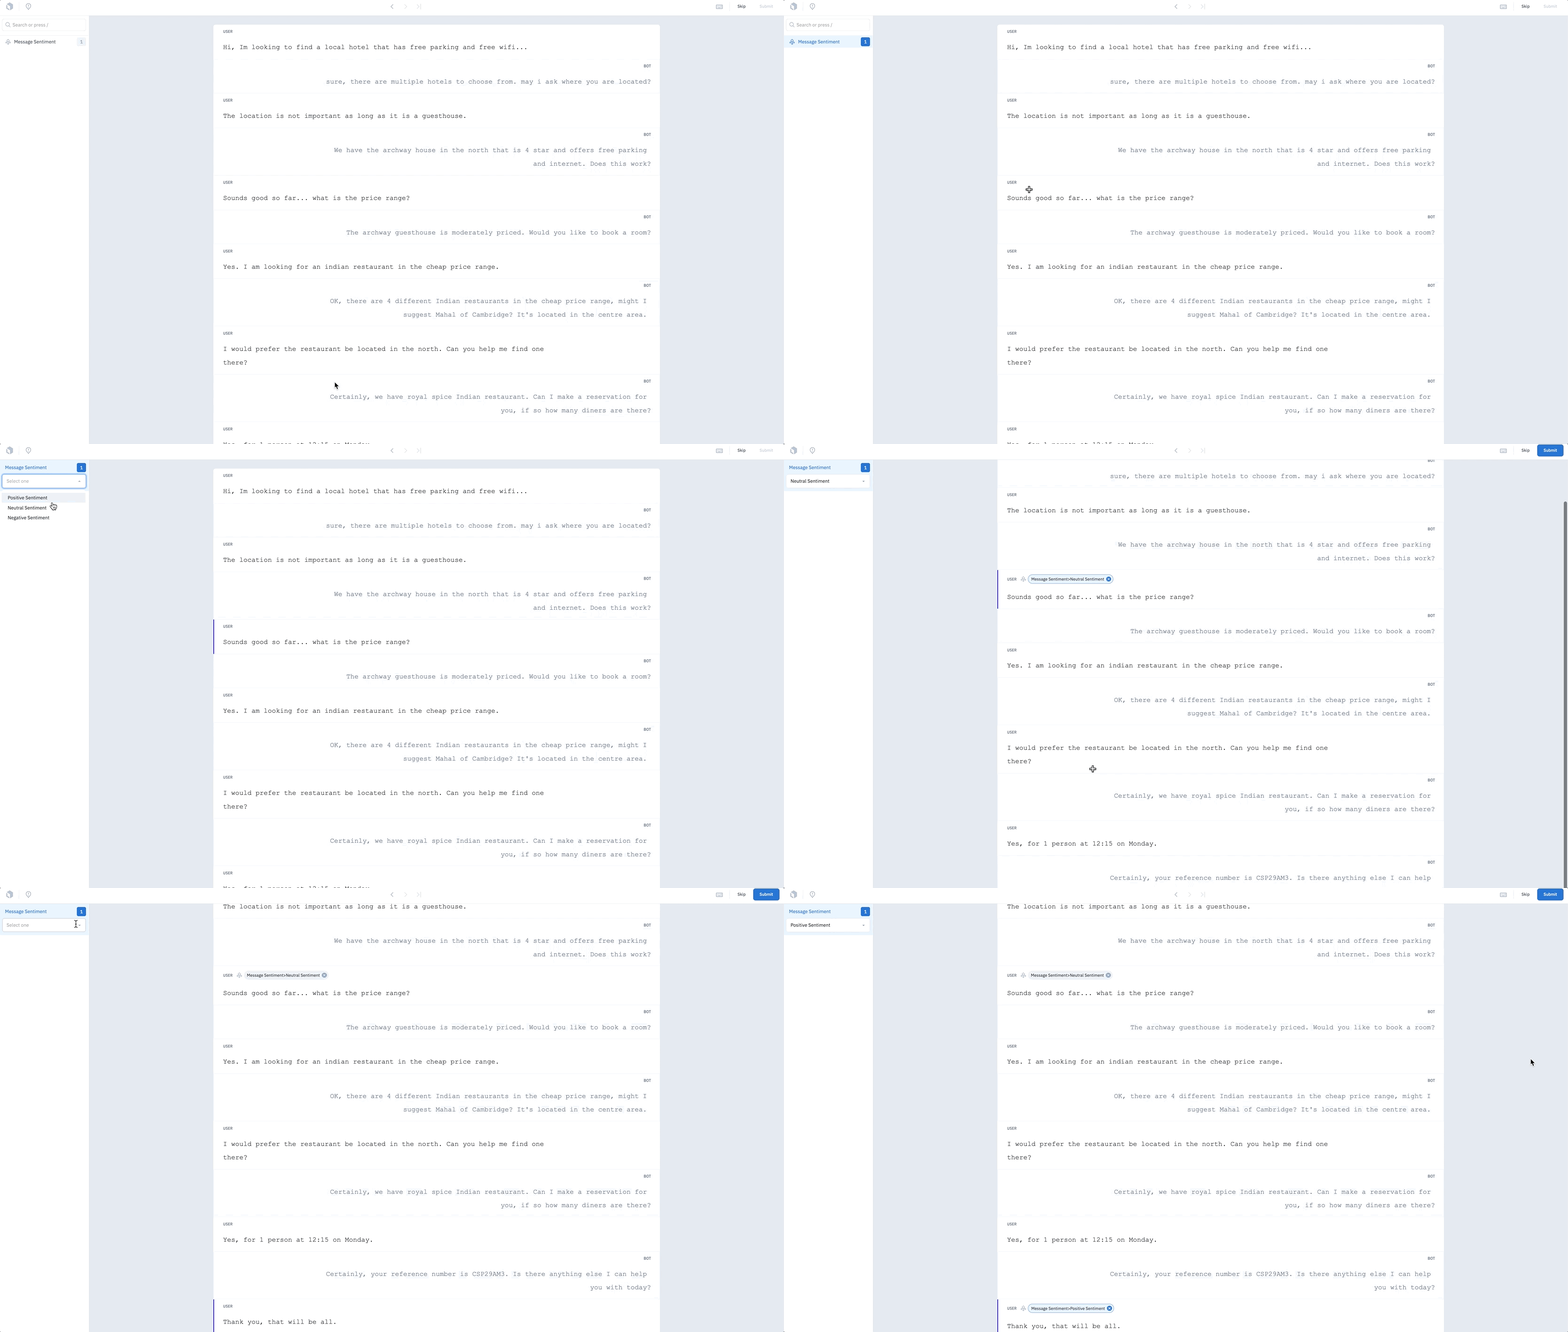
Relationship
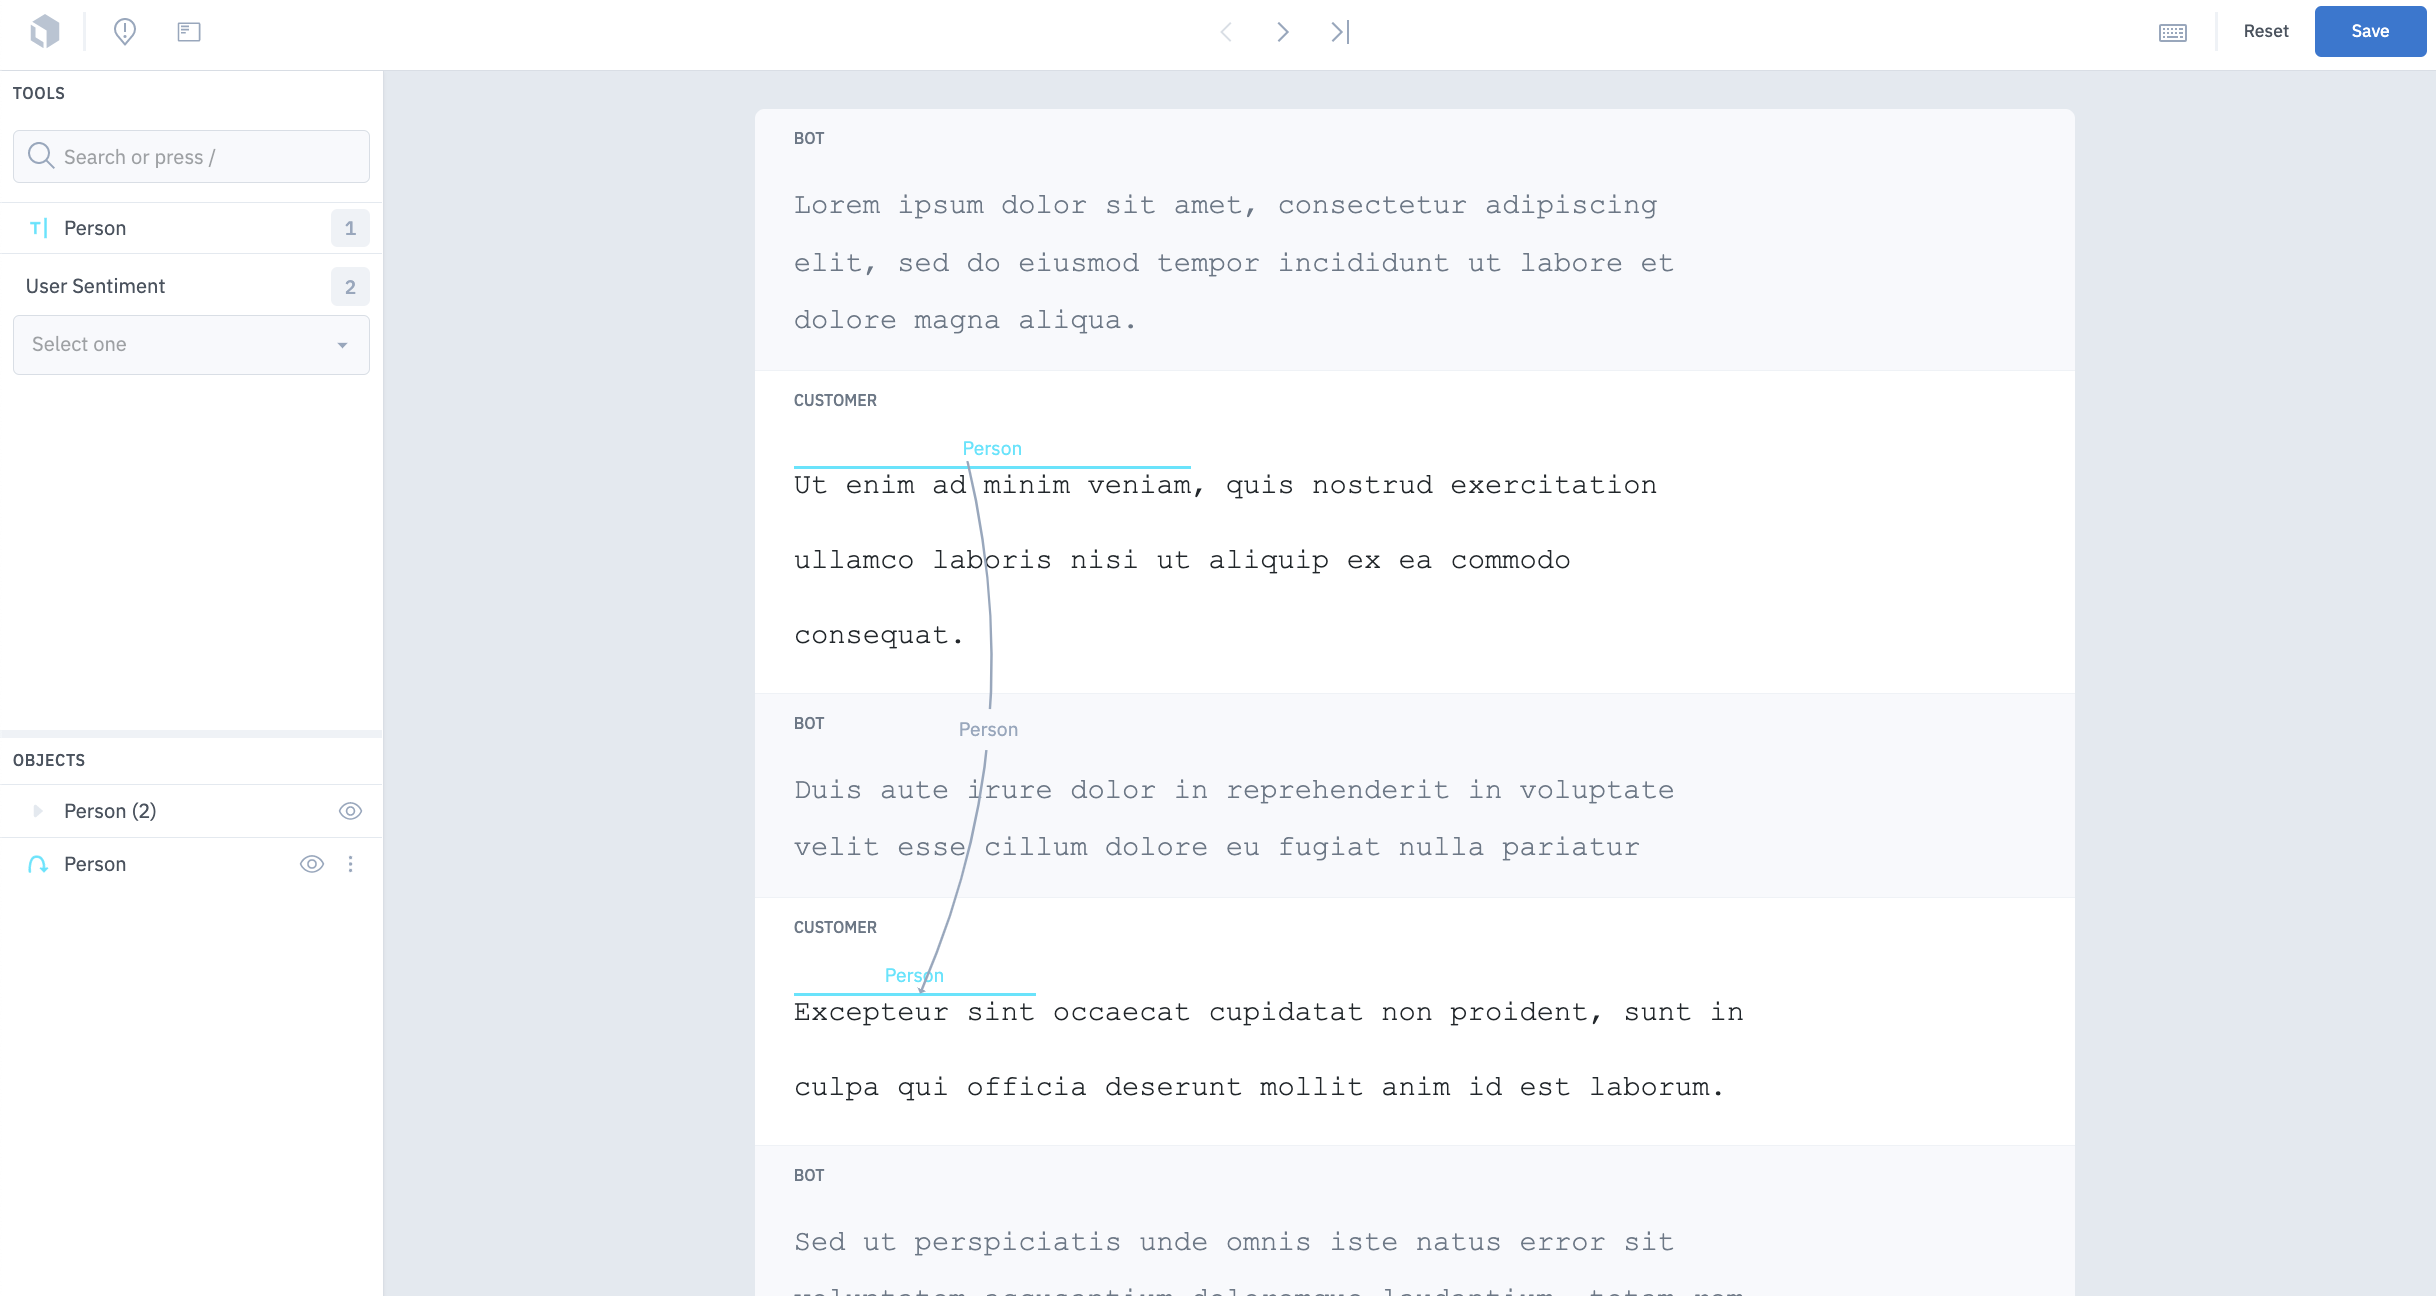
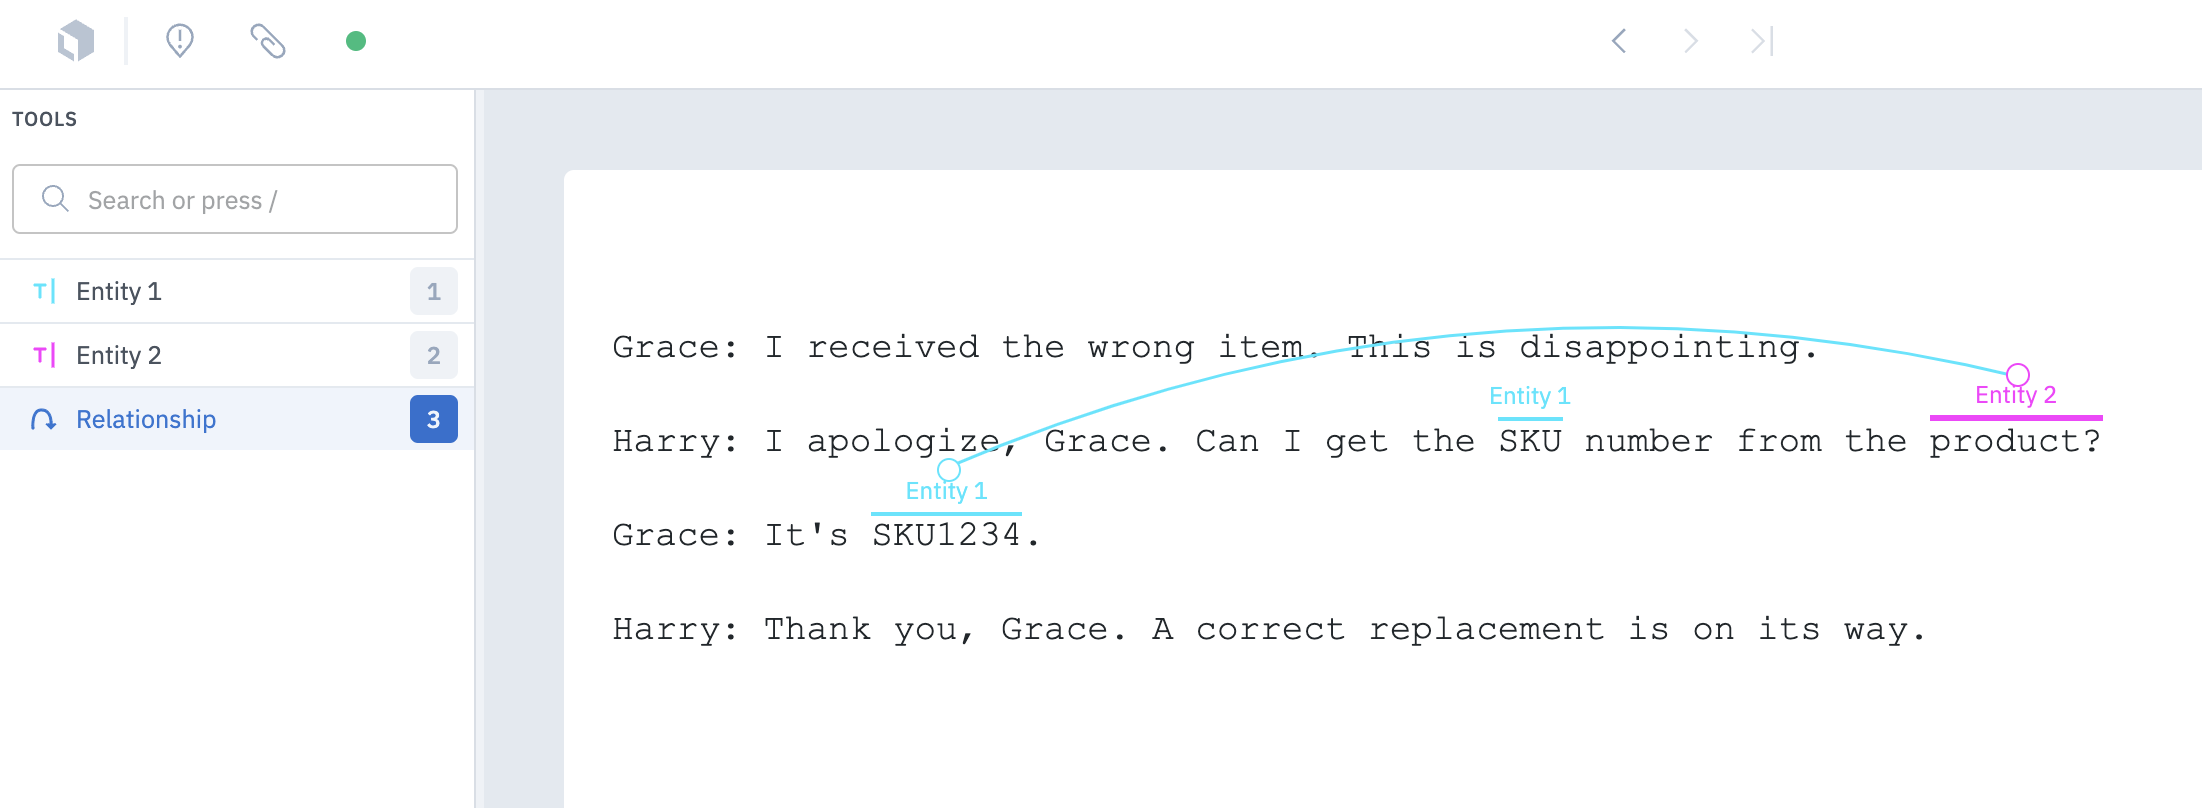
With annotation relationships, you can create and define relationships between entity annotations in the conversational text editor. You can then use these annotation relationships to consolidate labeling workflows and potentially reduce the number of language models needed. Follow these steps to create a relationship between two entity annotations:- In the editor, create two entity annotations.

- Select the relationship annotation from the Tools menu, then click on one of the entity annotations. To create the relationship, move your cursor to another entity and click to create the relationship.
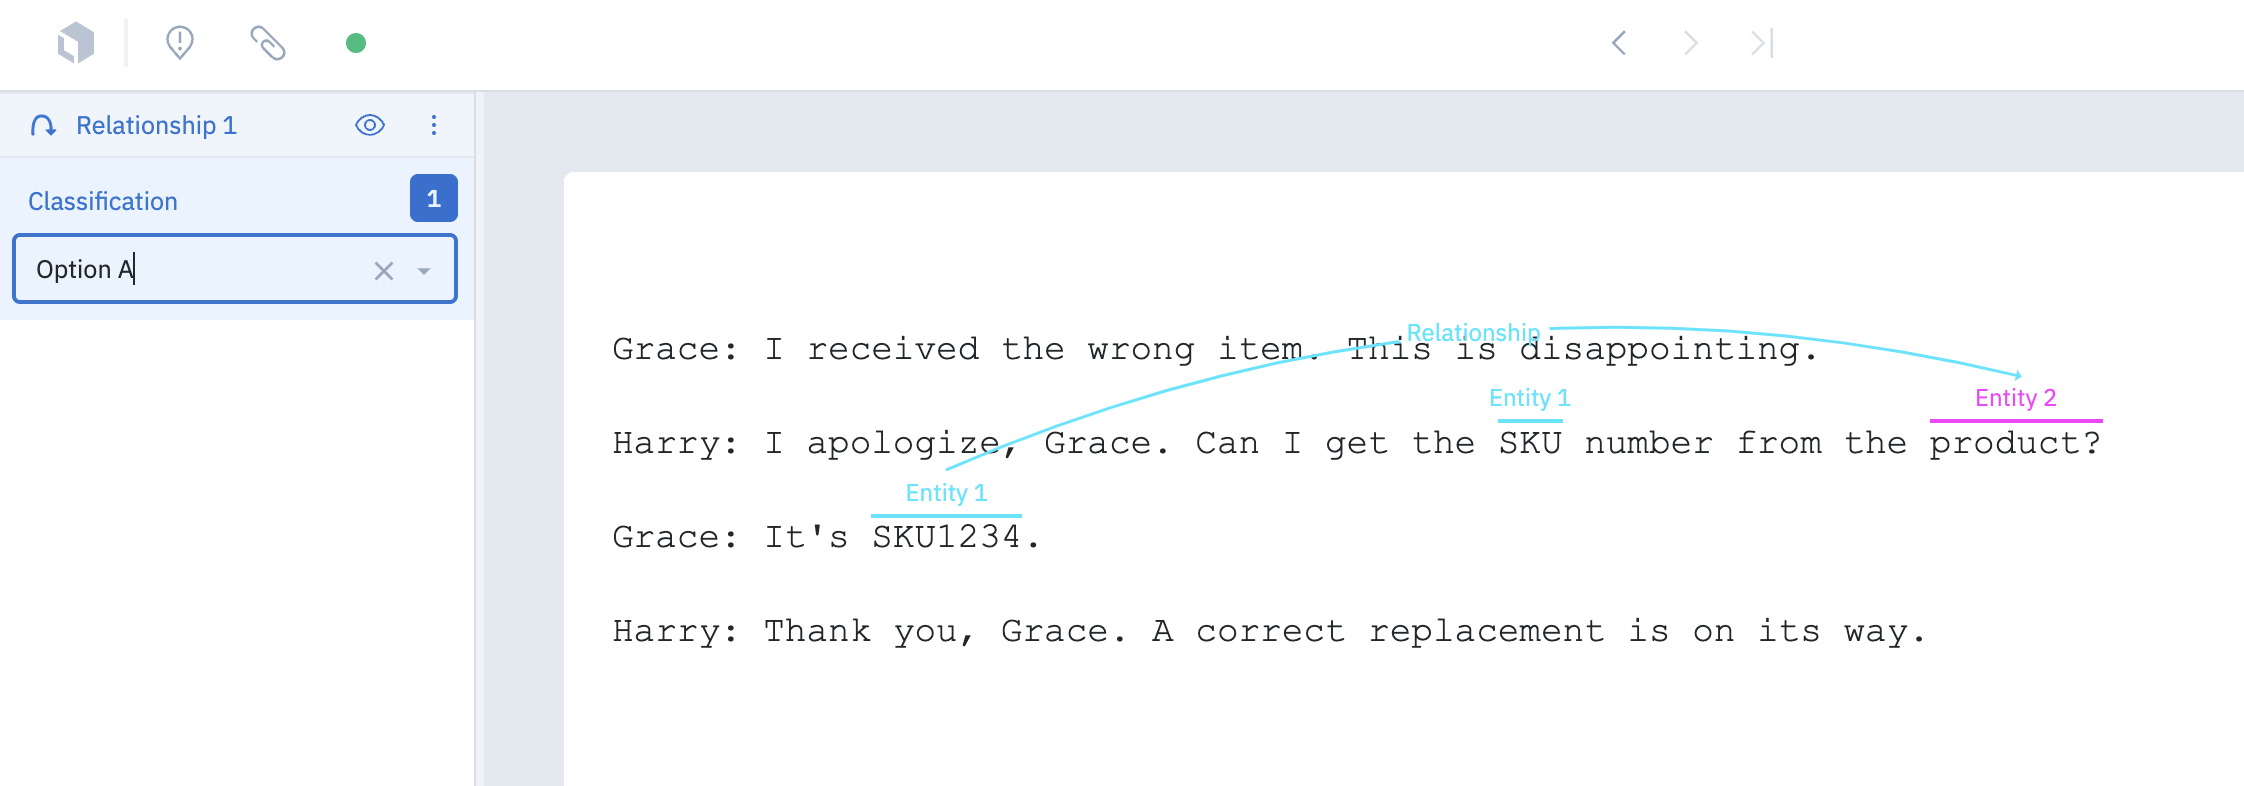
- Add an optional subclassification to the relationship.
Text-specific hotkeys
| Function | Hotkey | Description |
|---|---|---|
| Create a relationship | Option + Click (source) + Click (target) | Select an entity to be the source of a relationship, then connect it to another entity to be the target. |