Set up live multimodal chat evaluation projects
The following steps walk you through how to set up a live multimodal chat evaluation project on the Labelbox platform. To learn how to set up a live multimodal chat evaluation project using the SDK, see Multimodal chat evaluation projects.Step 1: create a project
- On the Annotate projects page, click the + New project button.
- Select Multimodal chat, and then select Live multimodal chat.
- Provide a name and an optional description for your project.
-
Select the type of project configuration from:
- Text Chat with Media: Standard MMC editor with text prompts and media attachments
- Audio Prompt Conversation: Users record audio prompts
- Video Prompt Conversation: Users record video prompts
- Realtime Camera Chat: Users have a realtime camera conversation with the model
- Realtime Audio Chat: Users have a realtime audio conversation with the model
- Realtime Screen Capture Chat: Users have a realtime screen capture conversation with the model
-
Configure the data source by selecting from:
- Create a new dataset or Append data to existing dataset, and then specify the number of data rows you want to generate.
- None of the above to skip generating data rows during project creation and generate them later.
Step 2: Add data
If you didn’t generate data rows during project creation or want to add more data rows, select Add data from Catalog or Generate new data.
Step 3: Select models
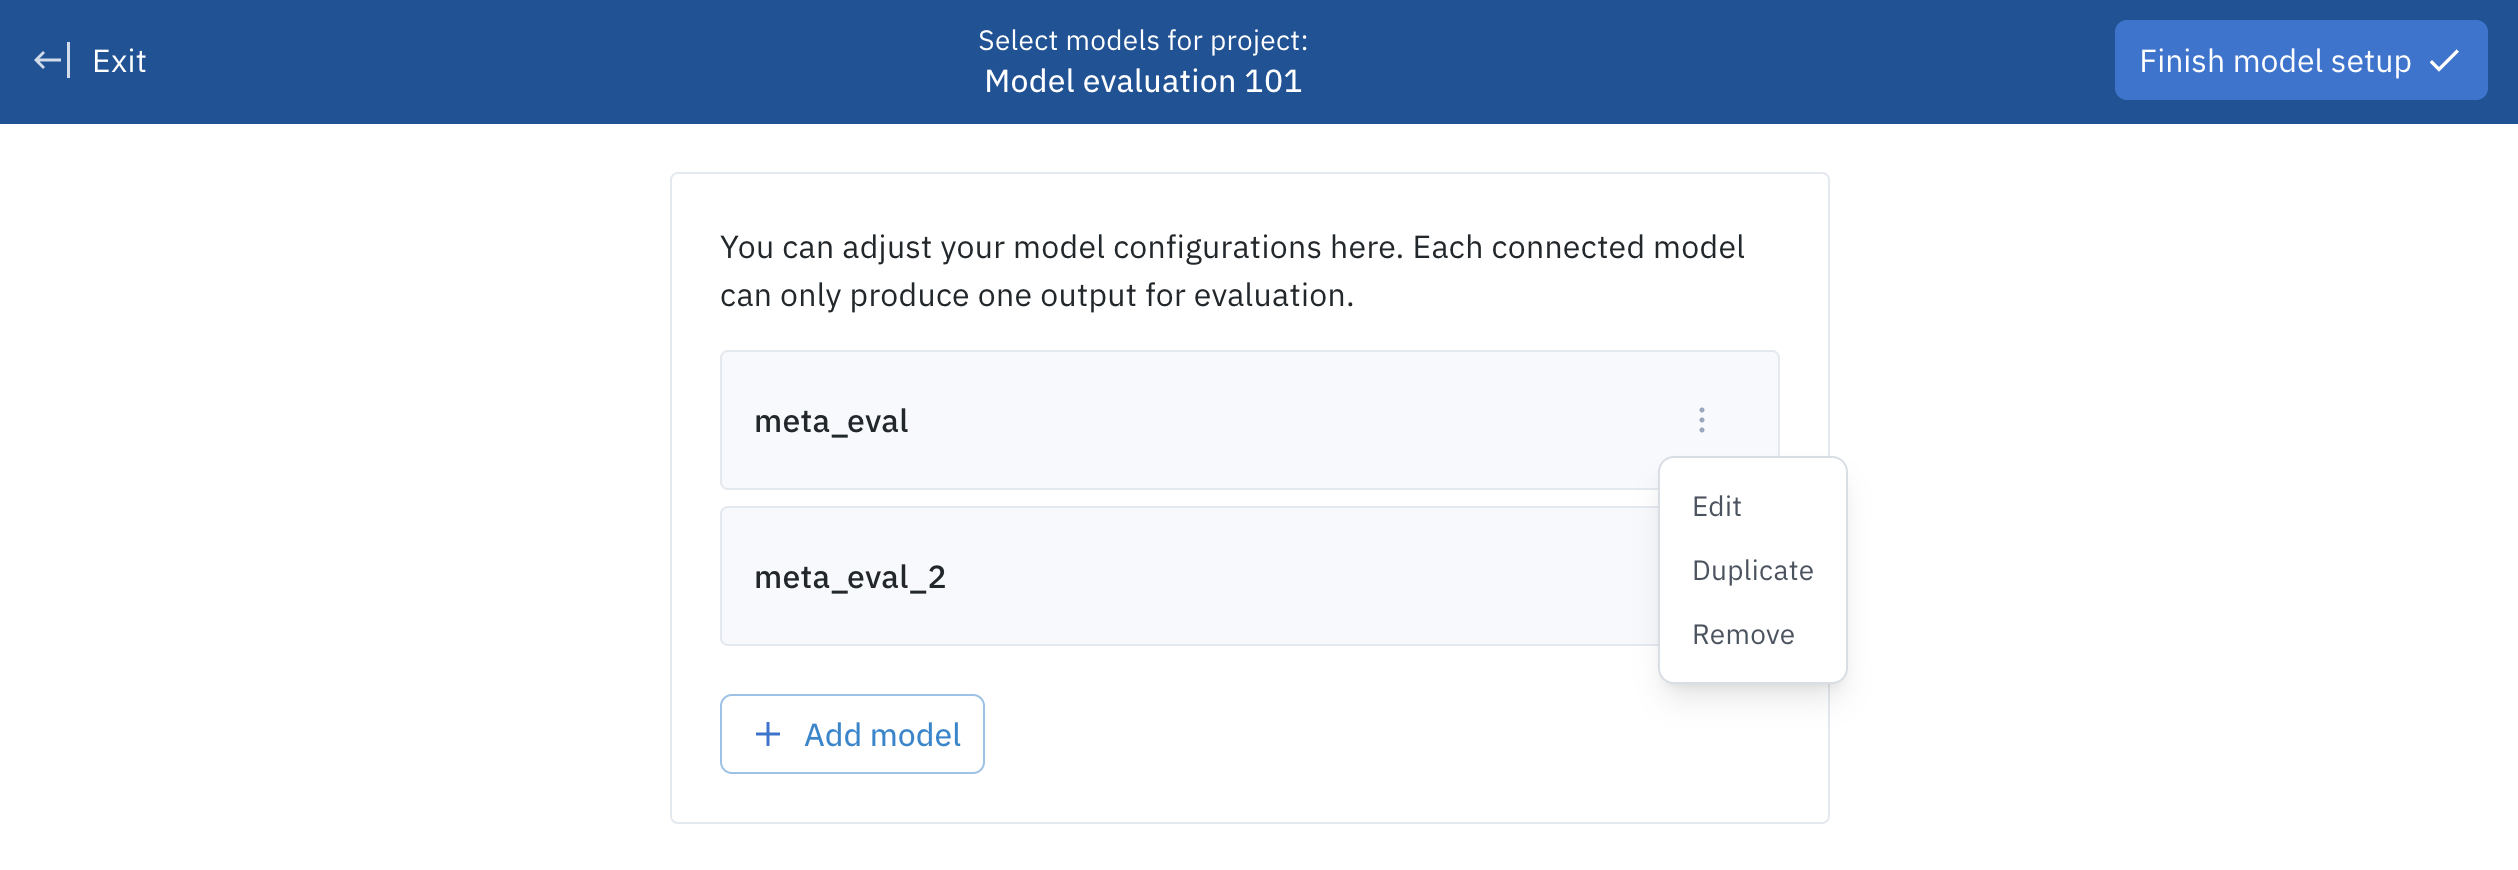
Click the + Add model button to select models for your output evaluation project. Depending on your model selection, you can attach images, videos, and documents (PDF) to your prompt. Currently, you can choose those foundation models integrated by Foundry :| Model | Attachments type |
|---|---|
| AWS Nova Lite | Image, video, and document (PDF) |
| AWS Nova Micro | Image and document (PDF) |
| AWS Nova Pro | Image, video, and document (PDF) |
| AWS Nova Sonic Realtime | Audio |
| Claude 3.5 Haiku | Image and document (PDF) |
| Claude 3.5 Sonnet | Image and document (PDF) |
| Claude 3.7 Sonnet | Image, video, and document (PDF) |
| Claude 3.7 Sonnet Think | Image, video, and document (PDF) |
| Claude 3 Haiku | Image and document (PDF) |
| Claude 3 Opus | Image and document (PDF) |
| DeepSeek R1 | N/A |
| Google Gemini 1.5 Flash | Image, video, and document (PDF) |
| Google Gemini 1.5 Pro | Image, video, and document (PDF) |
| Google Gemini 2.0 Flash Experimental | Image, video, and document (PDF) |
| Google Gemini 2.0 Flash Thinking Mode | Image and document (PDF) |
| Google Gemini 2.5 Pro | Image and document (PDF) |
| Google Gemini Flash Experimental | Image, video, and document (PDF) |
| Google Gemini Pro | N/A |
| Google Gemini Pro Experimental | Image, video, and document (PDF) |
| Grok | N/A |
| Grok 3 | N/A |
| Llama 3.1 405b | N/A |
| Llama 3.2 | N/A |
| Llama 4 Maverick Instruct | N/A |
| OpenAI GPT 4 | N/A |
| OpenAI GPT 4.1 | Image and document (PDF) |
| OpenAI GPT-4o | Image and document (PDF) |
| OpenAI GPT-4o mini Transcribe | Audio |
| OpenAI GPT-4o Transcribe | Audio |
| OpenAI GPT-o1 | Image and document (PDF) |
| OpenAI GPT-o1-mini | Image and document (PDF) |
| OpenAI GPT-o1-preview | Image and document (PDF) |
| OpenAI o3 | Image and document (PDF) |
| OpenAI o4-mini | Image and document (PDF) |
| Whisper | Audio |
Step 4: Configure models
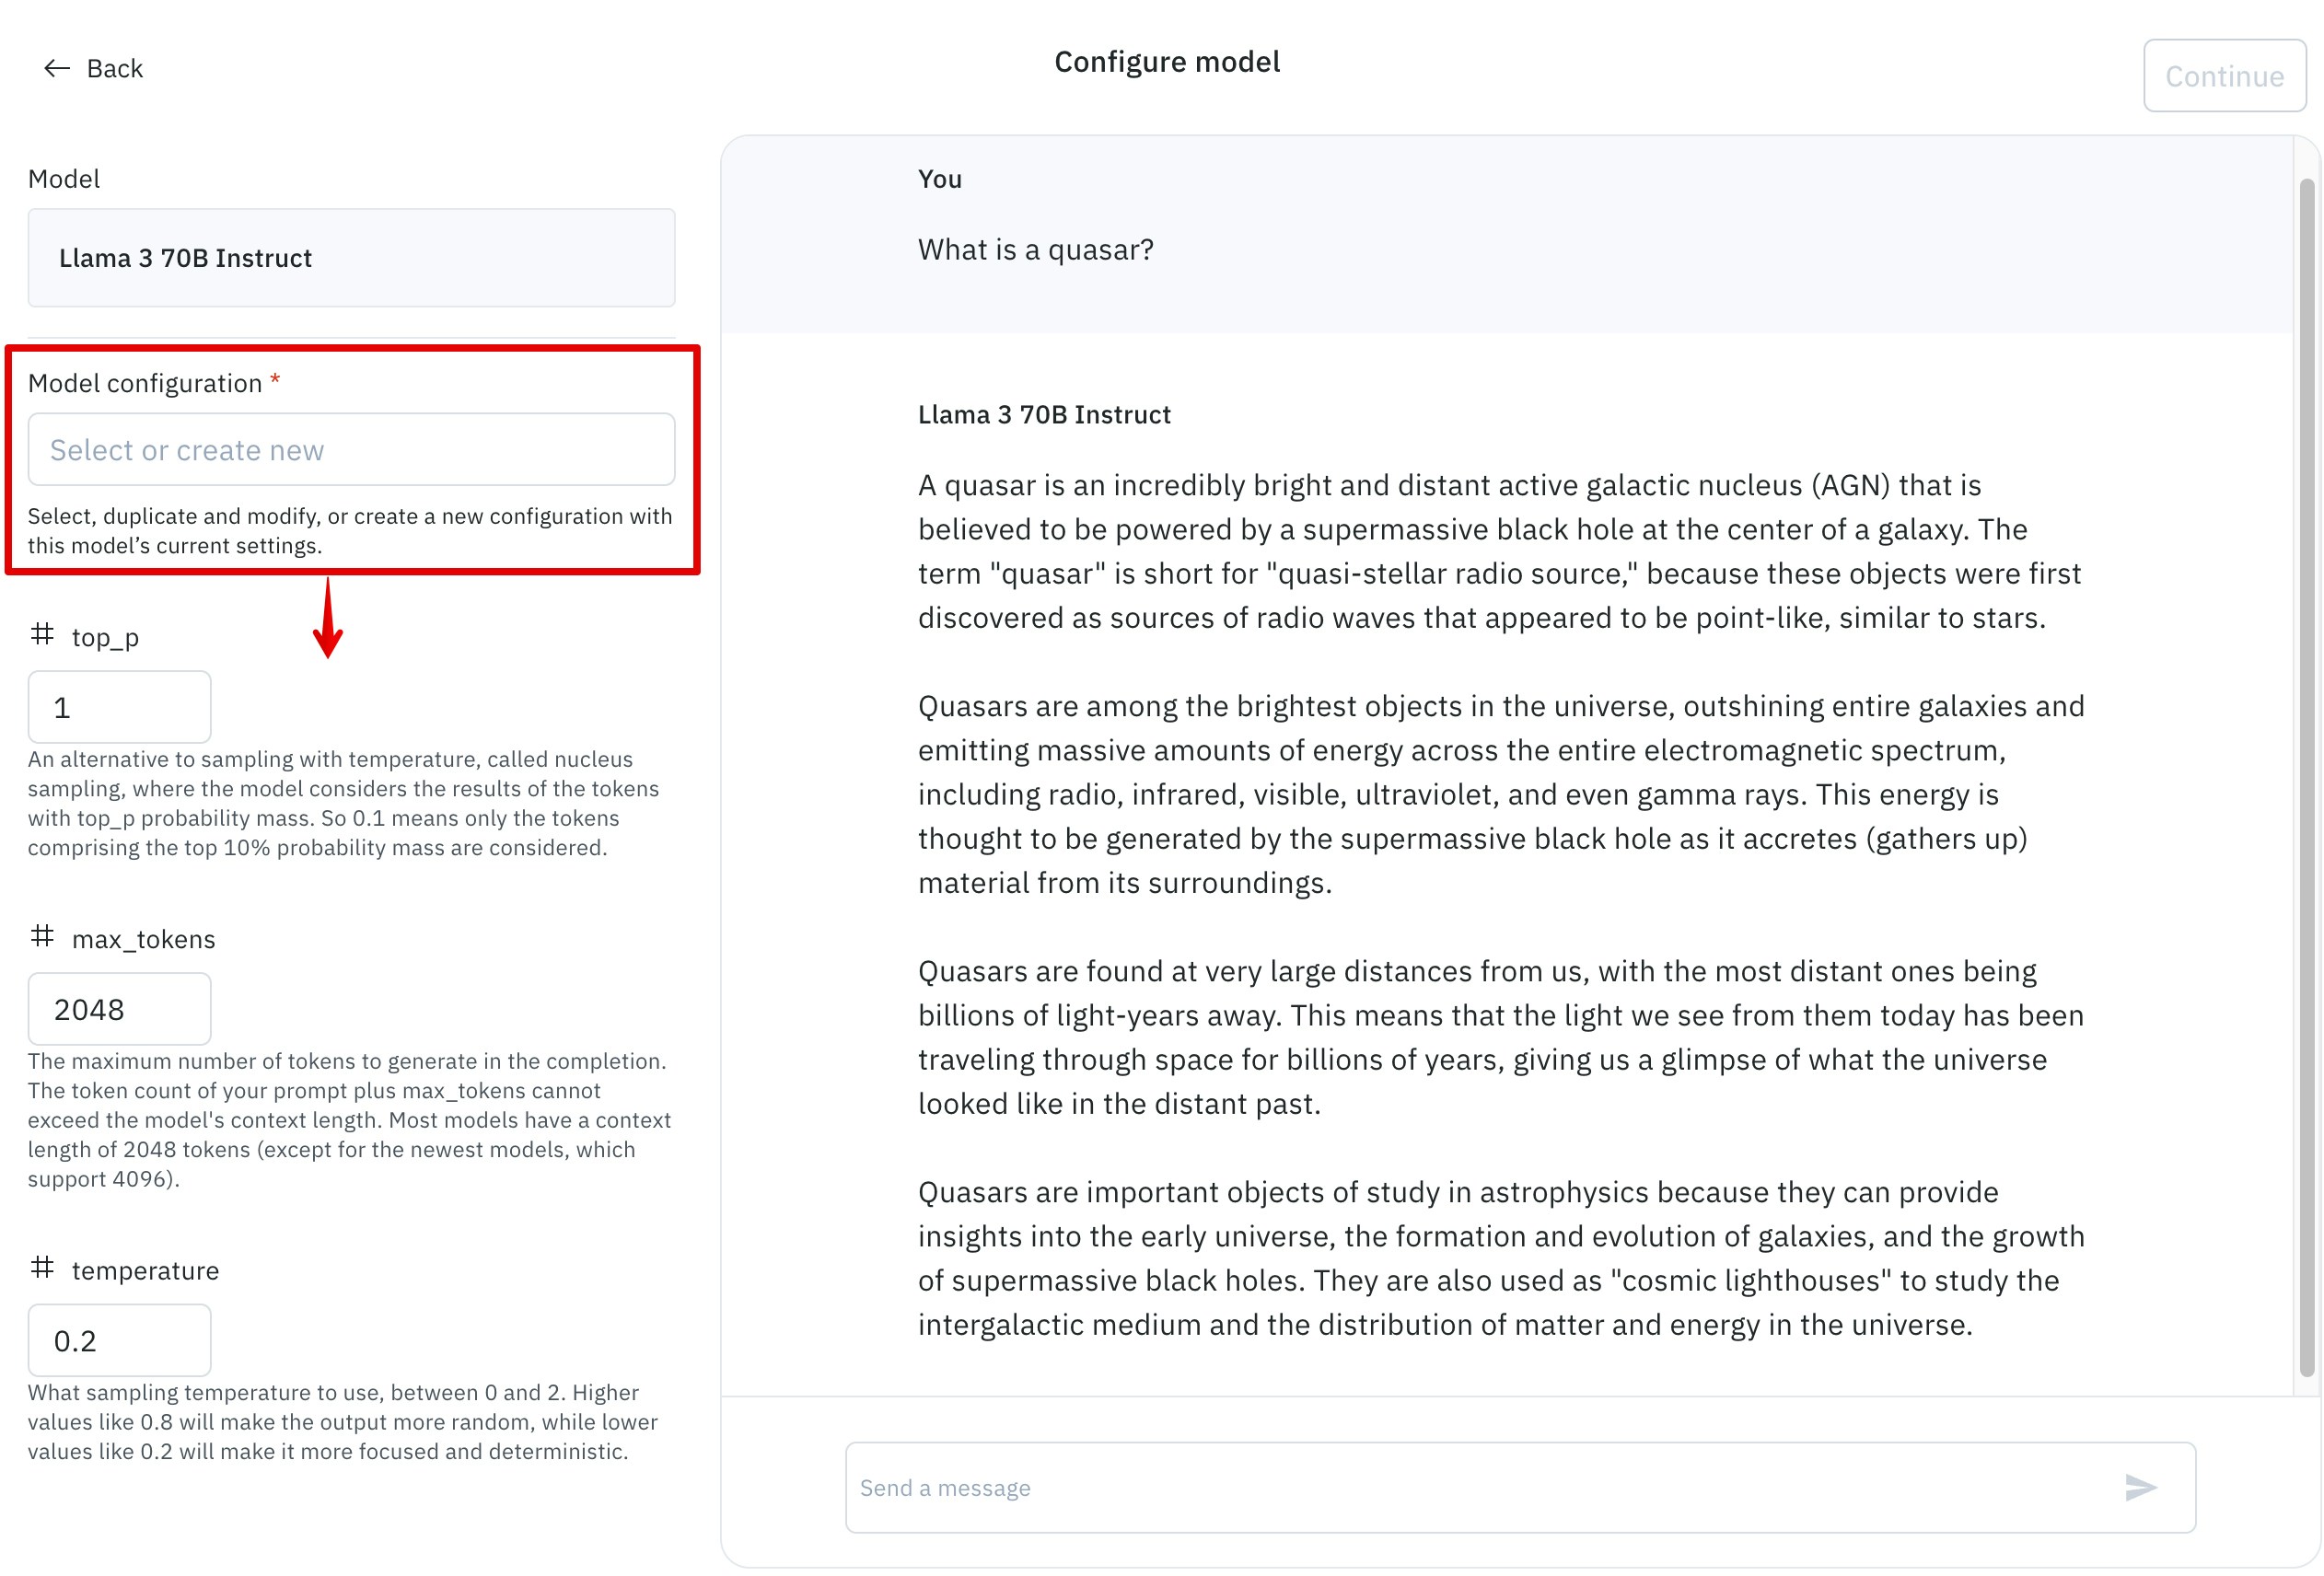
Once you have chosen a model, you will be prompted to choose a Model configuration or create a new one. You can either add a unique name for the configuration or use the auto-generated one. Model configuration stores your model configuration attributes and can be reused at a later stage, which allows you to evaluate your configurations by prompting the model directly using the send a message text input. Each model configuration name must be unique.

LaTeX support
To add LaTeX formatting, wrap your math expressions using backticks and dollar signs. The editor supports both inline and block LaTeX formatting. For example, to add LaTeX formatting forx=2, put $$x = 2$$.
Add attachment
Depending on the model capability, you can attach image, video, text and PDF files to your prompts. To add one or more attachments, click the paper clip icon at the prompt level and select from Add from a public link and Upload from computer. Once you have entered a valid URL to insert a supported type of attachment or upload a valid local file, click Save and repeat to add more attachments if necessary.Customize system prompt
Step 5: Set up an ontology
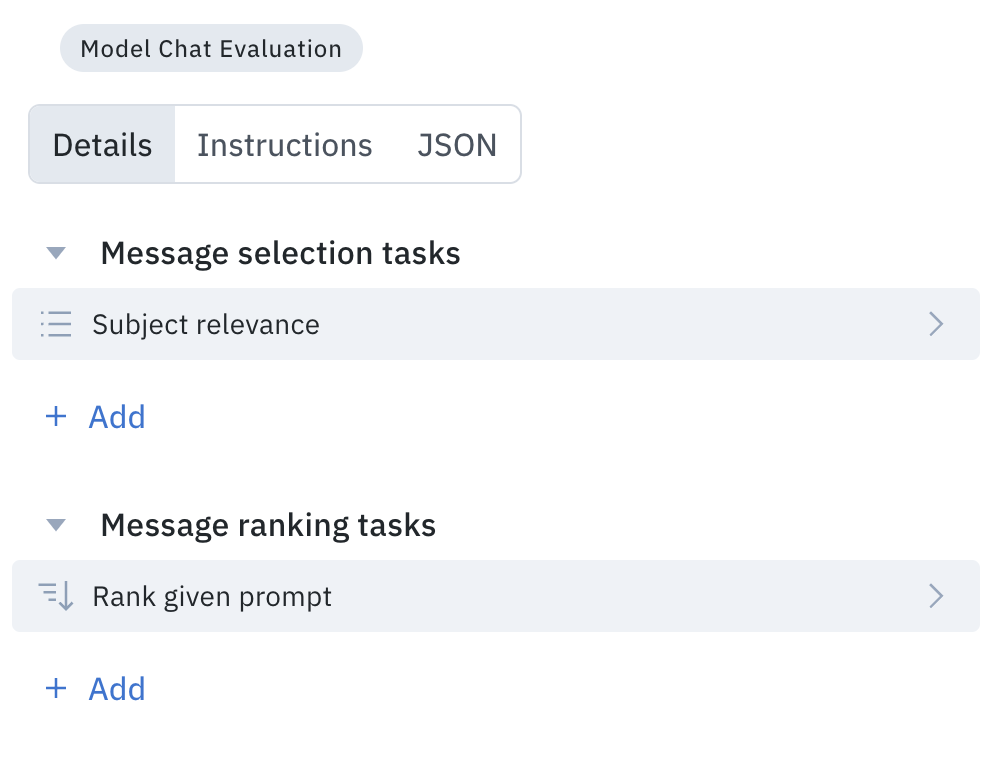
Create an ontology for evaluating model response, like the following example:
| Feature | Description | Export format |
|---|---|---|
| Message ranking | Rank multiple model-generated responses to determine their relative quality or relevance. | Payload |
| Message selection | Select single or multiple responses that meet specific criteria. | Payload |
| Message step reasoning | (Text conversations only, no multimodal support) Evaluate the accuracy of each step broken down from responses and label it as correct, neutral, or incorrect. Provide a justification for incorrect steps and regenerate the conversation from that step. | Payload |
| Classification - Radio | Select one option from a predefined set. | Payload |
| Classification - Checklist | Choose multiple options from a list. | Payload |
| Classification - Free text | Add free text annotations. | Payload |
Message step reasoning best practices
Message step reasoning is an experimental feature. For projects using ontologies with the step reasoning task, ensure that prompts lead to responses that can be easily broken down into clear steps.Step 6: Complete model setup
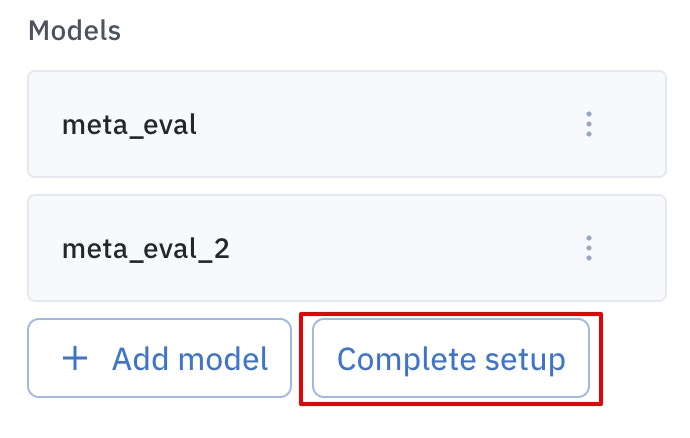
You need to click the Complete setup button to lock in your selection of models and generate the labeling queue. Once clicked, you won’t be able to alter or remove model selection.
Step 7: Complete annotation tasks
Click the Start labeling button to chat with your configured models and add annotations to evaluate the responses. If multiple models are selected in the setup, their response order is random at each turn to prevent bias. The display order may also change when you refresh the browser. You can continue to prompt models after the initial input by sending a new prompt. If you have made a mistake in your prompt or encountered a blocker, you can reset your prompt and the model outputs.
Customize prompts
You can add custom prompts to control how the model responds, such as rendering outputs in different languages and formats. Labelbox applies system prompts in the following order of precedence:- Data row-level system prompt: A system prompt is set at the data row level and the text field is not empty.
- System prompt: The Customize system prompt option is selected and set as part of model configuration.
- Labelbox default prompt: If you don’t configure either of the above, Labelbox applies a default prompt that ensures proper LaTeX formatting.
Latex formatting
When rendering a LaTeX math expression, wrap the expression in double dollar signs. For example:$$x^2=4$$. When rendering LaTeX inside a code block, also use double dollar signs. For example: ``````. If you use a data row-level system prompt and expect Markdown or LaTeX rendering, include the correct LaTeX delimiters in your prompt to match your project settings.