Bulk classification
Perform zero-shot learning using bulk classification.
After curating and selecting a subset of data that share common traits with the powerful search capabilities of Labelbox, you can classify them all at once. Bulk classification enables you to classify a large amount of unlabeled data in just a few clicks directly from Catalog.
This feature can be a great solution to speed up your classification projects. You can quickly generate classifications without having to label each asset one by one. This way, you can seamlessly integrate off-the-shelf neural networks as zero-shot classifiers.
How to bulk classify data (zero-shot learning)
Step 1: Select a subset of data to classify
You can leverage the powerful search capabilities of Labelbox to select and curate a subset of data.
For example, you may select a cluster of data from the projector view. Another option could be to select the top results of a natural language search. This way, you can use neural networks like CLIP as zero-shot classifiers. A third possibility is to select all assets that look similar to each other using Labelbox's similarity search. Similarity search powered by embeddings allows you to leverage any off-the-shelf neural network as a zero-shot classifier.
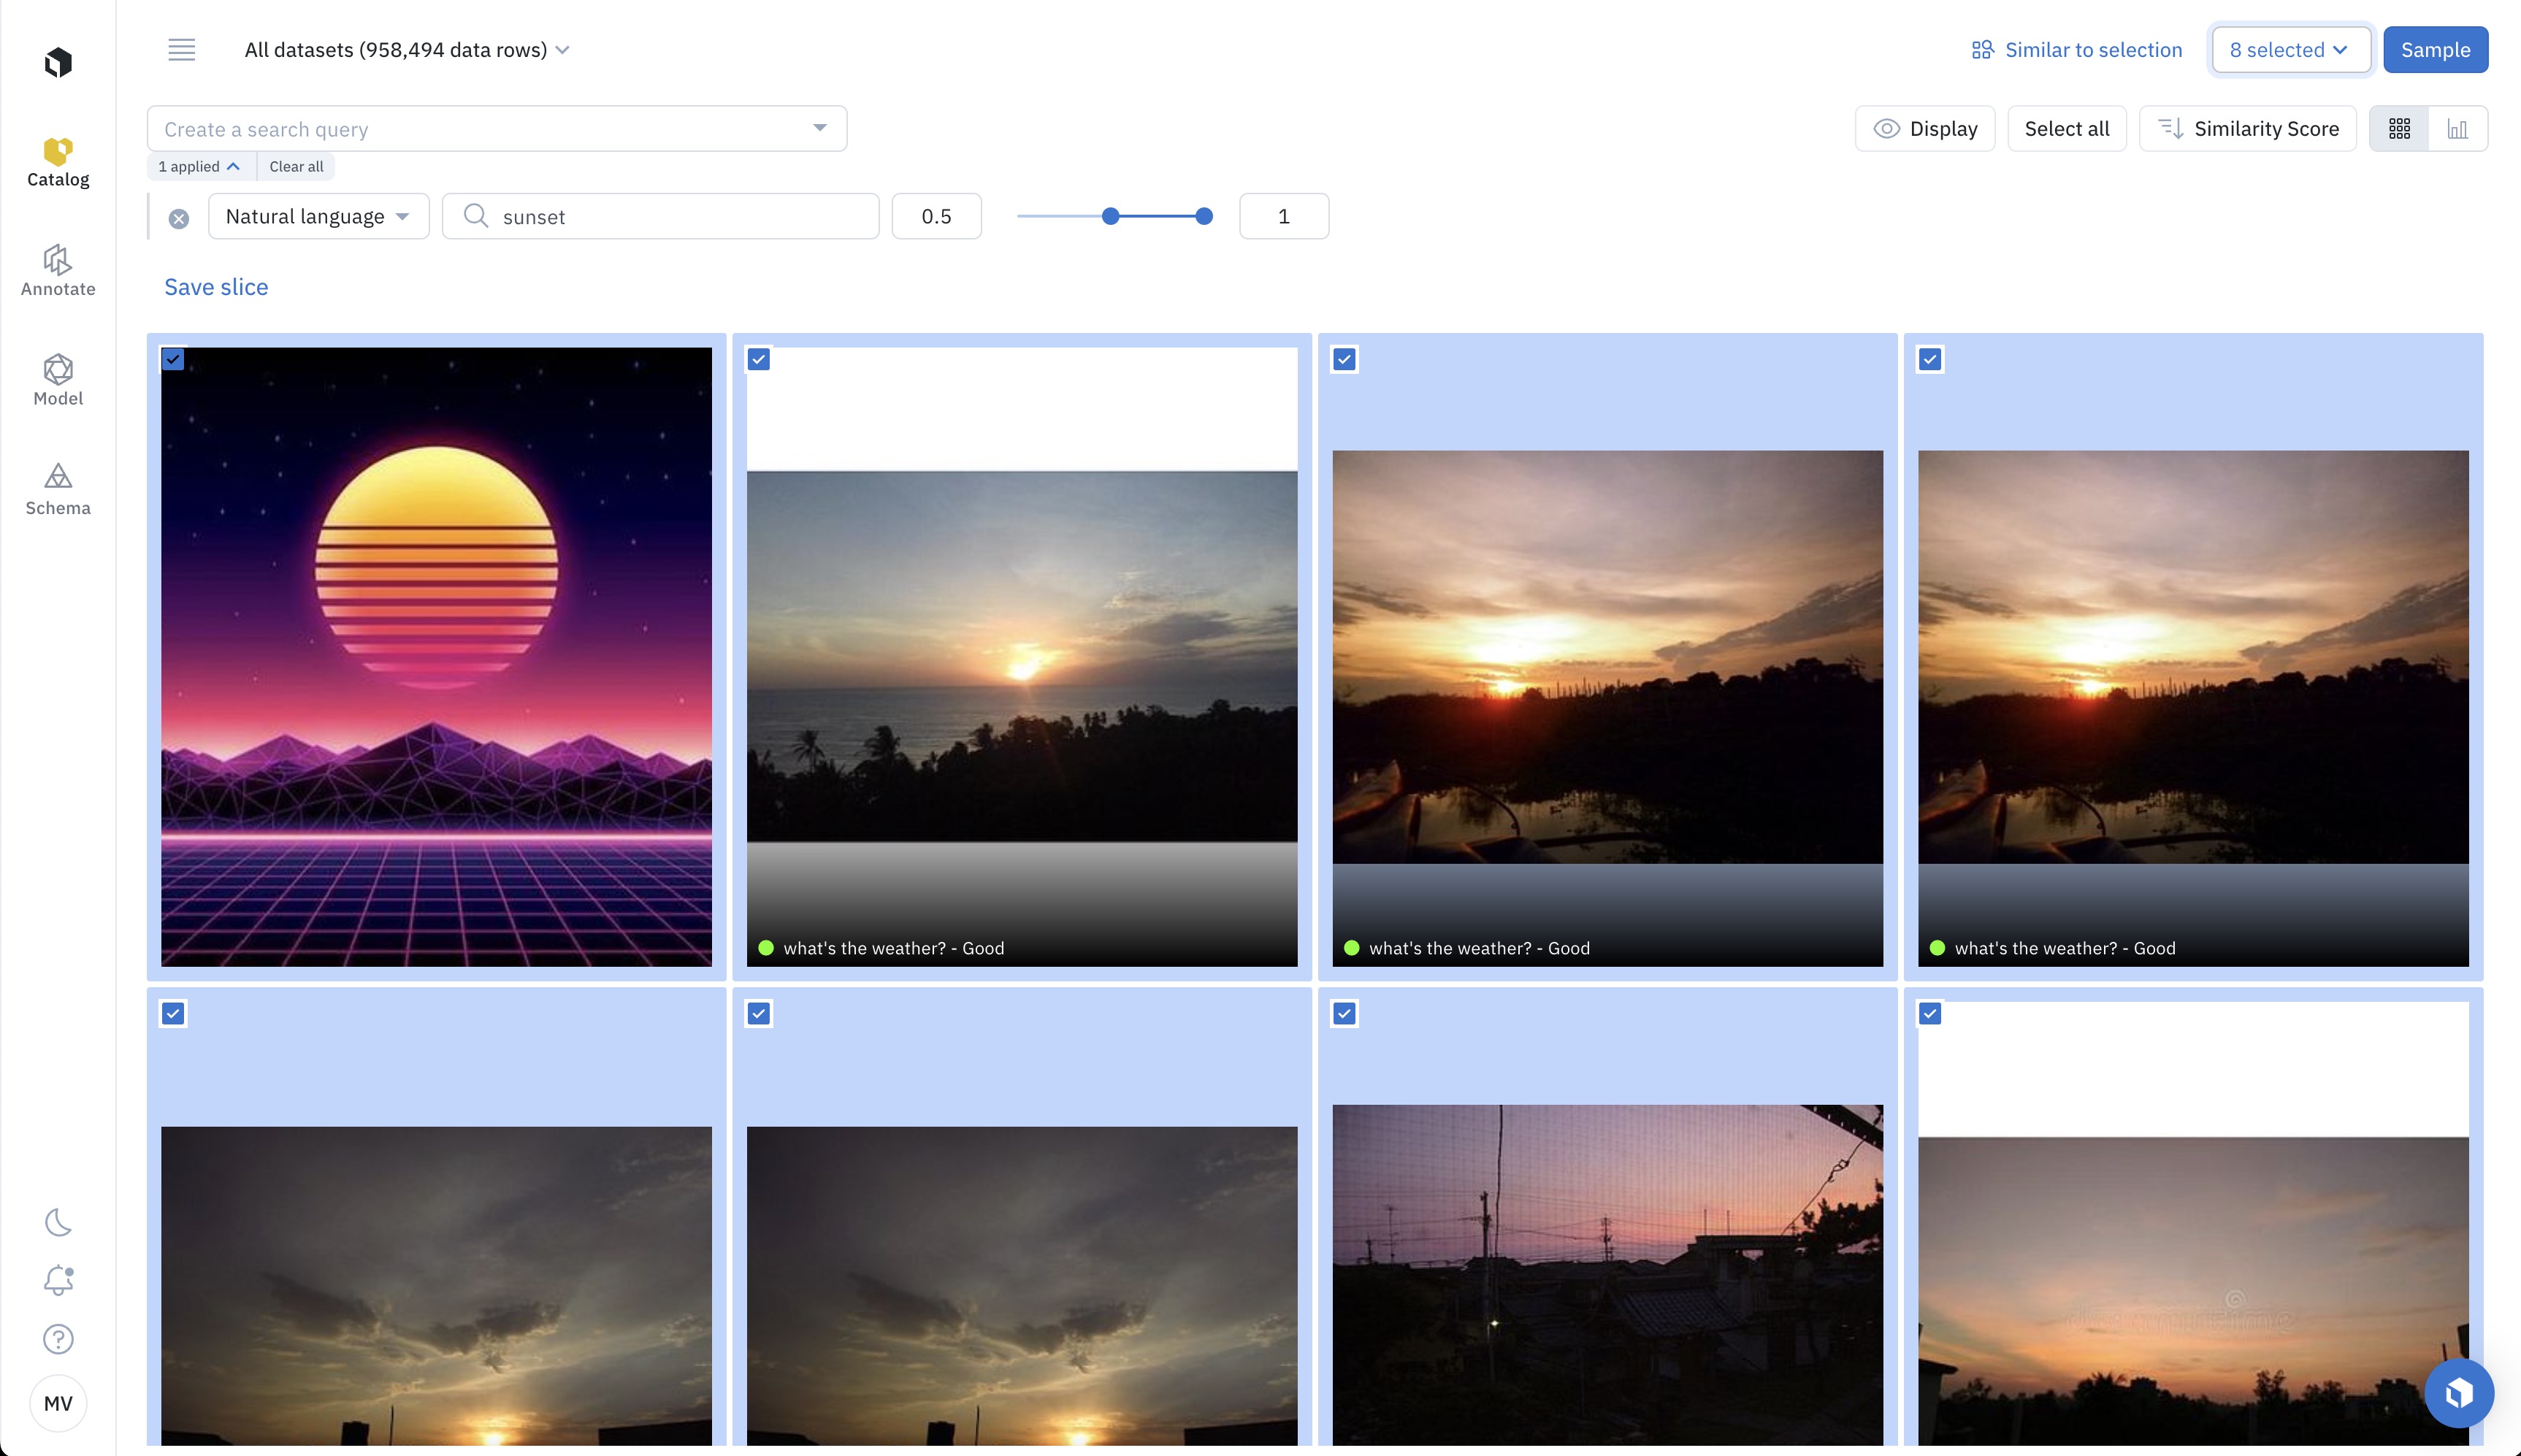
Natural language search allows us to use CLIP from OpenAI as a zero-shot classifier.
There are three ways to select data:
- Click on Select all to select all filtered data rows.
- Manually select data rows by clicking on the selection icon in the top left of the thumbnail.
- Bulk select data rows by selecting the first data row, holding
Shift, and selecting the last desired data row. All data rows between the first and last ones will be selected.
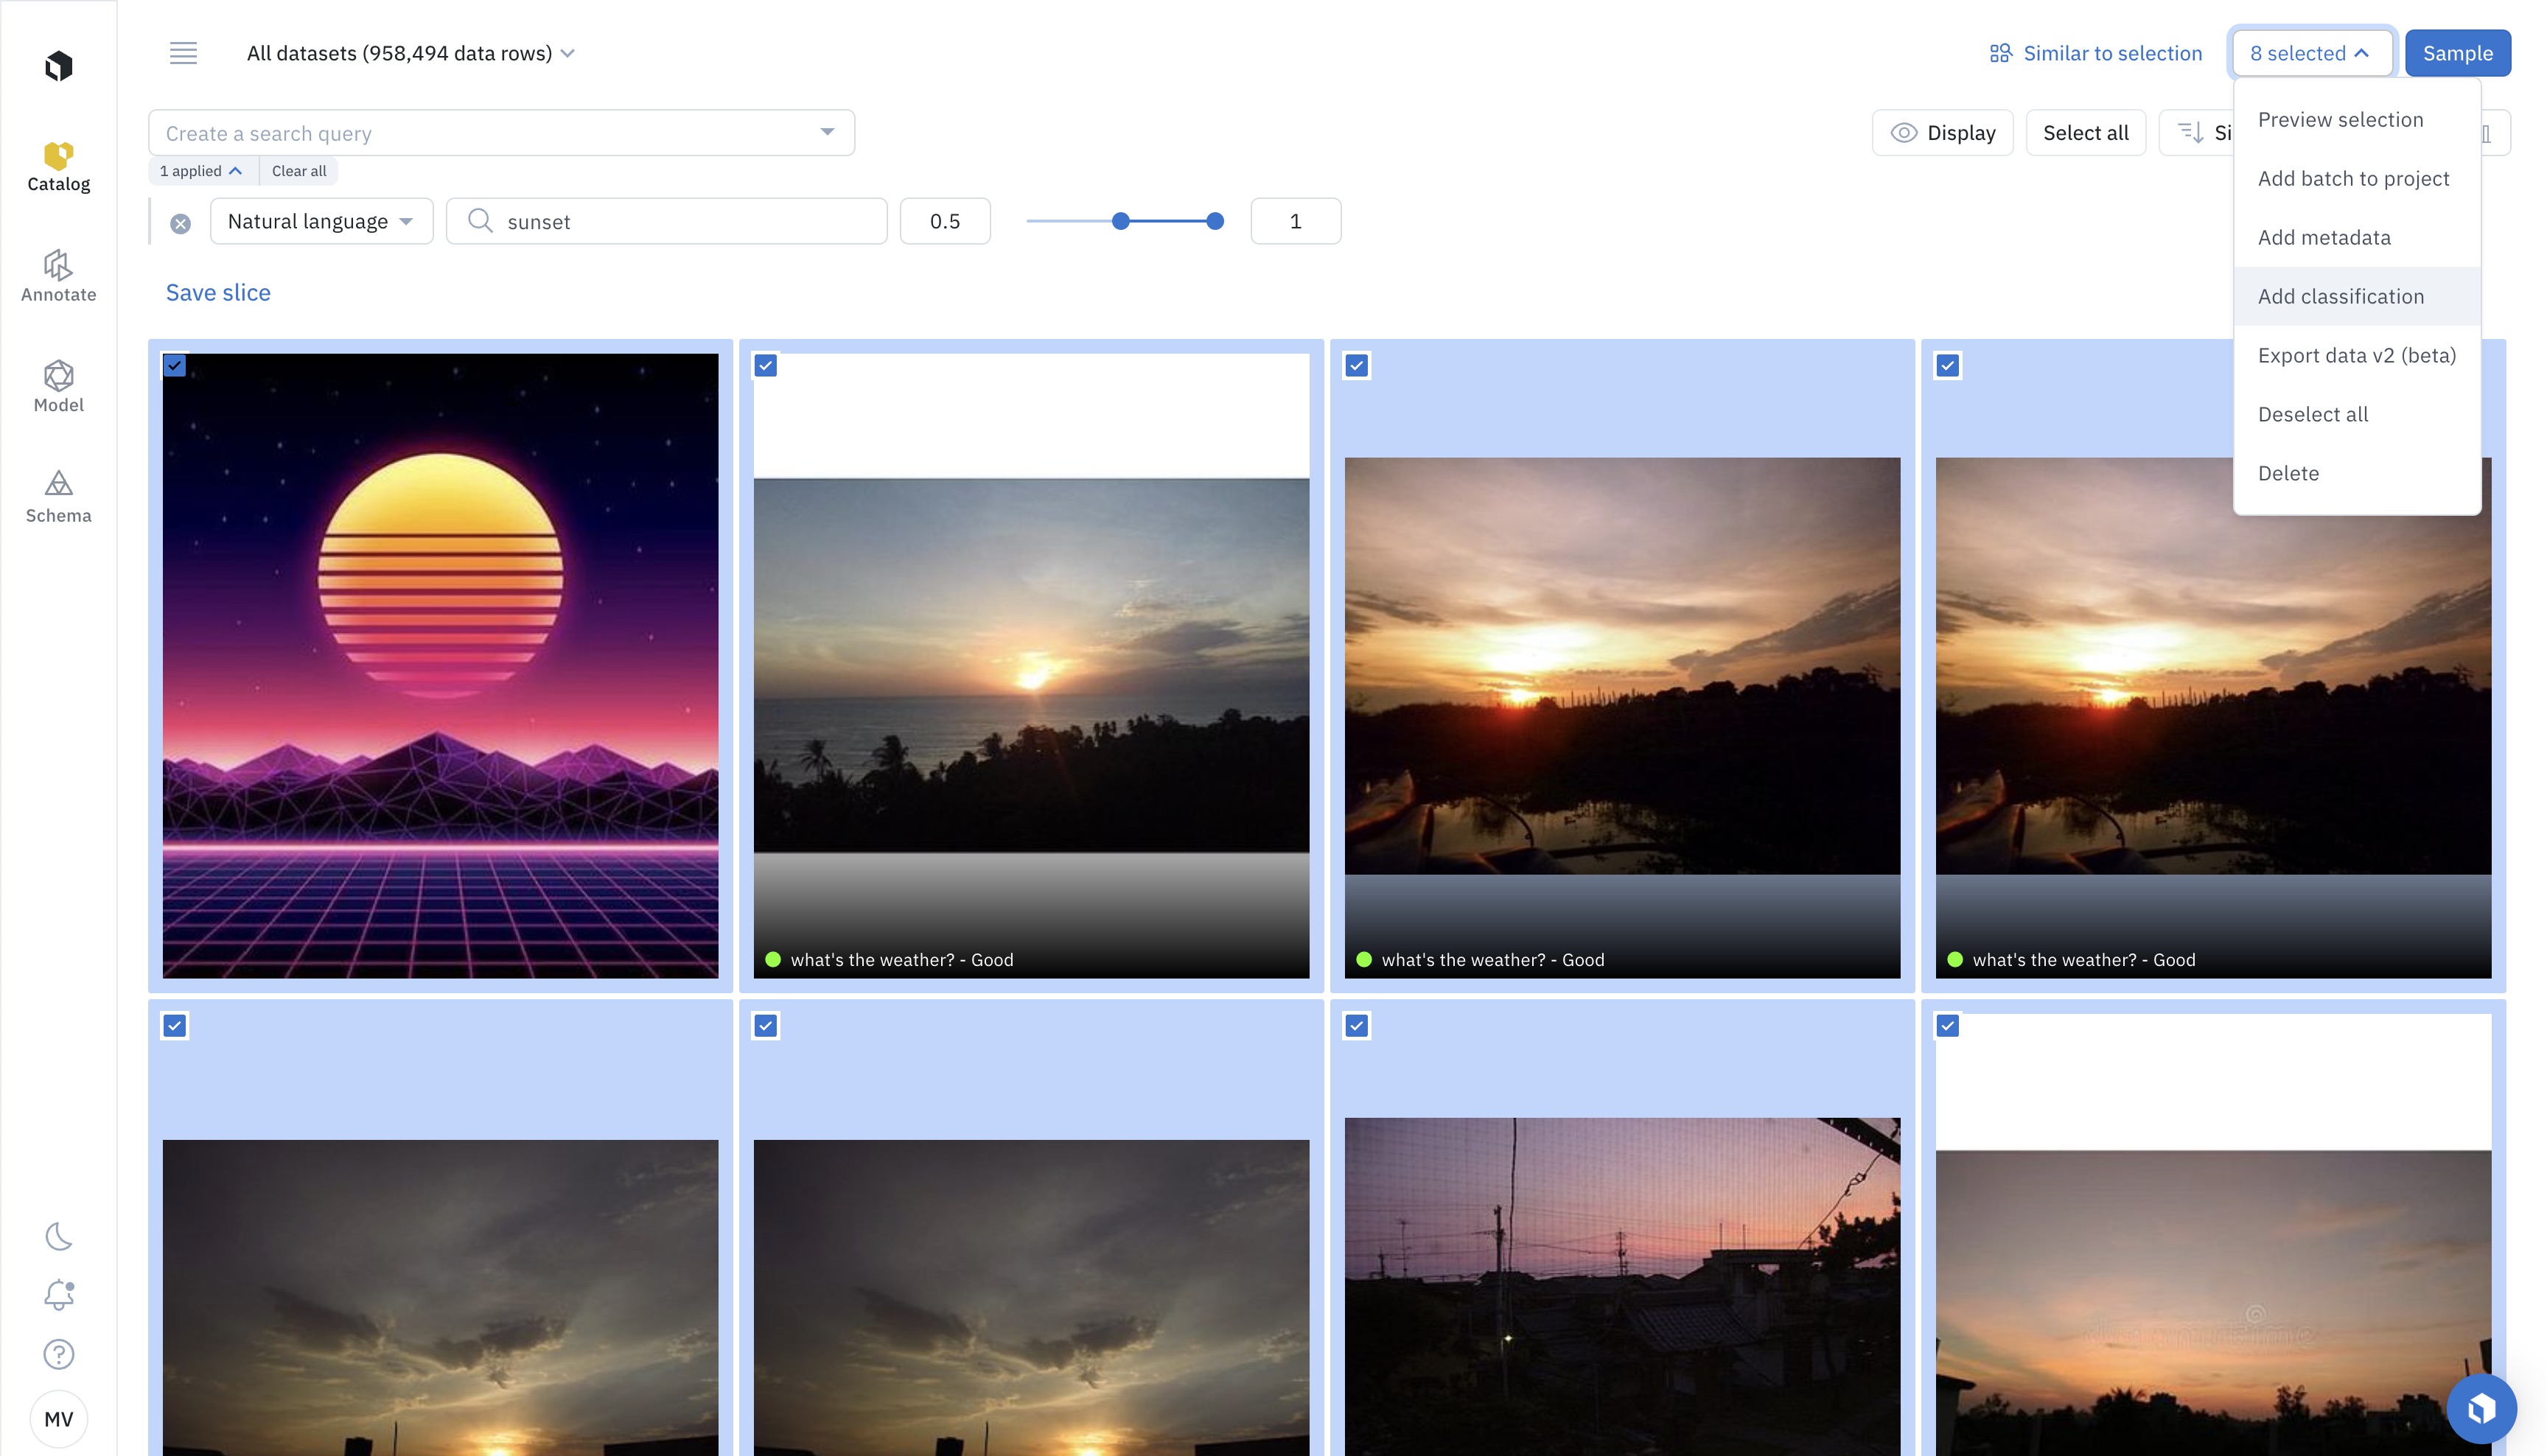
Step 2: Add a classification
Click on (n) selected in the top right corner and select Add classification.
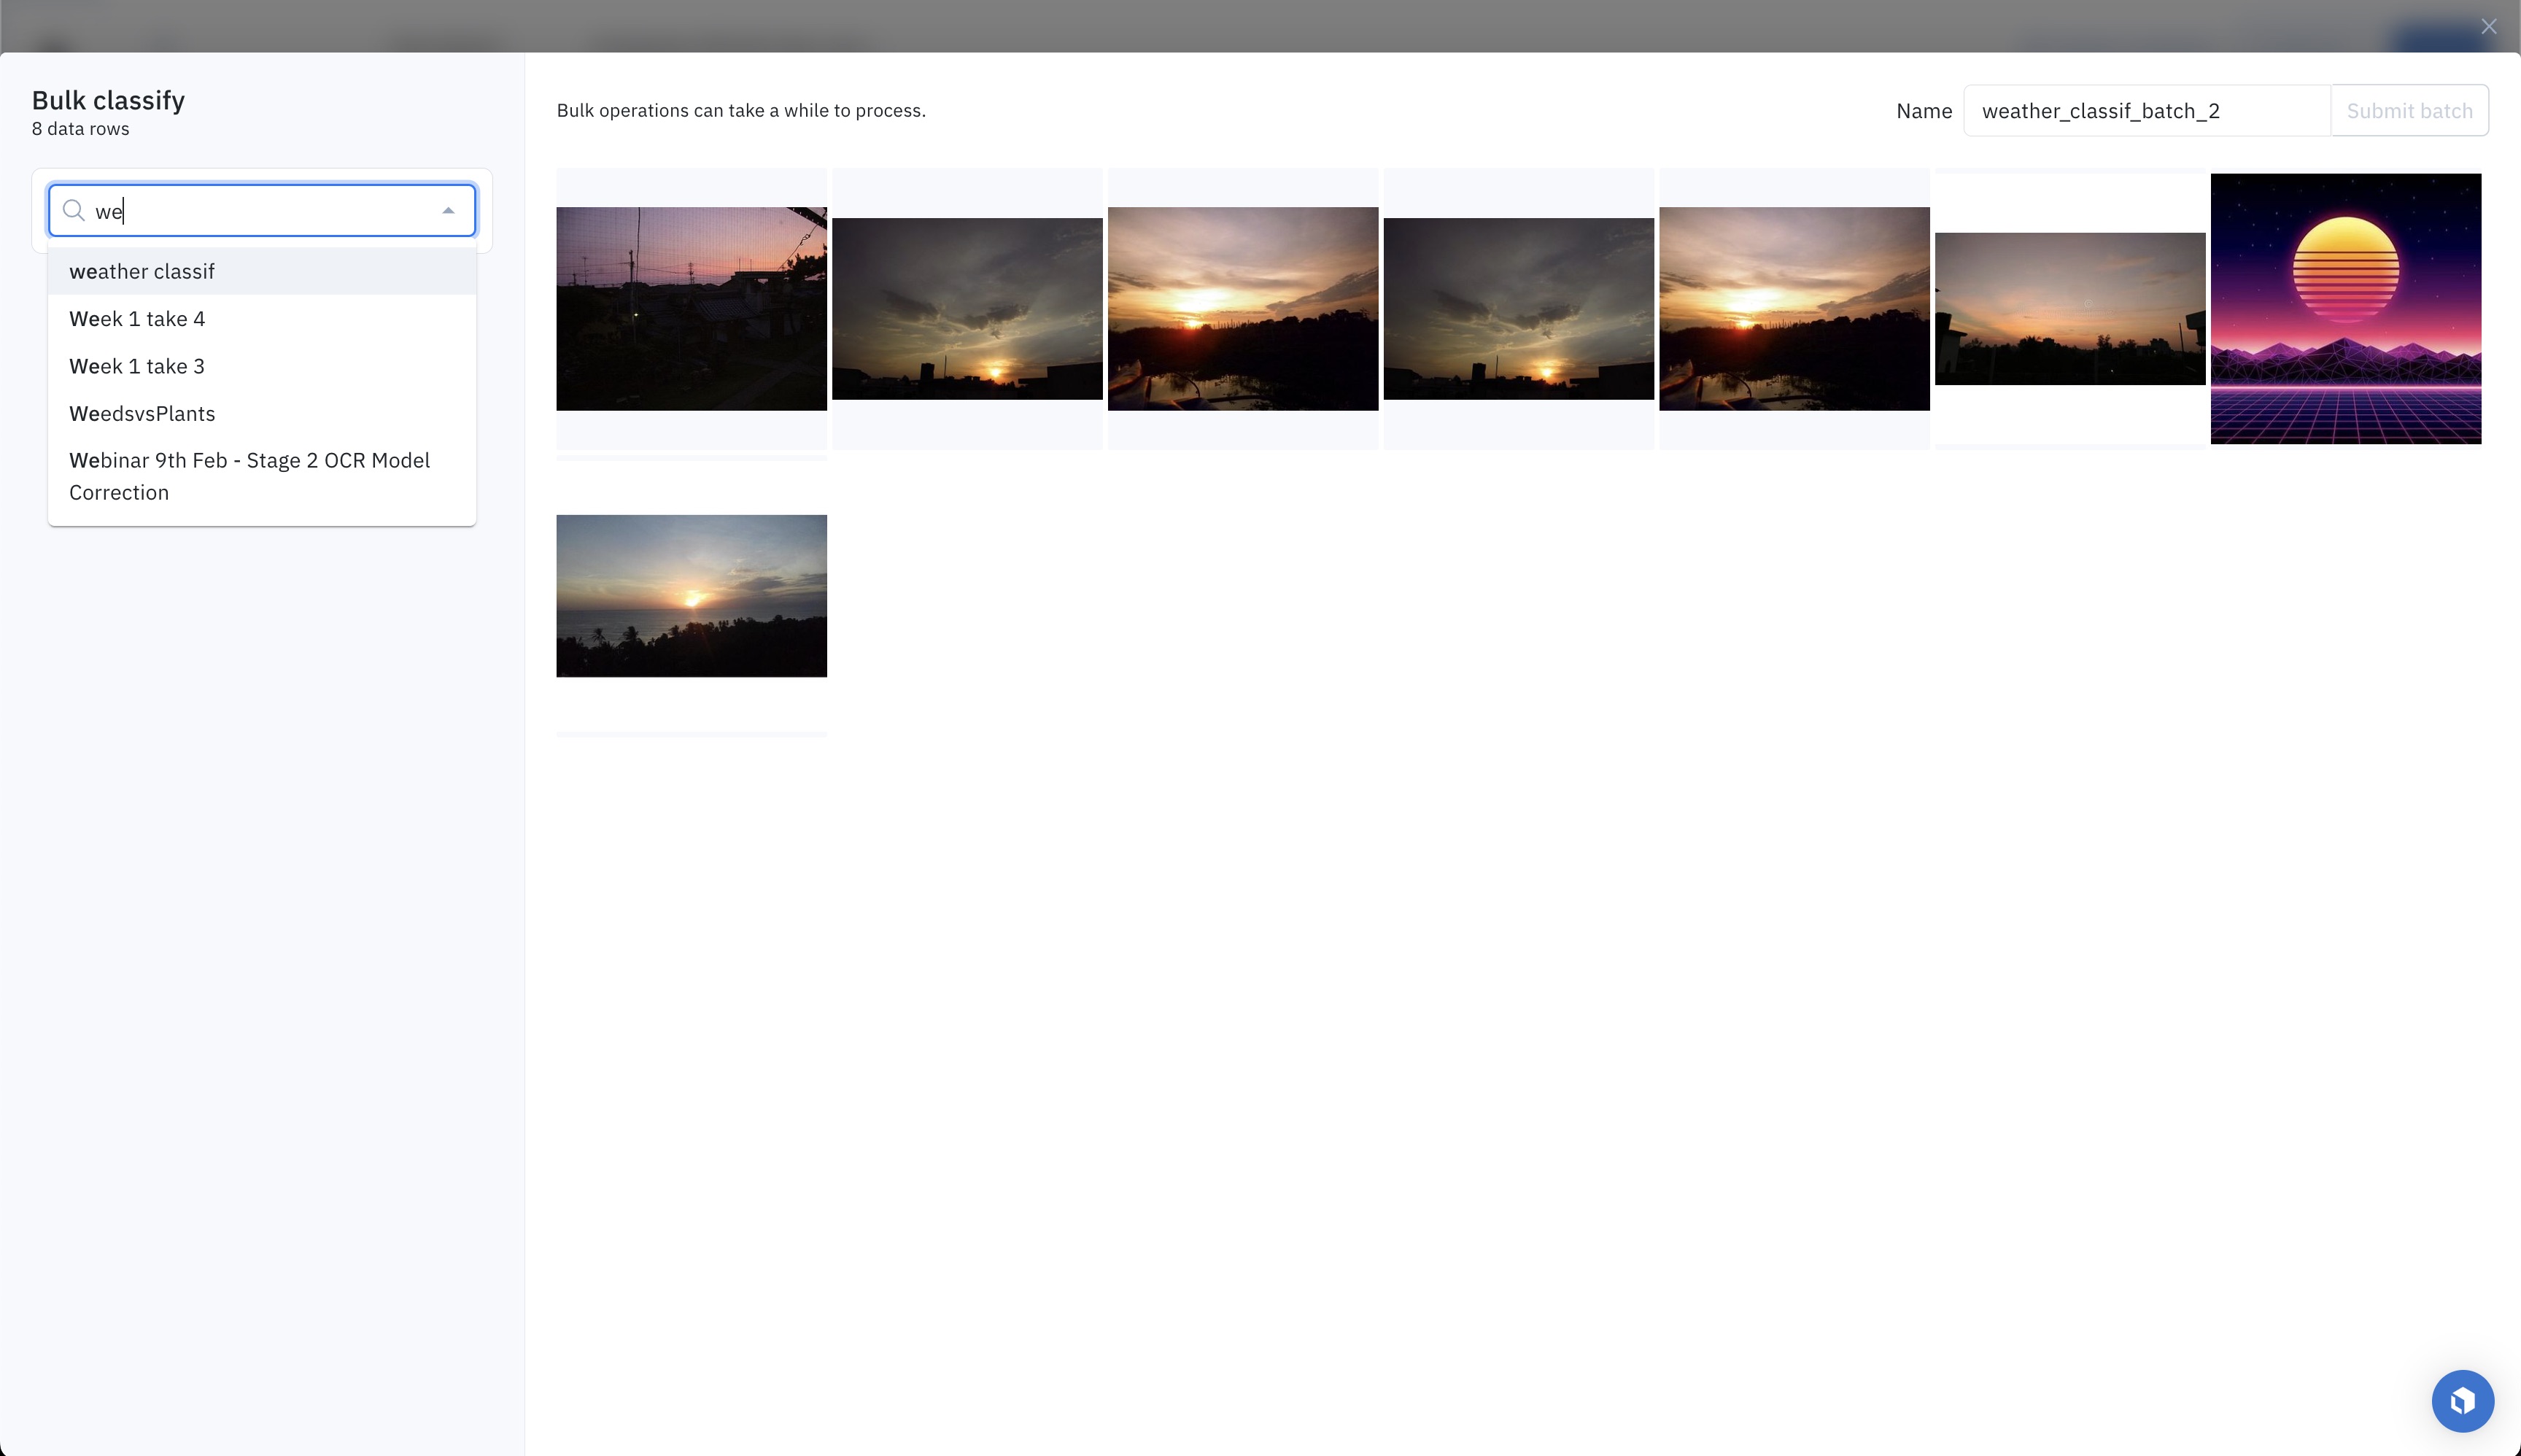
Step 3: Pick the destination labeling project
Pick the destination labeling project from the dropdown. Only projects whose connected ontology contains a global classification question will appear in the dropdown. The most recently created projects show up at the top. You can search for a project by typing its name.
Step 4: Provide classification values
Once a destination labeling project has been selected, its classification questions will appear. Answer the classification questions you want by inputting a classification value. These classification values will apply to all data rows in the bulk classification job. You need to answer all required classifications and subclassifications, but you do not need to answer all optional classifications and nested subclassifications.
If your classification question has nested subclassifications, they will show up progressively. You can search for a classification question by typing its name.

Answer the classification questions and subquestions you want.
Step 5: Specify the workflow step
The selected data rows and classifications will be sent to the destination labeling project. You can specify which step of the labeling and review workflow these data rows with newly created classifications should be sent.
For example, if you pick the Initial labeling task, then the classifications will be sent as pre-labels. If you pick any other task - such as Rework, Initial review task, or Done - then the classifications will be sent as labels.

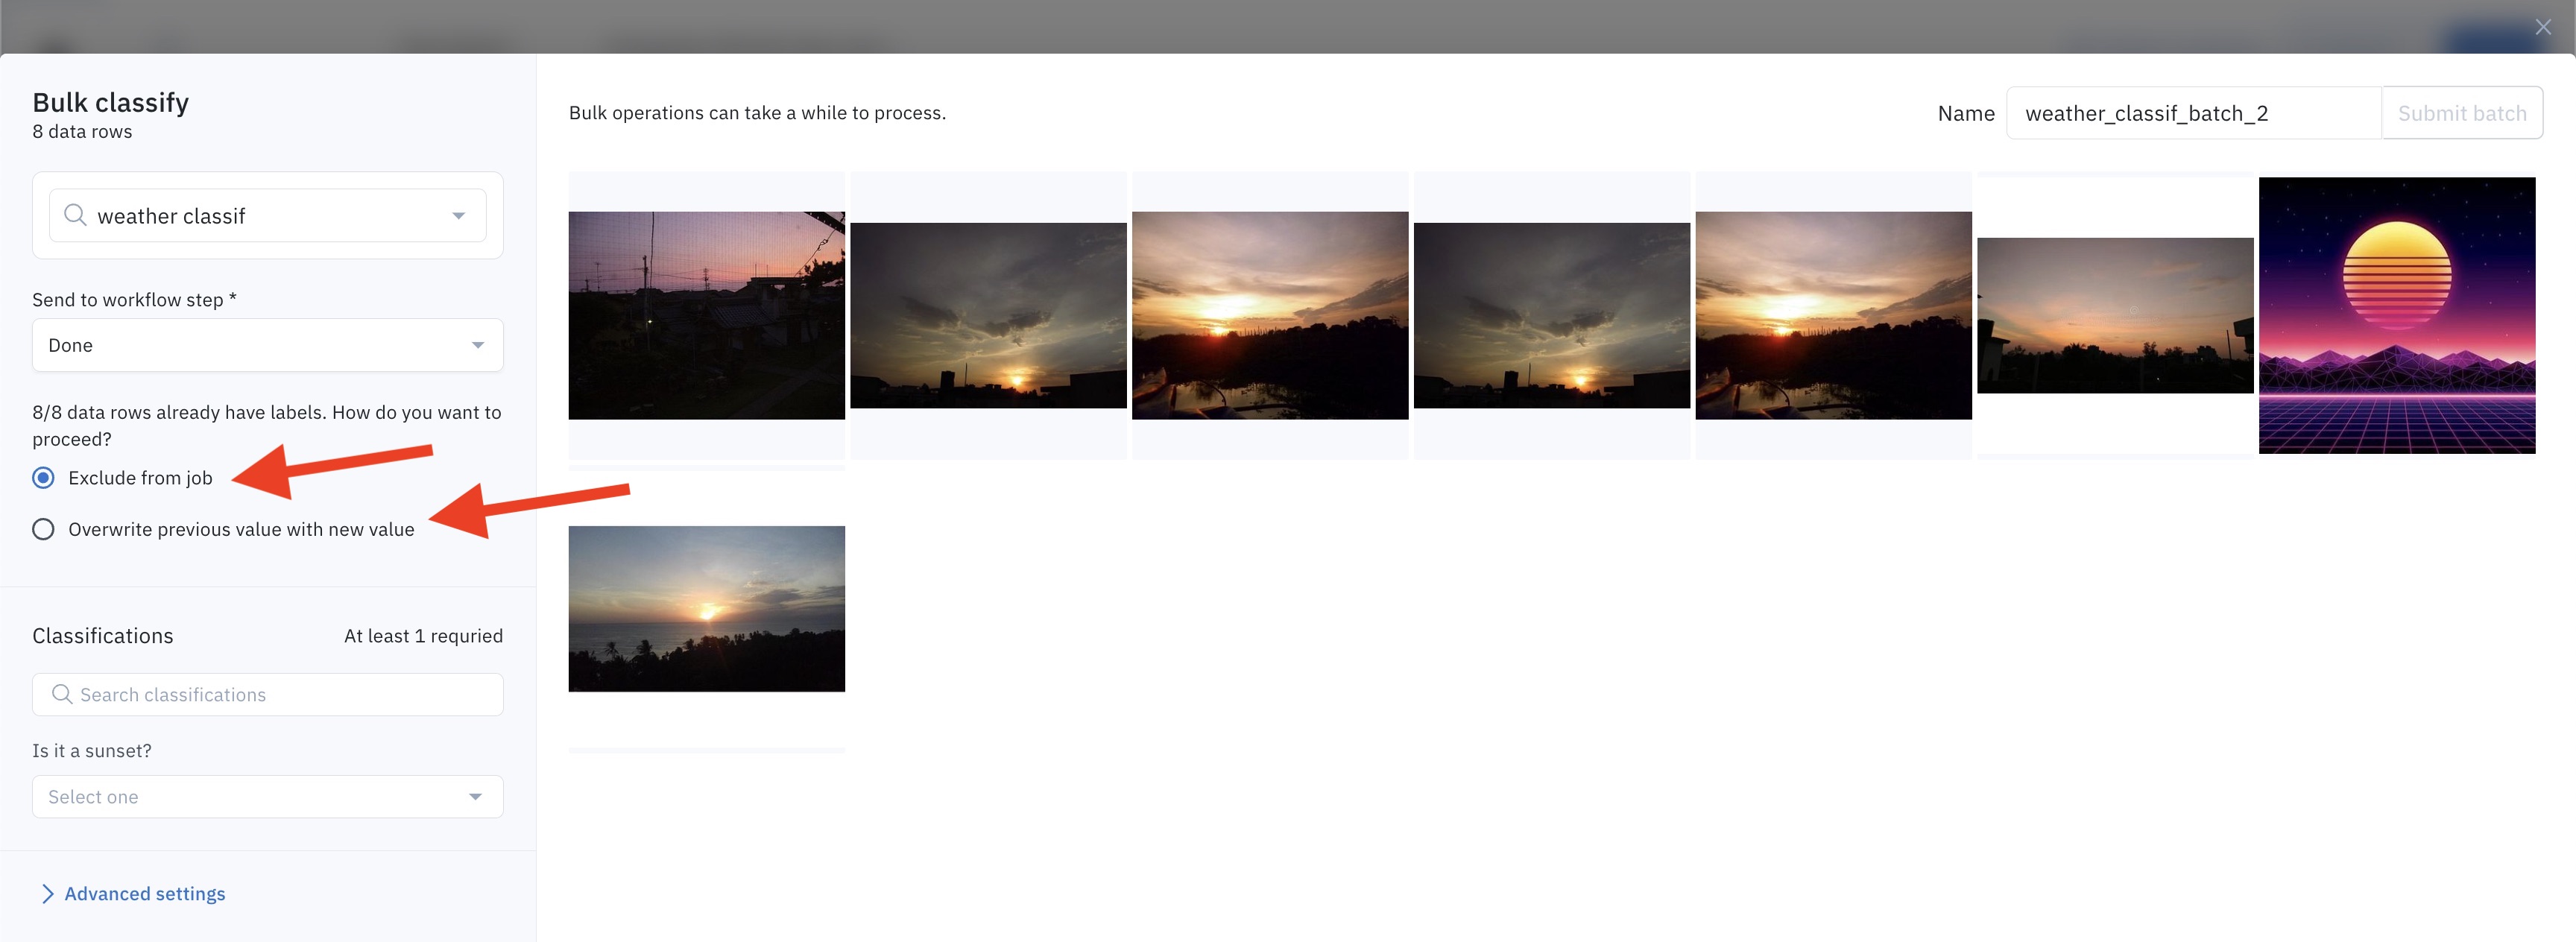
Step 6: Include or exclude data rows that already have labels
If a data row included in the bulk classification job already has a label in the destination labeling project, you can decide between the following:
- Overwriting the already-existing labels with the bulk classification. Only classification questions that you answer - as part of the bulk classification job - will overwrite already-existing classifications.
- Excluding these data rows from the bulk classification job to preserve the already-existing labels.
Step 7: Submit the bulk classification
Click on Submit batch to launch the bulk classification job. It may take a few seconds to a few minutes for the data rows and classifications to be sent to the destination labeling project.
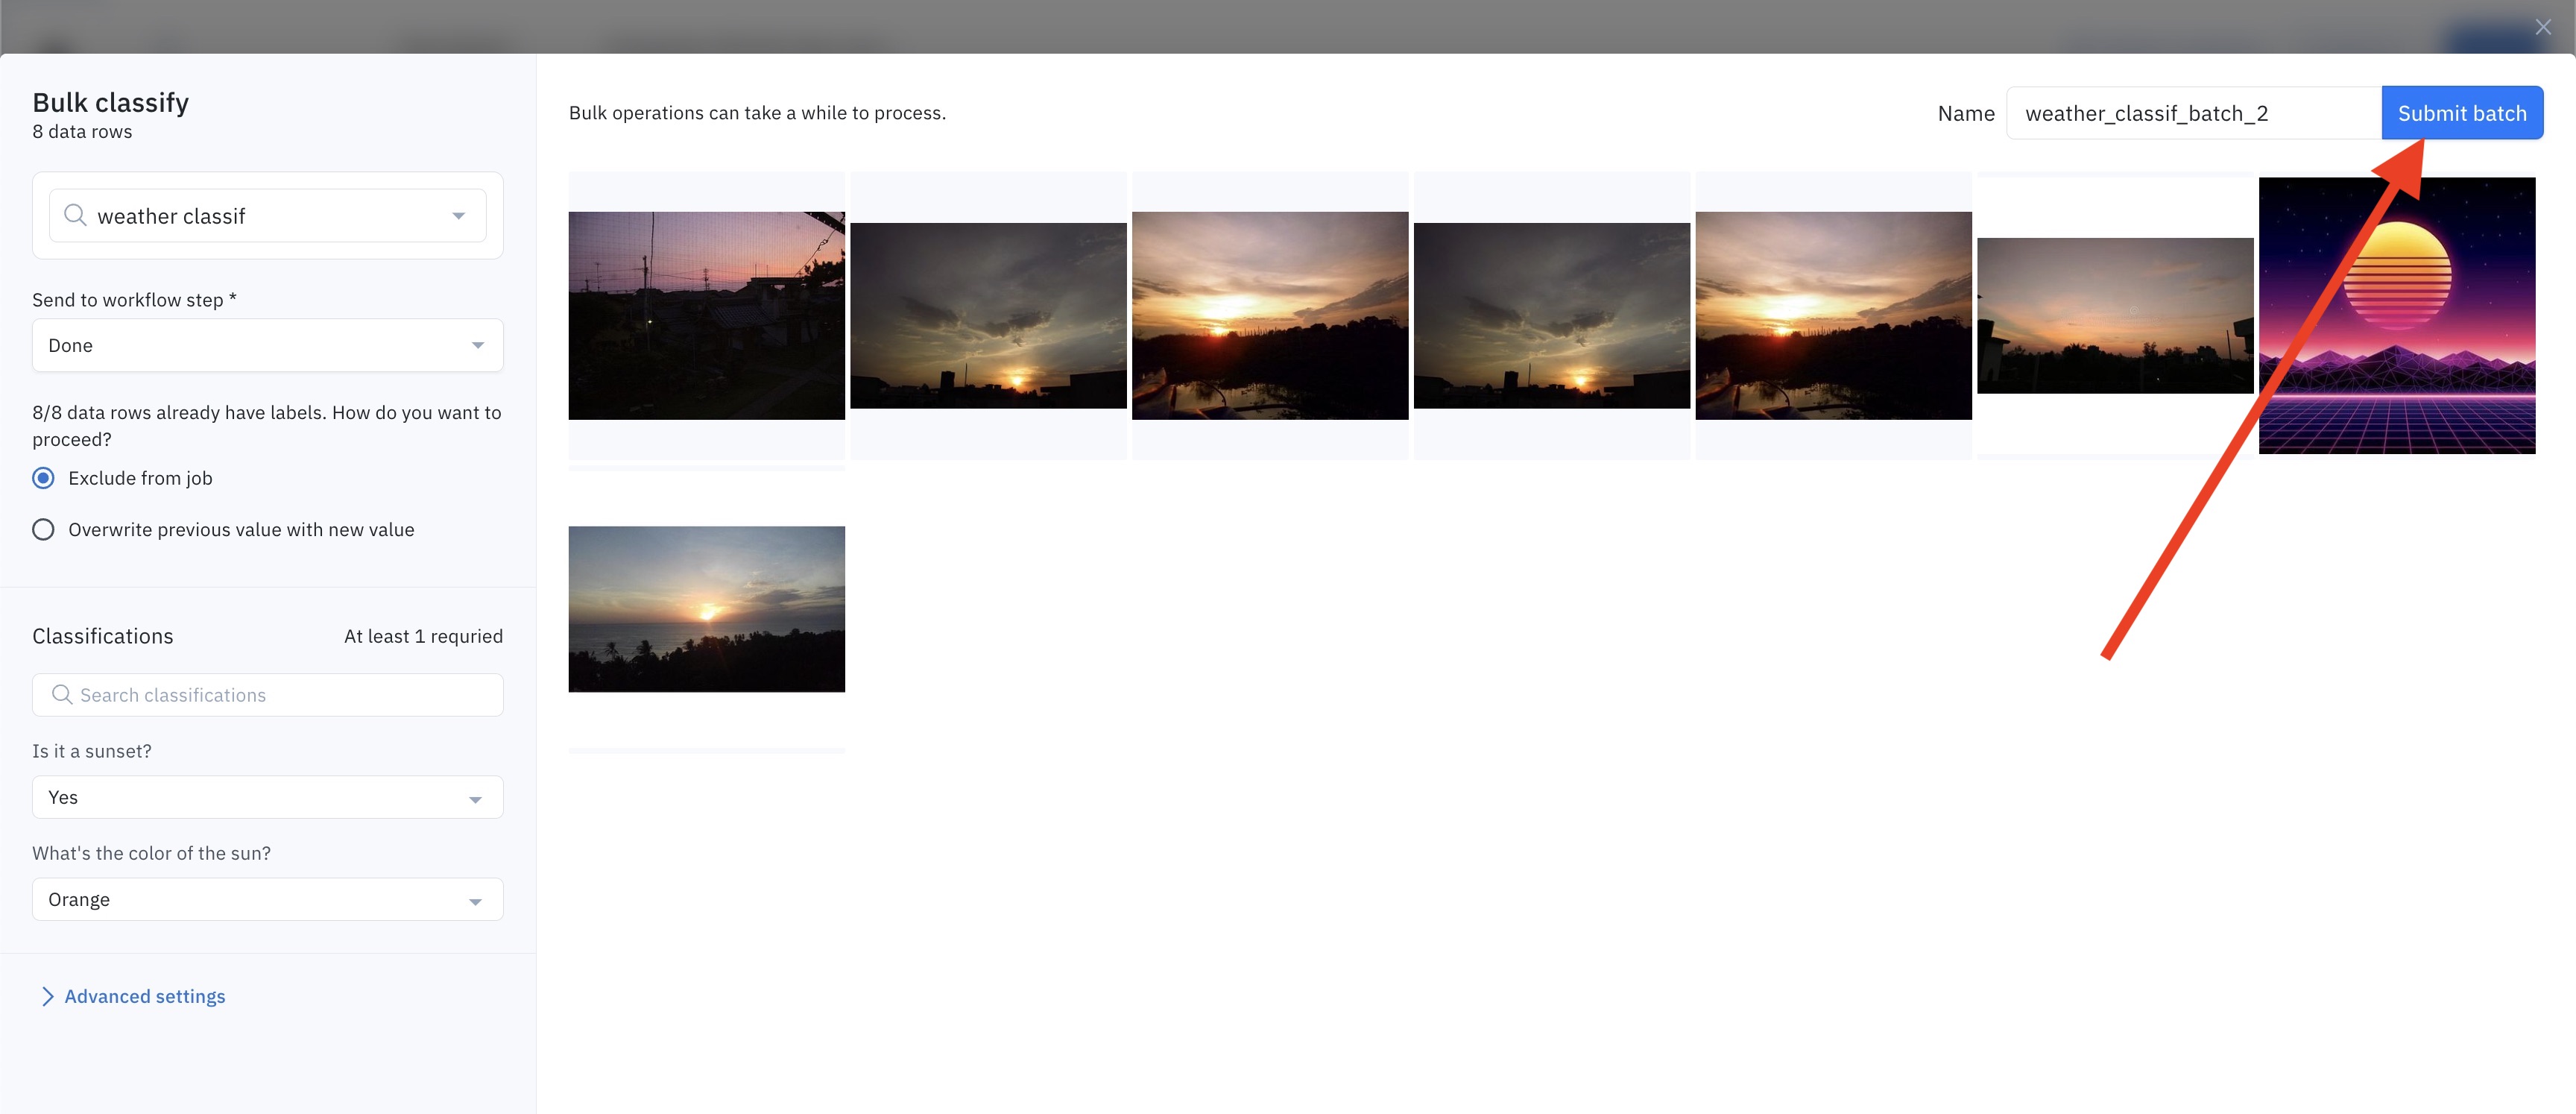
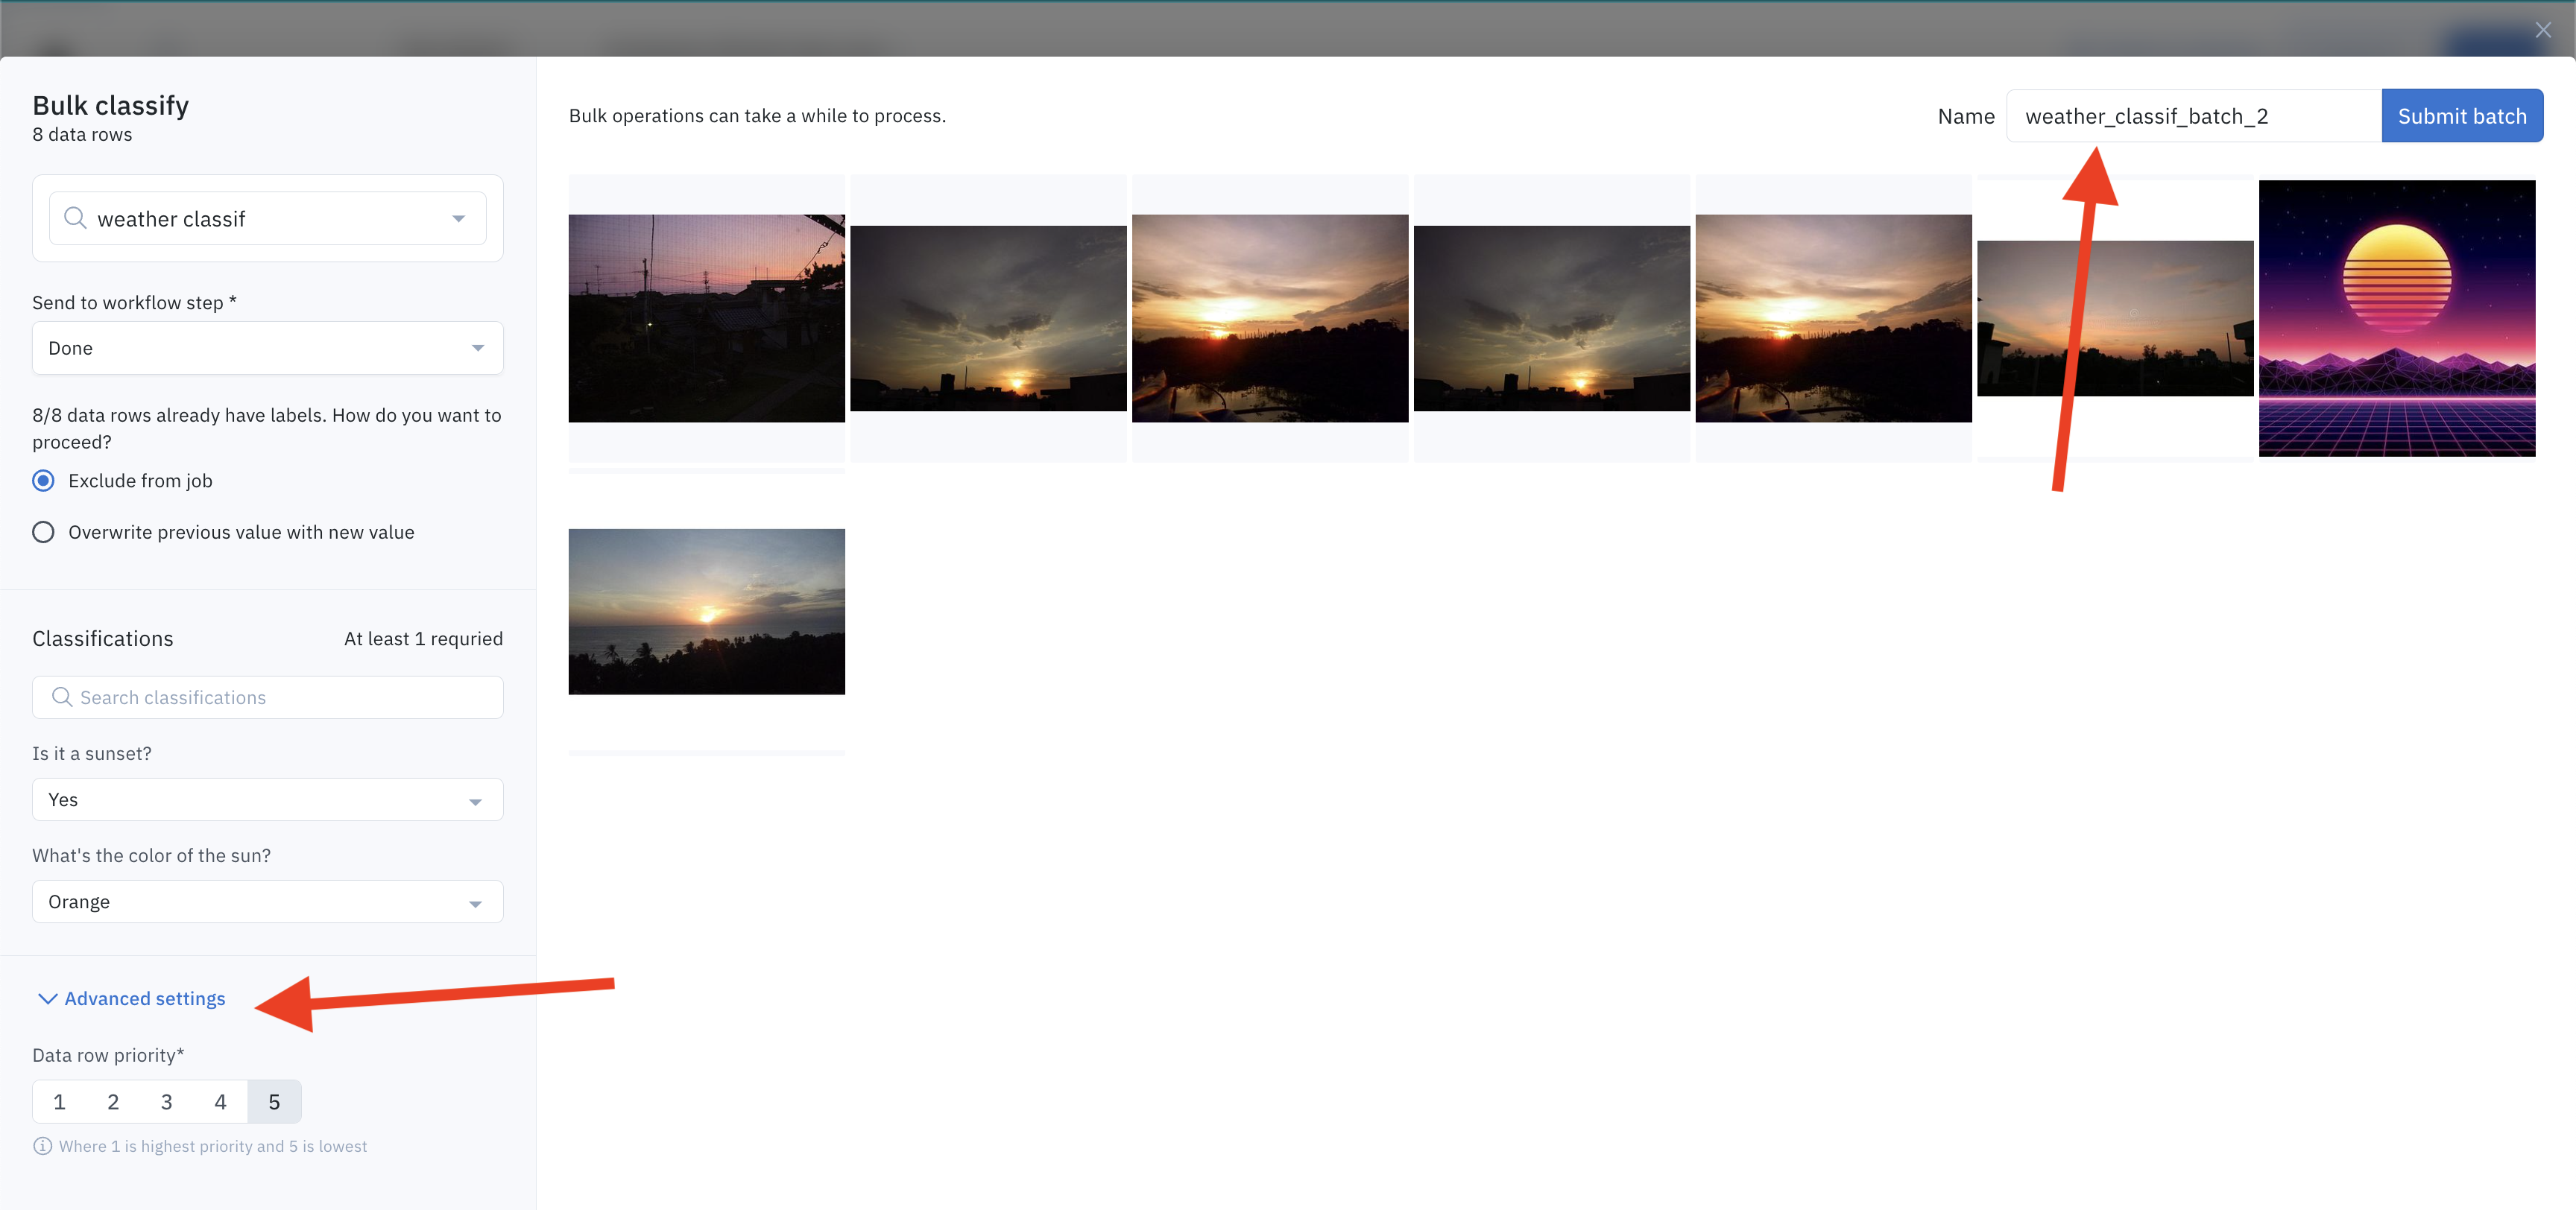
The data rows are sent to the labeling project as a batch. You can control the name of the batch in the top-left corner, as well as the data row priority in the Advanced settings.
Step 8: Track the progress of the bulk classification job
You can track the progress of the bulk classification job in the notification panel. Additionally, once the bulk classification job has been completed, you will be notified by a pop-up message.

Limitations
Limits
See this page to learn the limits for bulk classification jobs.
Regardless of your tier's limit, you can bulk classify any number of data rows in chunks. For example, you can leverage the Annotation filter with the attributes is not one of and [your classification question] to filter out already classified data rows and proceed with the next bulk classification job.
Benchmark and consensus
You cannot use bulk classification with a consensus project. Additionally, benchmark data rows are excluded from bulk classification jobs. Since benchmark labels are a gold standard label, they should not be overwritten by bulk classifications.
If you are interested in enabling bulk classification with consensus or benchmarks, please create a support ticket.
Updated 12 months ago