Import image annotations
Import video annotations
Import text annotations
Import geospatial annotations
Import document annotations
Import conversational text annotations
Import audio annotations
Import HTML annotations
Overview
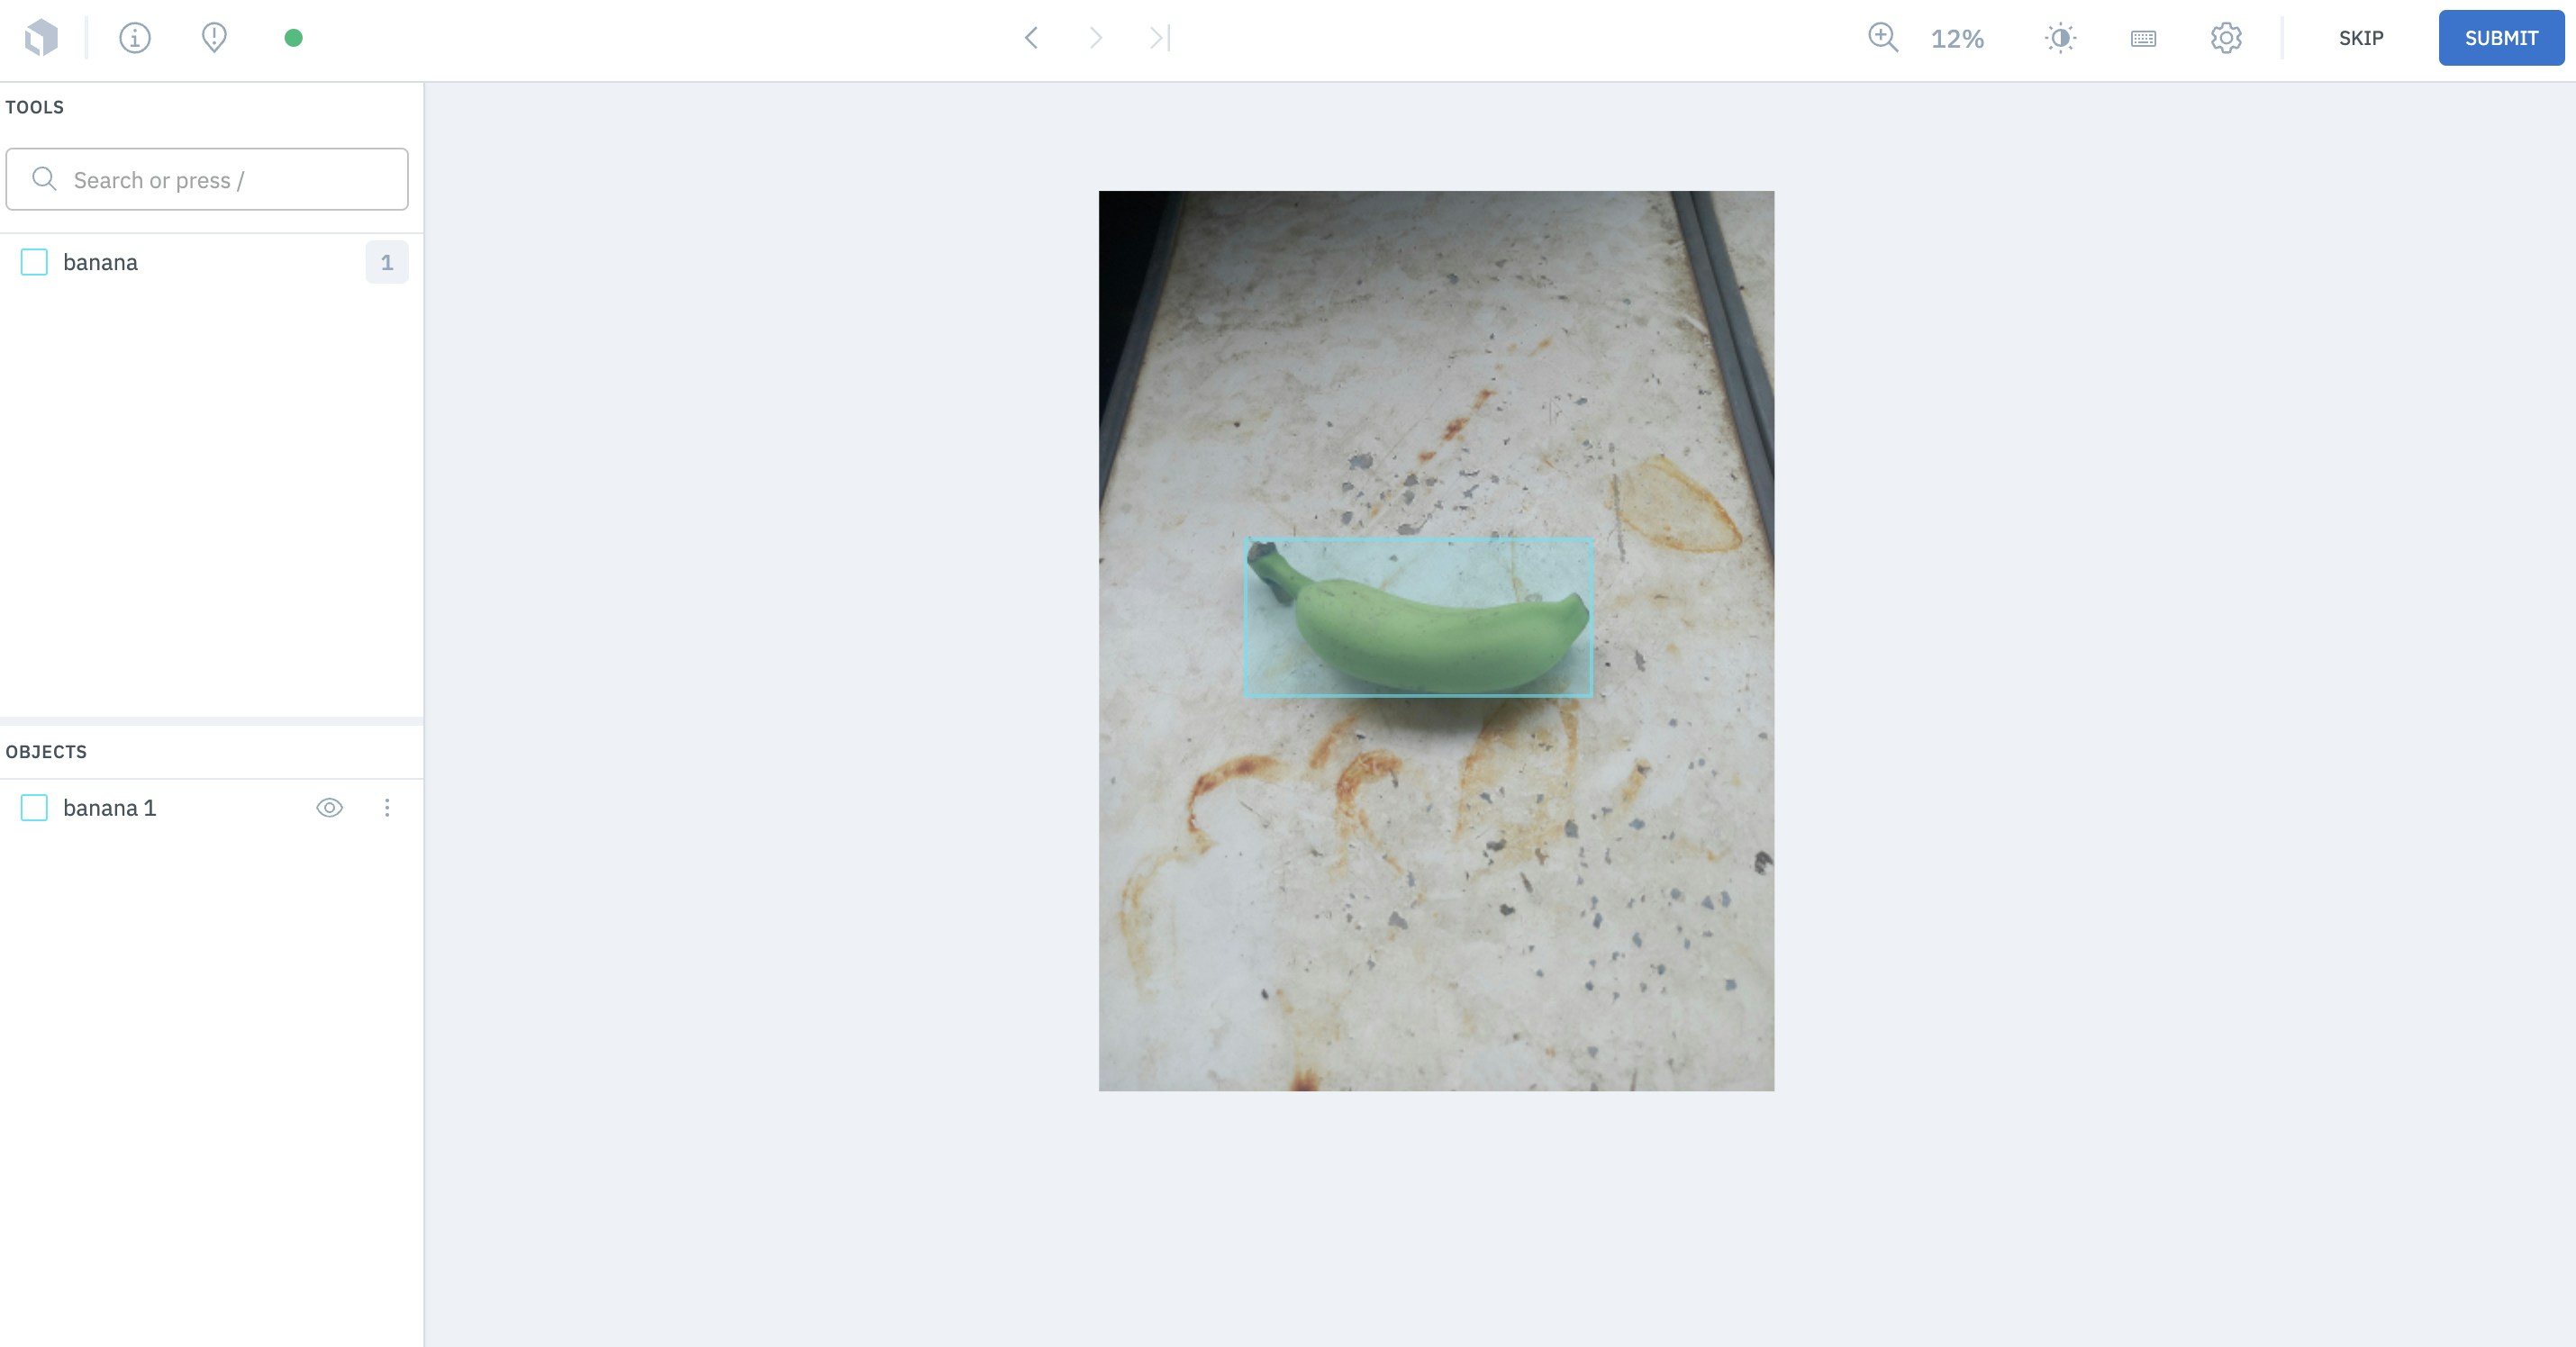
The model-assisted labeling (MAL) workflow allows you to import computer-generated predictions (or simply annotations created outside of Labelbox) as pre-labels on an asset. The imported annotations will be pre-populated in the labeling editor. However, in order to convert the pre-labels to real annotations, a human labeler will still need to open the data row in the editor and submit it. This functionality is designed to speed up human labeling.
How to import annotations as pre-labels
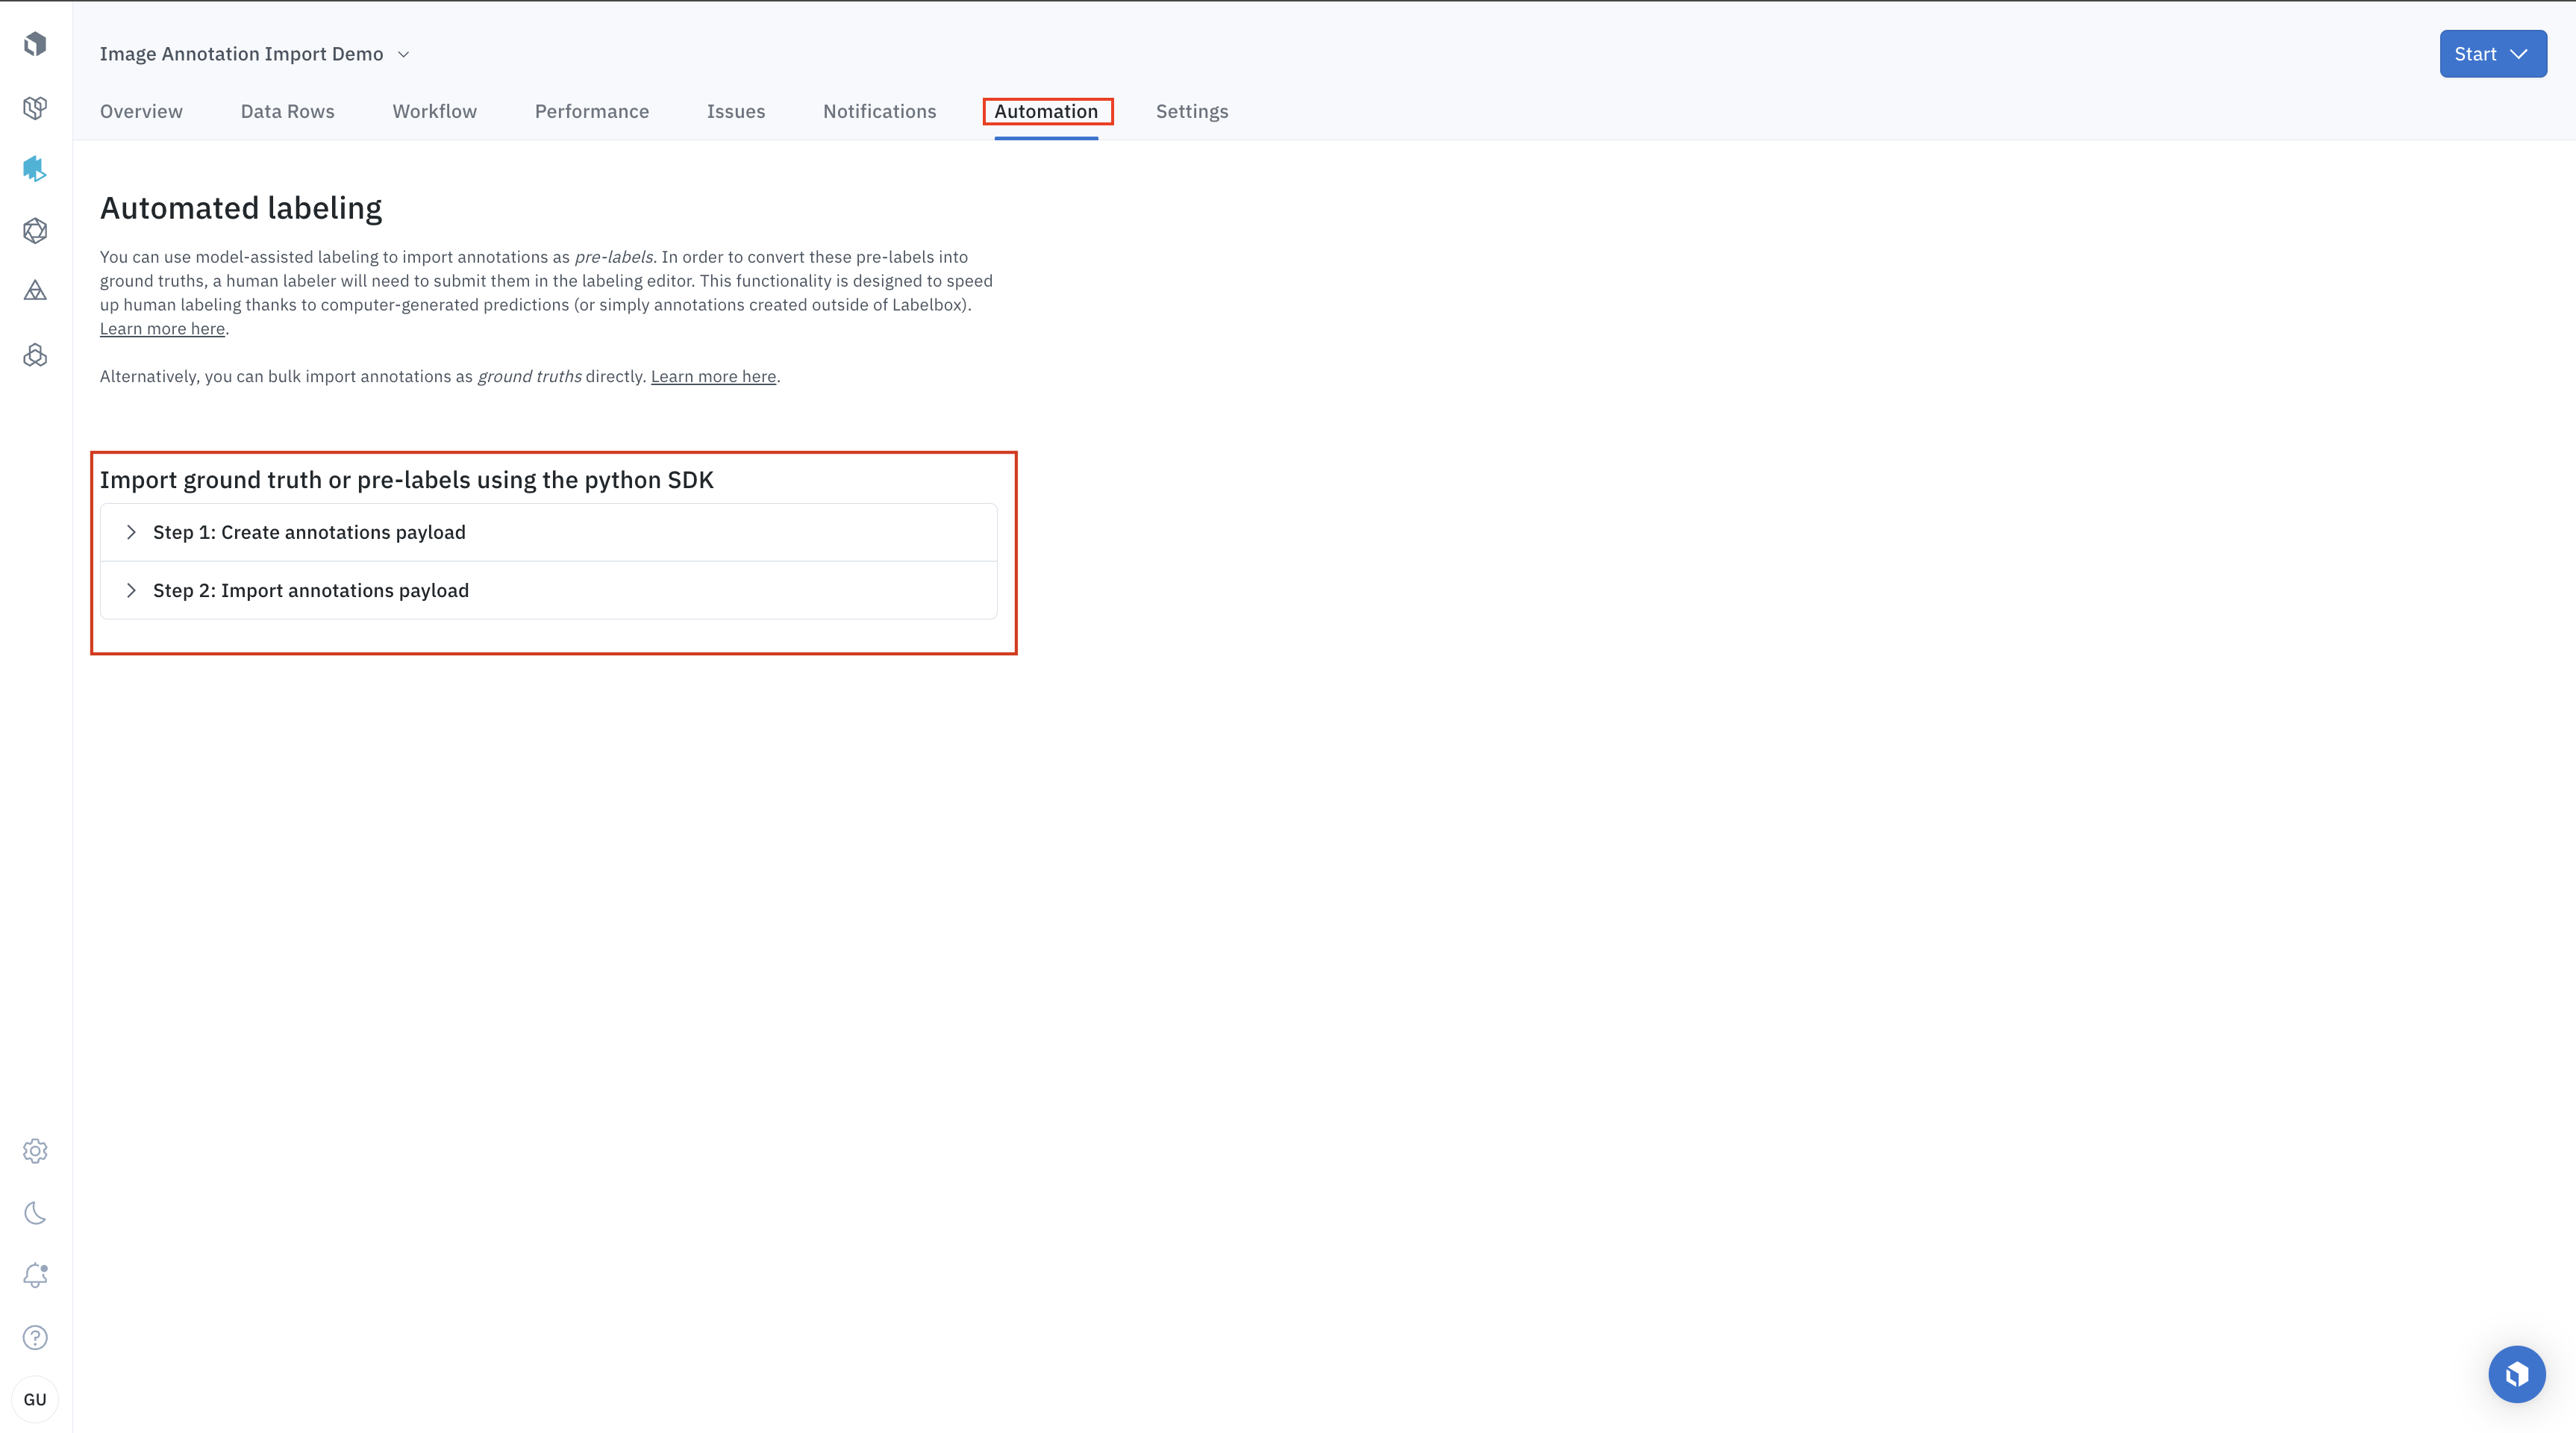
Generate Python SDK import annotation code
Based on your project’s ontology, you can generate code snippets to import your annotations to the Labelbox platform. These code snippets serve as boilerplate code for your workflow and can help speed up the below steps. To find these snippets:Step 1: Import data rows
To import annotations as pre-labels, you’ll need to have a set of data rows to attach the annotations to. If you do not already have a set of data rows, you’ll need to import data rows in a dataset in Catalog. To learn how to import data rows via the Python SDK (Step 1), see this tutorial. To learn more about creating data rows, see Create a dataset in Catalog.Step 2: Create/select an ontology
When you import a set of annotations, you’ll need to specify the ontology (also called taxonomy) that corresponds to the set of annotations. If the project ontology already exists in Labelbox, you may select the ontology that fits your annotations. If the ontology does not exist in Labelbox yet, you’ll need to create an ontology. To learn how to create an ontology via the Python SDK (Step 2), see this tutorial. To learn more about creating ontologies, see Create/modify ontologies.Step 3: Create a labeling project
Before you can import your annotations, you’ll need to make sure you have a project to connect these annotations to. You cannot simply import annotations without specifying which project they’ll be associated with. Oftentimes, you will already have a project set up with the correct ontology for your set of annotations. However, If you do not already have a project, you will need to create a project and attach the ontology that fits your annotations. To learn how to set up a labeling project via the Python SDK (step 3), see this tutorial. To learn more about creating a project, see Create a project.Step 4: Send a batch of data rows to the project
Now that you have your project and ontology configured, you’ll need to send a subset of data Rows (i.e., a batch) to the project’s labeling queue. You will be attaching your annotations to this batch of data rows. To learn how to create a batch via the Python SDK (Step 4), see this tutorial. To learn more about batch mode, see our docs on Batches.Step 5: Create the annotations payload
After you have successfully configured your project with the correct ontology and selected a batch of data rows to attach the annotations to, you are ready to prepare the annotation payload. To do this, you will need to use our Python SDK. Each imported annotation will need to reference an annotation class within the ontology (see step 2 above) and a specific data row ID. Labelbox supports two formats for the annotations payload: NDJSON and Python Annotation types. Use the table below to find an annotation payload sample for your asset type. The ”-” symbol indicates that importing as pre-labels is not supported for that annotation/asset type combination. To learn how to create an annotations payload (Step 5), see this tutorial.| Image | Video | Text | Documents | Geospatial | Audio | Conversational text | |
|---|---|---|---|---|---|---|---|
| Bounding box | Payload | Payload | N/A | Payload | Payload | N/A | N/A |
| Polygon | Payload | - | N/A | N/A | Payload | N/A | N/A |
| Point | Payload | Payload | N/A | N/A | Payload | N/A | N/A |
| Polyline | Payload | Payload | N/A | N/A | Payload | N/A | N/A |
| Segmentation mask | Payload | Payload | N/A | N/A | - | N/A | N/A |
| Text entity | N/A | N/A | Payload | Payload | N/A | N/A | Payload |
| Classification - Radio | Payload | Payload | Payload | Payload | Payload | Payload | Payload |
| Classification - Checklist | Payload | Payload | Payload | Payload | Payload | Payload | Payload |
| Classification - Free-form text | Payload | - | Payload | Payload | Payload | Payload | Payload |
| Relationship | Payload | - | Payload | Payload | - | N/A | Payload |
Step 6: Import the annotation payload to project
After you have constructed your annotation payload, you are ready to import the annotations to the labeling project. To do this you will need to use our Python SDK. See the table at the top of this page to find the end-to-end tutorial that most closely fits your use case. To learn how to import an annotation payload via the SDK (Step 6), see this tutorial.Best practices
- Make sure the annotations are in the proper format. Use the charts above to determine whether an annotation type is supported for the data type you are labeling.
- Before you begin a new import job, make sure there are no existing MAL annotations on the data row.
- To override an imported annotation on a data row, import the annotation again using the same
uuid.
