Create a dataset
Instructions for uploading a dataset to Labelbox via the application.
A dataset is a collection of data rows imported into Labelbox.
Data rows represent data assets and related annotations, such as labels, attachments, metadata, predictions, and other attributes.
Key definitions
| Term | Definition |
|---|---|
| Data row | Contains all of the following information for a single asset: - URL to your cloud-hosted file - Metadata - Media attributes (e.g., data type, size, etc.) - Attachments (files that provide context for your labelers) |
| Dataset | A set of data rows from a single domain or source |
| Asset | A single cloud-hosted file to be labeled (e.g., an image, a video, or a text file). |
| Attachment | Supplementary information you can attach to an asset that provides contextual information used as an aid during labeling. Learn more about attachments and image layers. |
| Global key | A customer-specified ID for each data row asset. It is an optional field, but it is a good practice to use global keys to map your external database/file path to your Labelbox assets for easy retrieval. Global keys are uniquely enforced at the Catalog (organization) level, so it helps prevent duplicate data upload. This is the preferred ID to use to identify all your assets. |
Create a dataset on the Workspace
To create a dataset on your Labelbox Workspace:
-
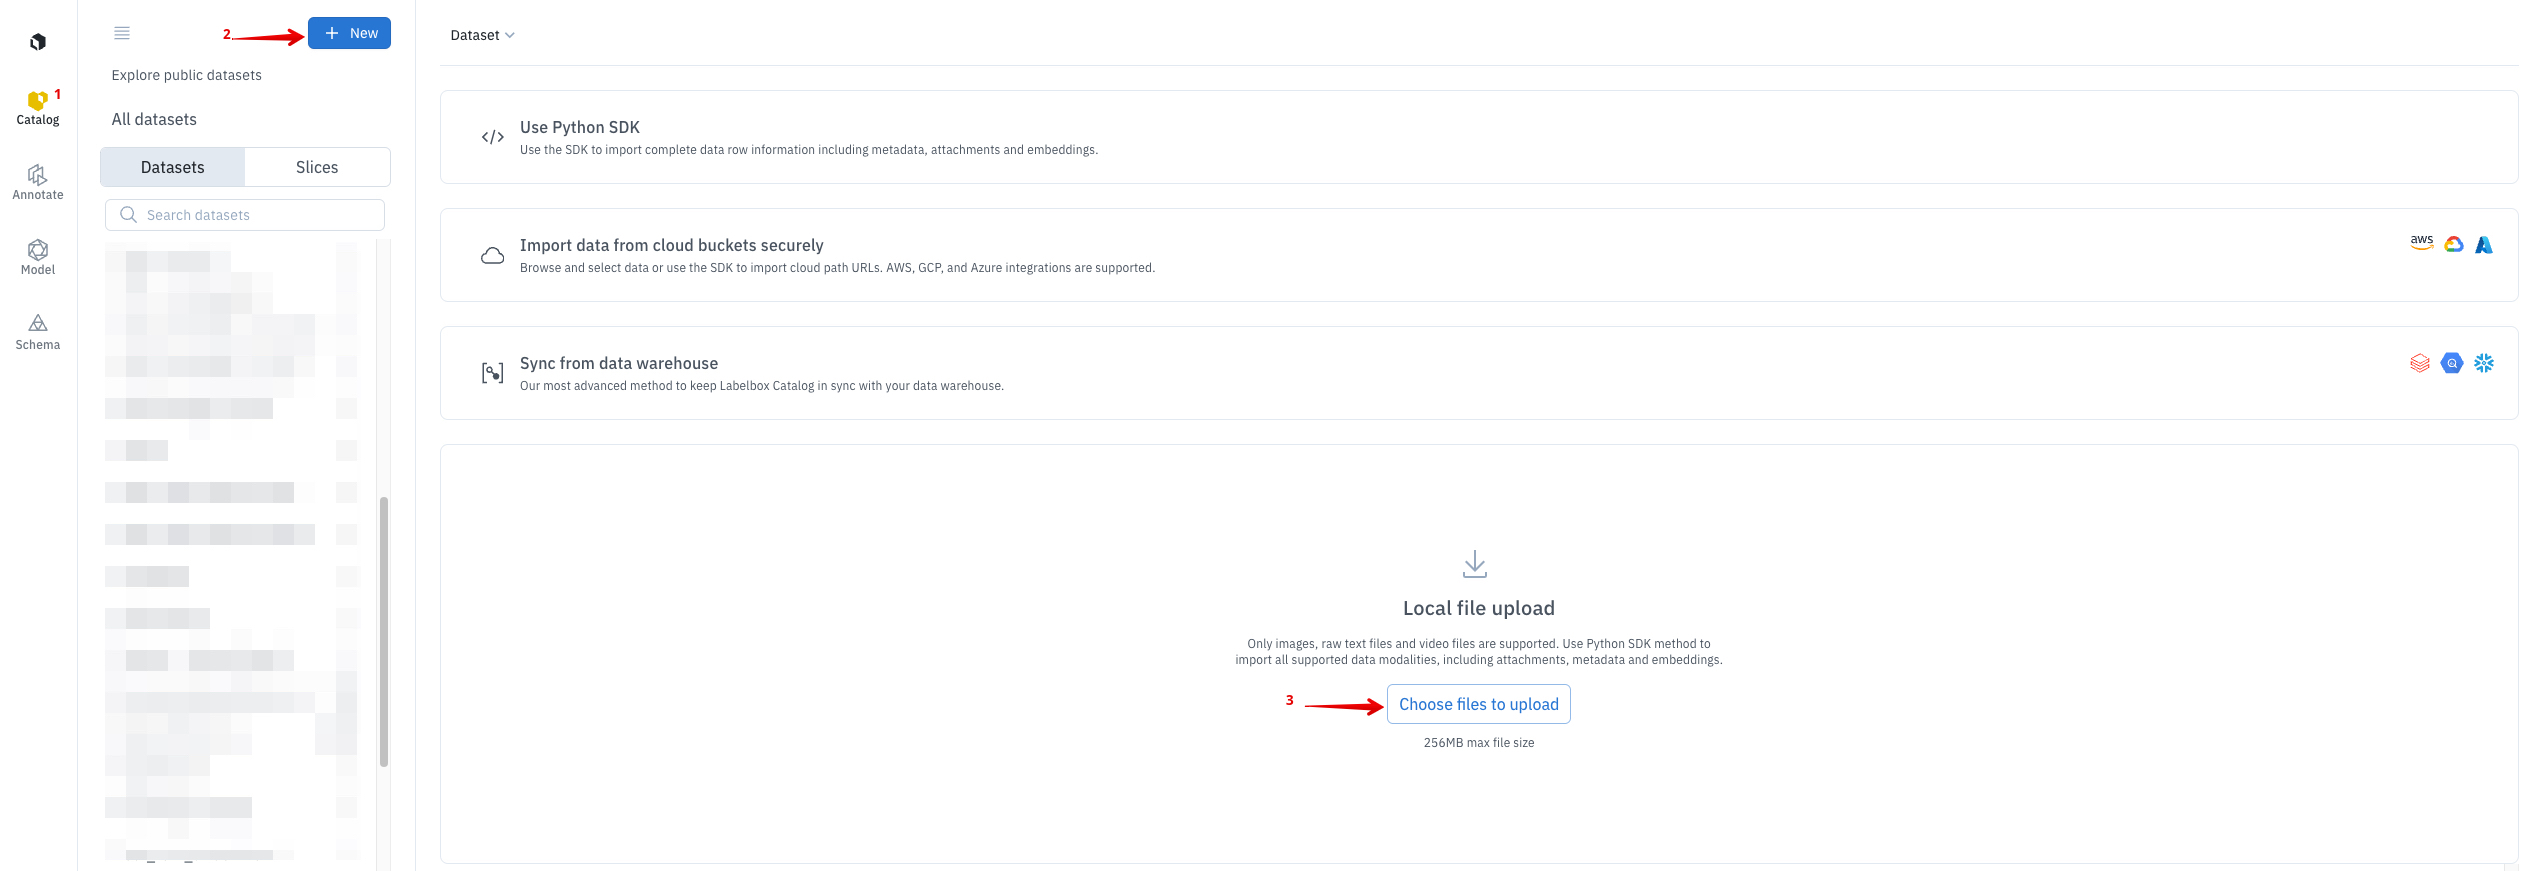
Navigate to the Catalog project page
-
Select + New to create a new dataset
-
Load data into the dataset by:
- Uploading local files directly. Currently, you can upload image, audio, raw text, and PDF files by selecting Choose files to upload. For uploading other types of local data, use the Python SDKs.
- Importing data from cloud storage hosted by Amazon Web Services (AWS), Google Cloud Storage (GCS), and Microsoft Azure.
- Importing data from public URLs using the Python SDKs.
For all ways of importing data, there are size limits based on your subscription type.
Best practices
It is best to put data from a single domain or source into a single dataset. Organizing your data this way will make it easier to set up your labeling workflows. For example, it would be easiest to organize a set of images coming from a particular type of medical device into a single dataset. You can then use metadata to better organize and filter the Data Rows within that dataset.
When naming datasets, remember that names:
- Can contain letters (upper and lowercase), numbers, spaces, and the following punctuation symbols:
_-.,()/. Other characters are not supported. - Are limited to 256 characters.
For best results, use clear names that explain the source and purpose of your dataset. For example medical-device-type-1 helps identify this dataset as data relating to a particular version of a device. Use the dataset description to include more context.
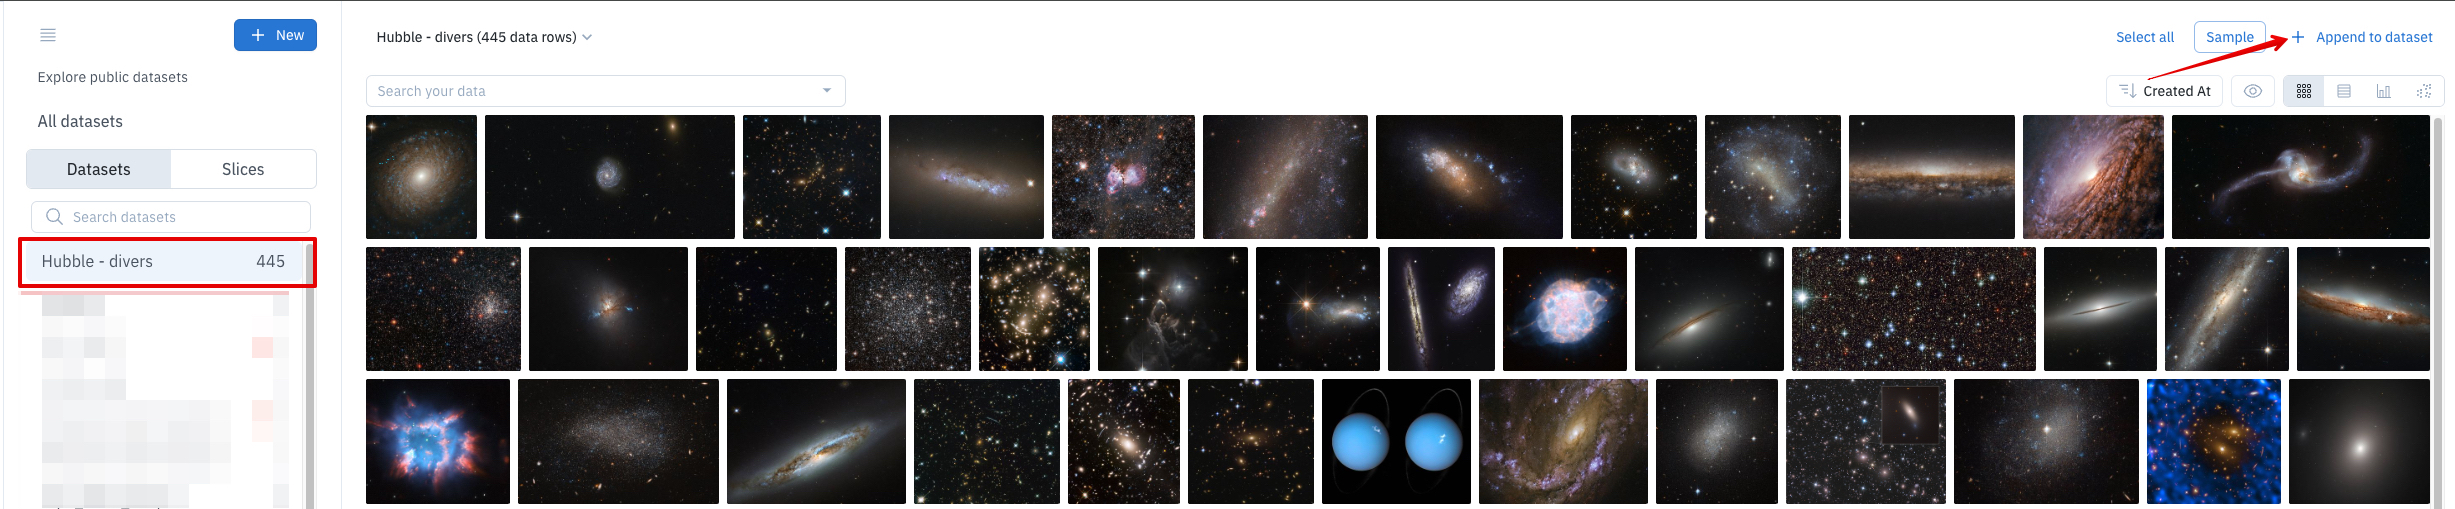
Append to an existing dataset
You can add data rows to a dataset in the UI. Go to Catalog, select your dataset from the left, then click Append to dataset.
For instructions on how to append to a dataset using the Python SDK, see Dataset.
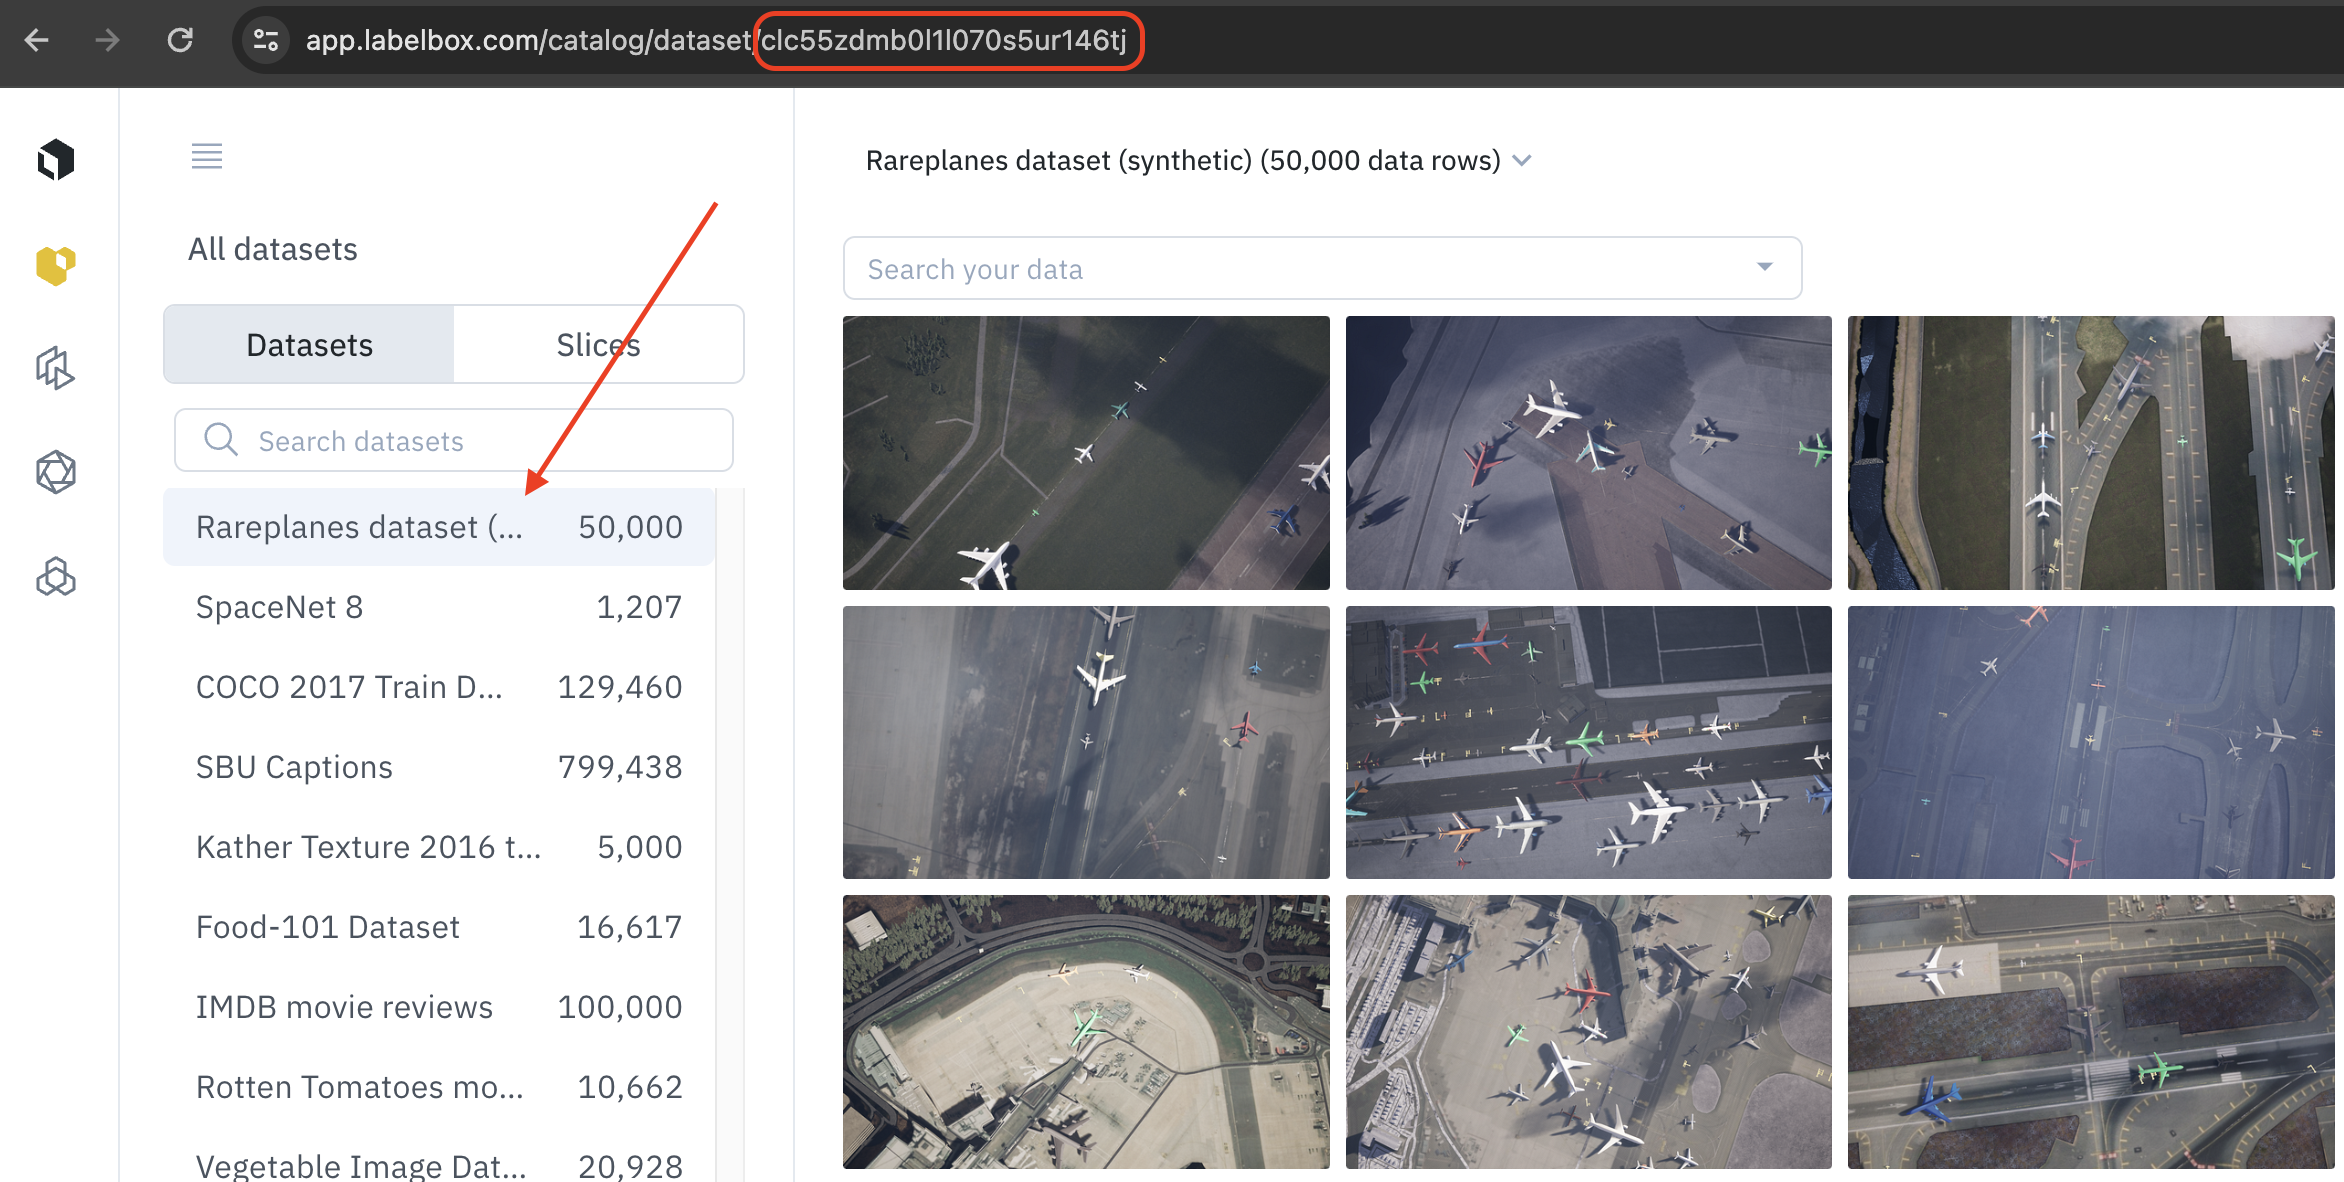
Copy the dataset ID
Each dataset has a unique dataset ID. You can find this dataset ID in the UI of Labelbox:
- Go to Catalog
- Select your dataset
- Copy the ID from the URL
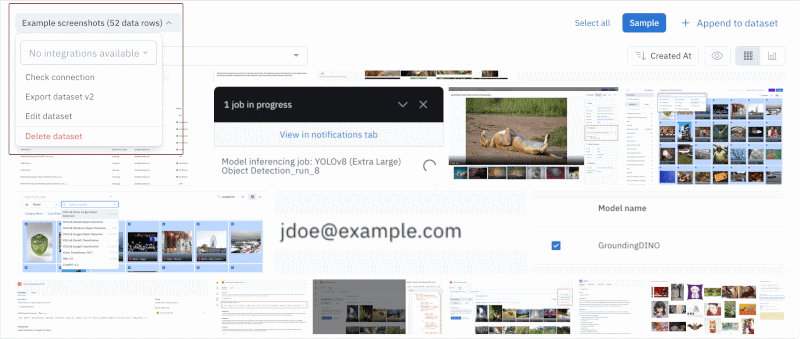
Delete dataset
To delete a dataset, use Catalog to select the dataset and then select Delete dataset from the Dataset menu.
A confirmation dialog asks you to verify the request. To do so, type delete and then select the Delete dataset button.
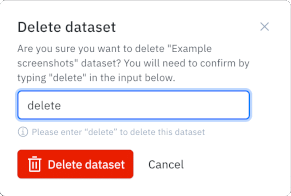
Delete datasets with care, this is a permanent action that cannot be undone.
When you delete a dataset, its data rows are also deleted, along with any annotations, metadata, classifications, and other details associated with each row. Should you accidentally delete a dataset, you will need to import the original data into a new dataset and create associated details.
Updated 5 months ago